How to Change your Apple ID after you’ve Installed TouchBistro
Table Of Contents
Section 1. TouchBistro Standard users (1 iPad only):
Section 2. TouchBistro Pro users (2 or more iPads):
Chapter 2. Disable Find My iPad
Chapter 3. Backup your iPad with iTunes via a Windows Computer
Chapter 4. Delete the TouchBistro app
Chapter 5. Sign Out of Your Old Apple ID and Sign In with Your New ID
Chapter 6. Download TouchBistro and install it on your iPad
Chapter 1. Before You Begin
Apple requires that the Apple ID credentials associated with the original TouchBistro POS app download be entered when updating. Therefore, we recommend that you make sure you’re using the same Apple ID on each iPad in use with TouchBistro. This alleviates confusion with credentials when updating and installing.
Create a single Apple ID with credentials associated with your business, which can be shared between restaurant managers or other key employees. The login and password may be required if you require support from TouchBistro, so we would recommend that this information be available to someone on staff at all times.
Go to appleid.apple.com to create a new Apple ID, or for help with your current one. For example, if you need to change the password, retrieve a lost password, or change the e-mail address associated with your account.
Section 1. TouchBistro Standard users (1 iPad only):
If you are using TouchBistro Standard (with only a single iPad) then it is imperative that you back up your iPad before making changes to the Apple ID. Your restaurant data is stored locally on your iPad, and a current backup of that data will be required.
Section 2. TouchBistro Pro users (2 or more iPads):
TouchBistro Pro users can proceed directly to Chapter 4, without performing an iPad backup, because your restaurant data is stored on your TouchBistro Pro Server, rather on the iPad itself.
Chapter 2. Disable Find My iPad
When you first sign into your iPad with your Apple ID, you may have enabled an iCloud feature called Find My iPad. This feature is useful when your device is lost or stolen, because it uses iOS Location Services to show you the whereabouts of your iPad on a map, and allows you to lock-down or erase the device remotely.
However, you cannot restore an iPad from an iTunes backup when Find My iPad is enabled. These instructions guide you through the process of turning this feature off temporarily.
However, you may wish to turn it back on once the backup/restore process is complete, in case your iPad goes missing.

1. On your iPad, tap Settings.
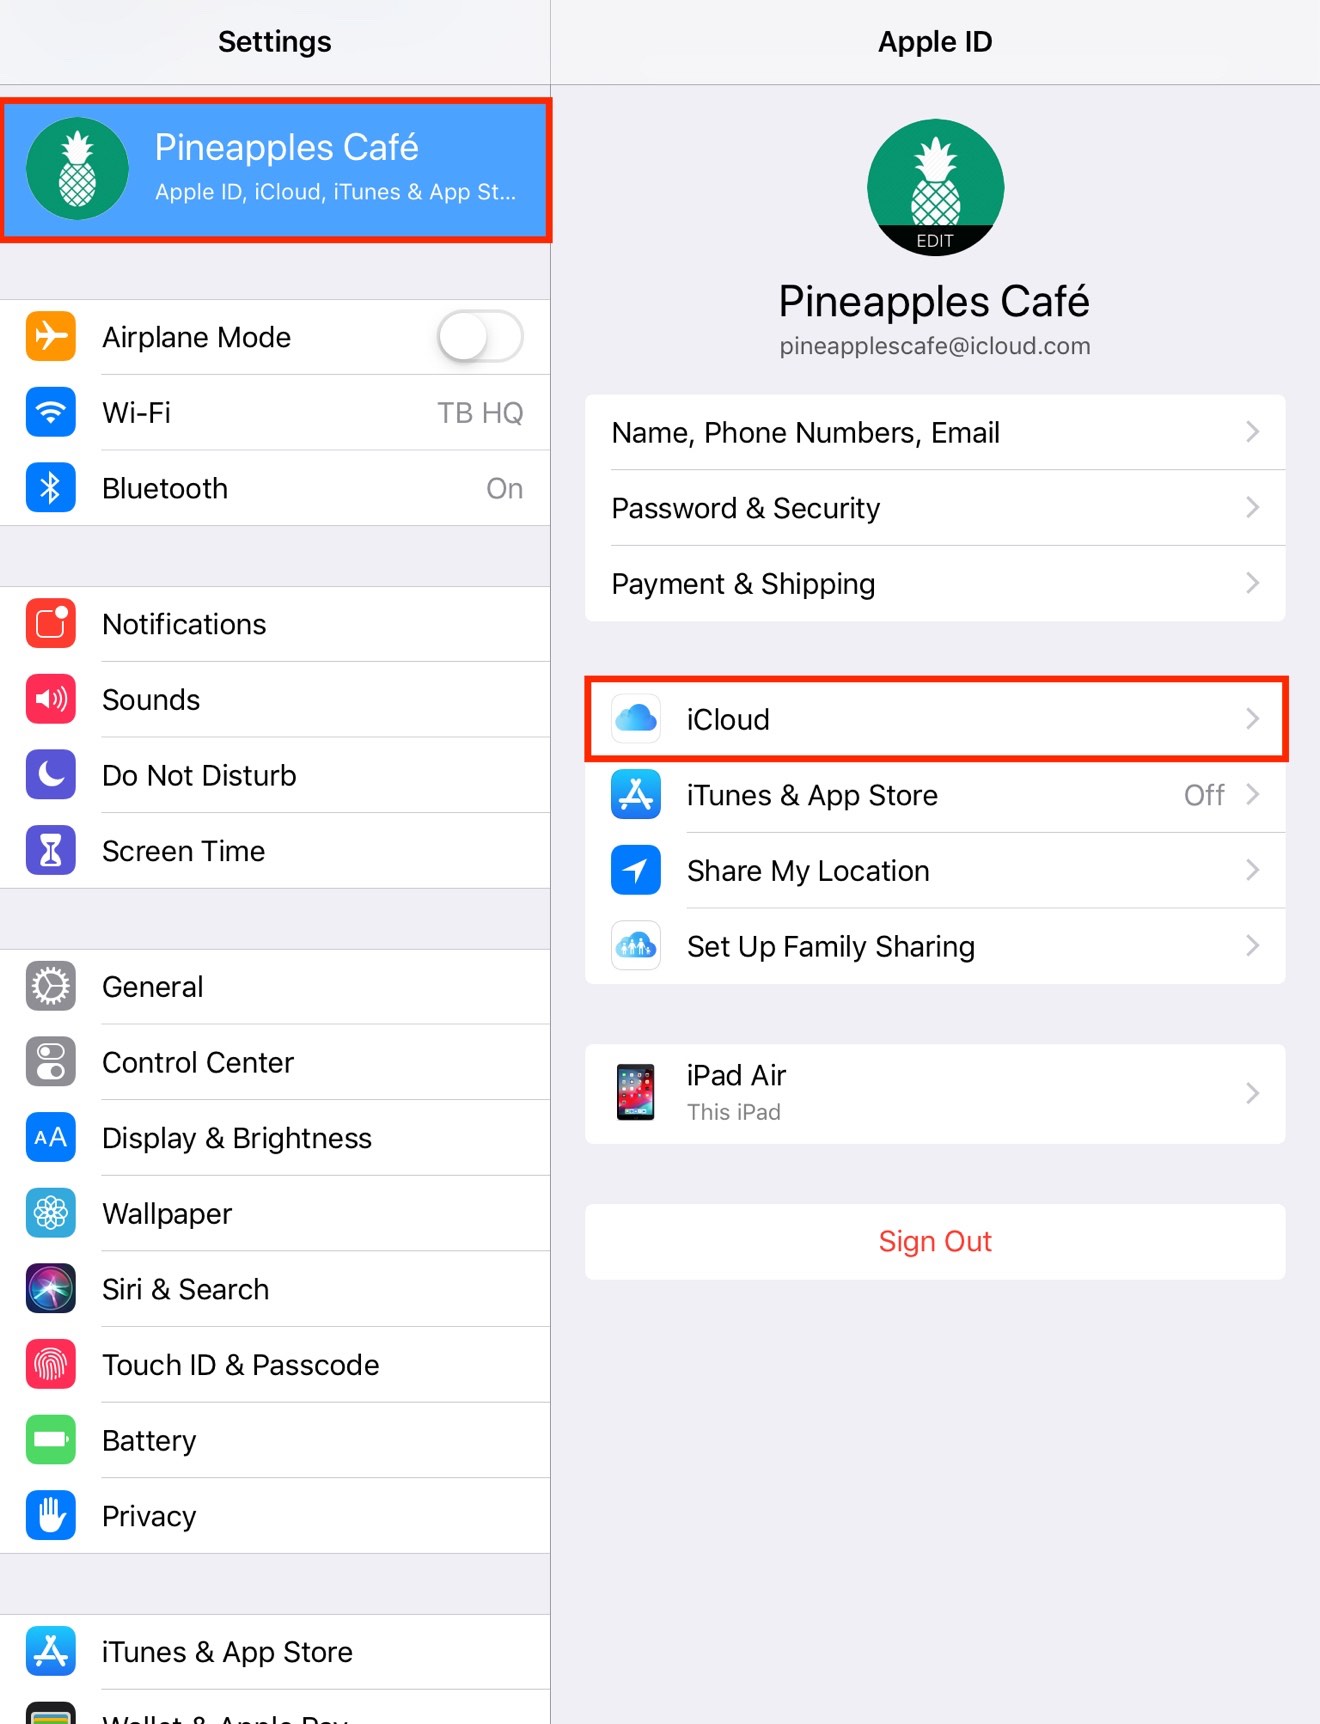
2. Scroll to the top of the left-hand sidebar and tap your Apple ID settings then iCloud.

3. Tap Find my iPad.

4. Tap the switch to disable Find My iPad.
Chapter 3. Backup your iPad with iTunes via a Windows Computer
Visit itunes.apple.com to download and install iTunes on your Windows computer.
1. Plug your iPad into any computer with iTunes installed.
2. Wait until iTunes launches. If iTunes doesn’t open automatically, double-click iTunes in the Applications folder, or single-click the iTunes in the dock.
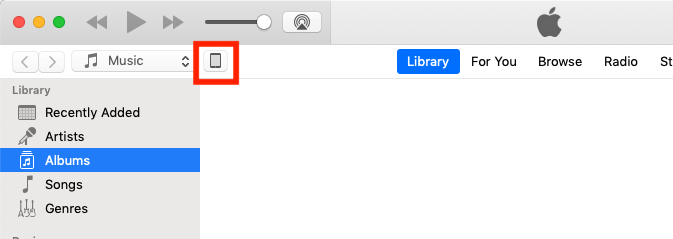
3. Click the Device icon in iTunes to configure your iPad.
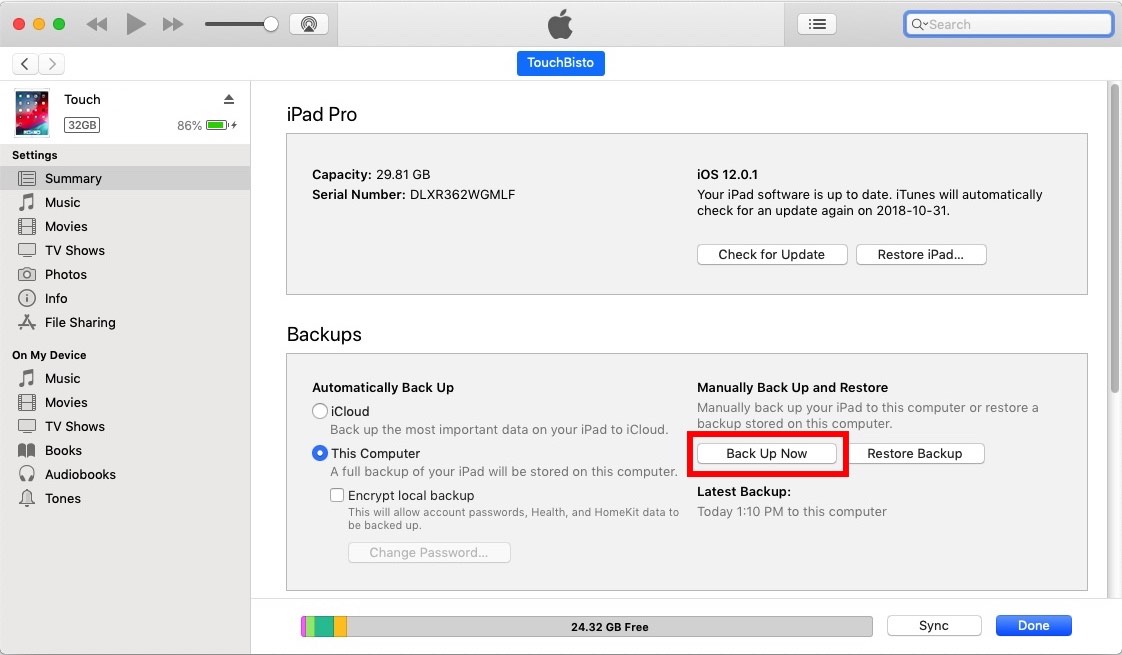
4. On the Summary page, click Back Up Now. This will backup all application data on your iPad, including your TouchBistro restaurant data, to your computer.
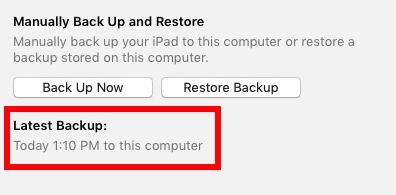
5. When the backup is complete, the Latest Backup section will indicate the time at which it finished.
Chapter 4. Delete the TouchBistro app
1. First ensure you’ve not set your iPad to prevent Apps from being deleted. See How to prevent TouchBistro from being deleted from your iPad for information on how to toggle this setting on/off.
2. Locate the TouchBistro app on your iPad. Tap and hold for a moment.
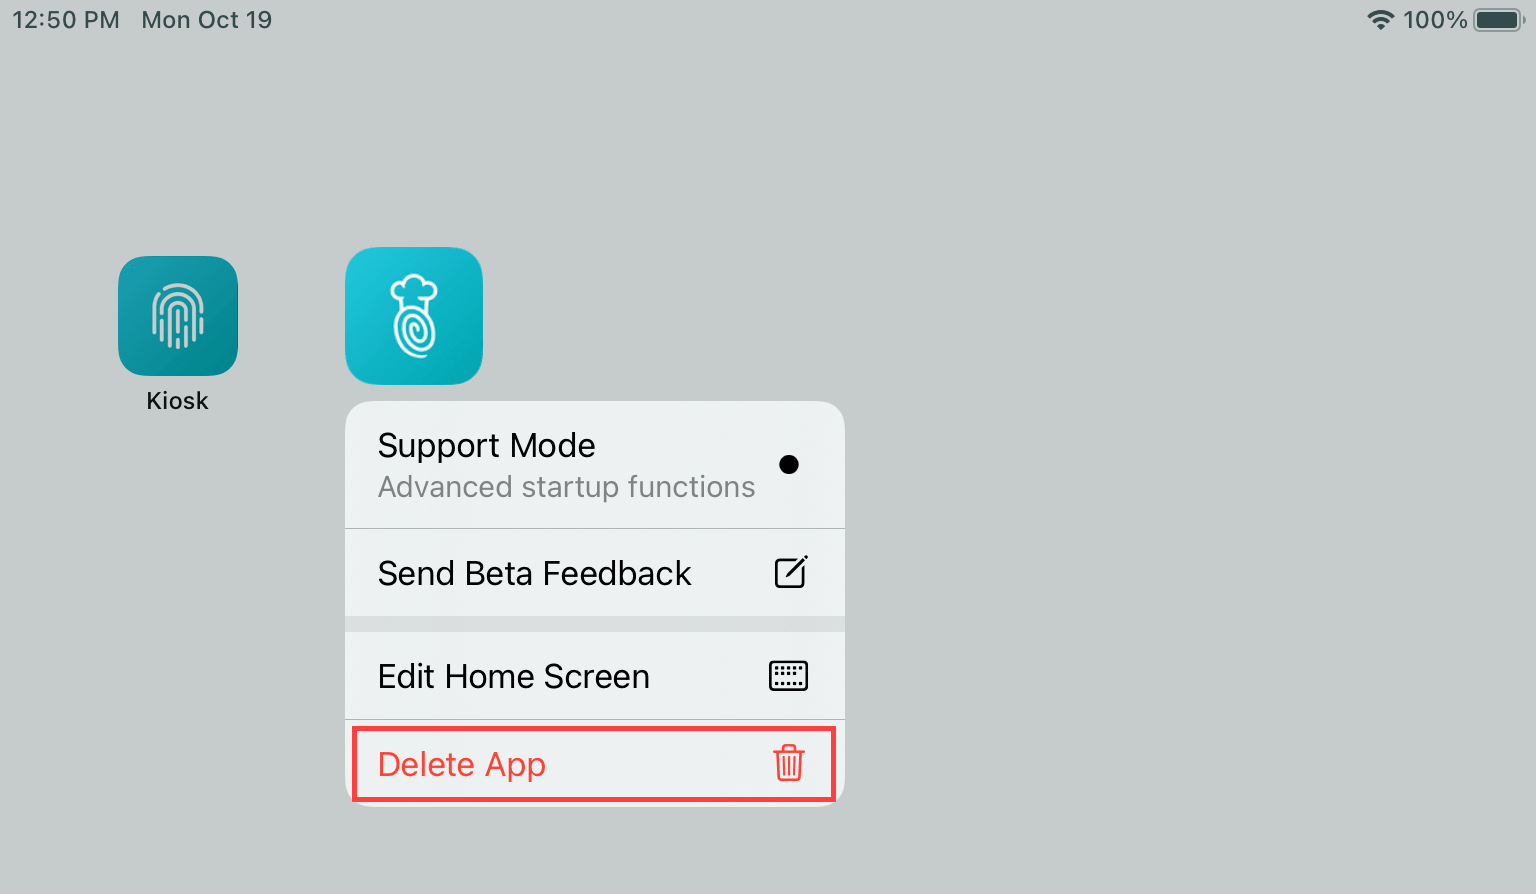
3. Tap Delete App.
Chapter 5. Sign Out of Your Old Apple ID and Sign In with Your New ID
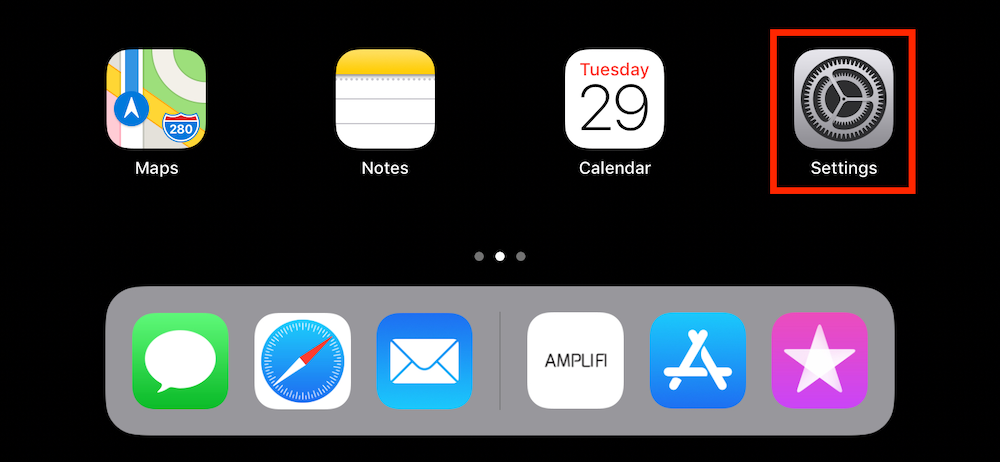
1. Tap Settings.
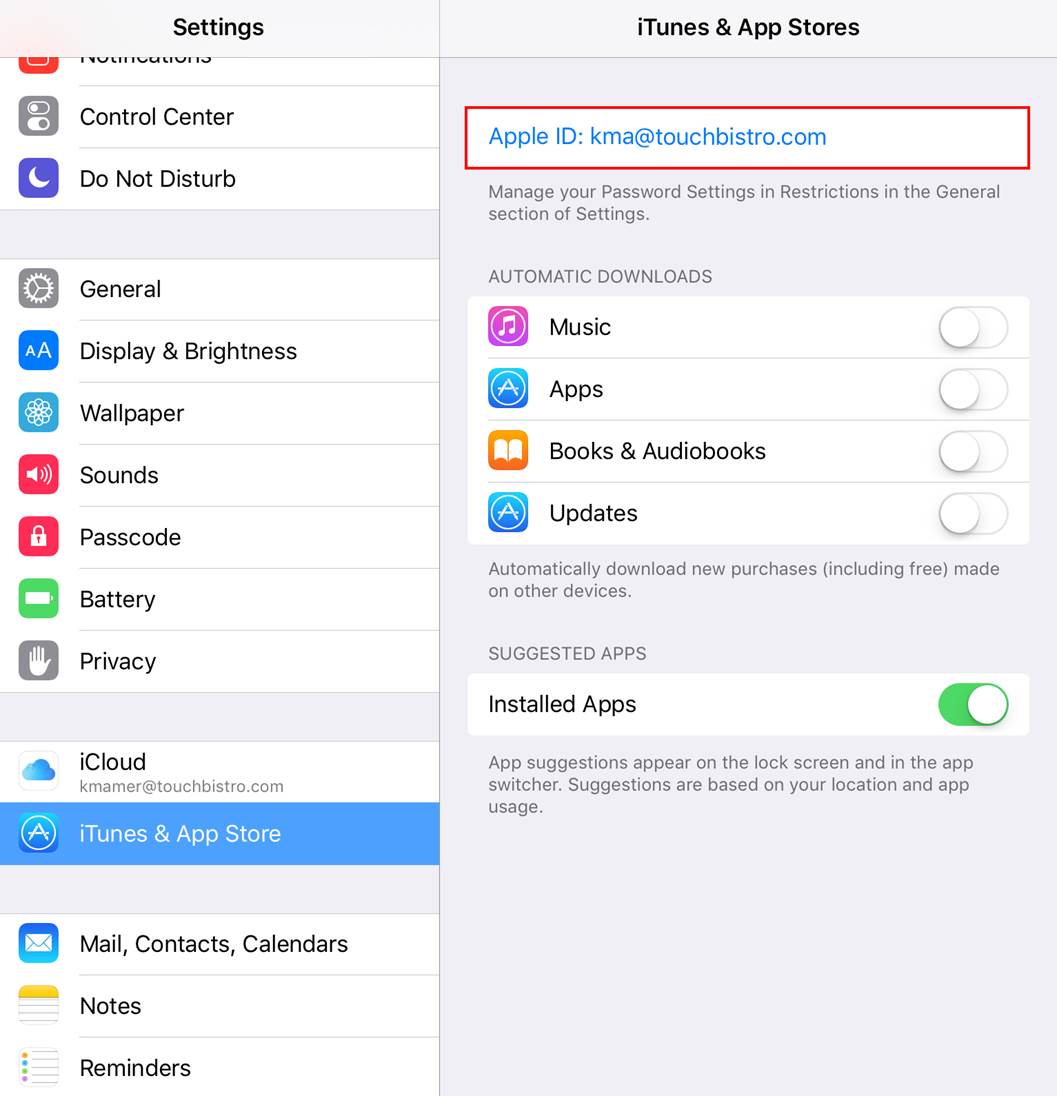
2. Tap iTunes & App Store.

3. Tap Sign Out.
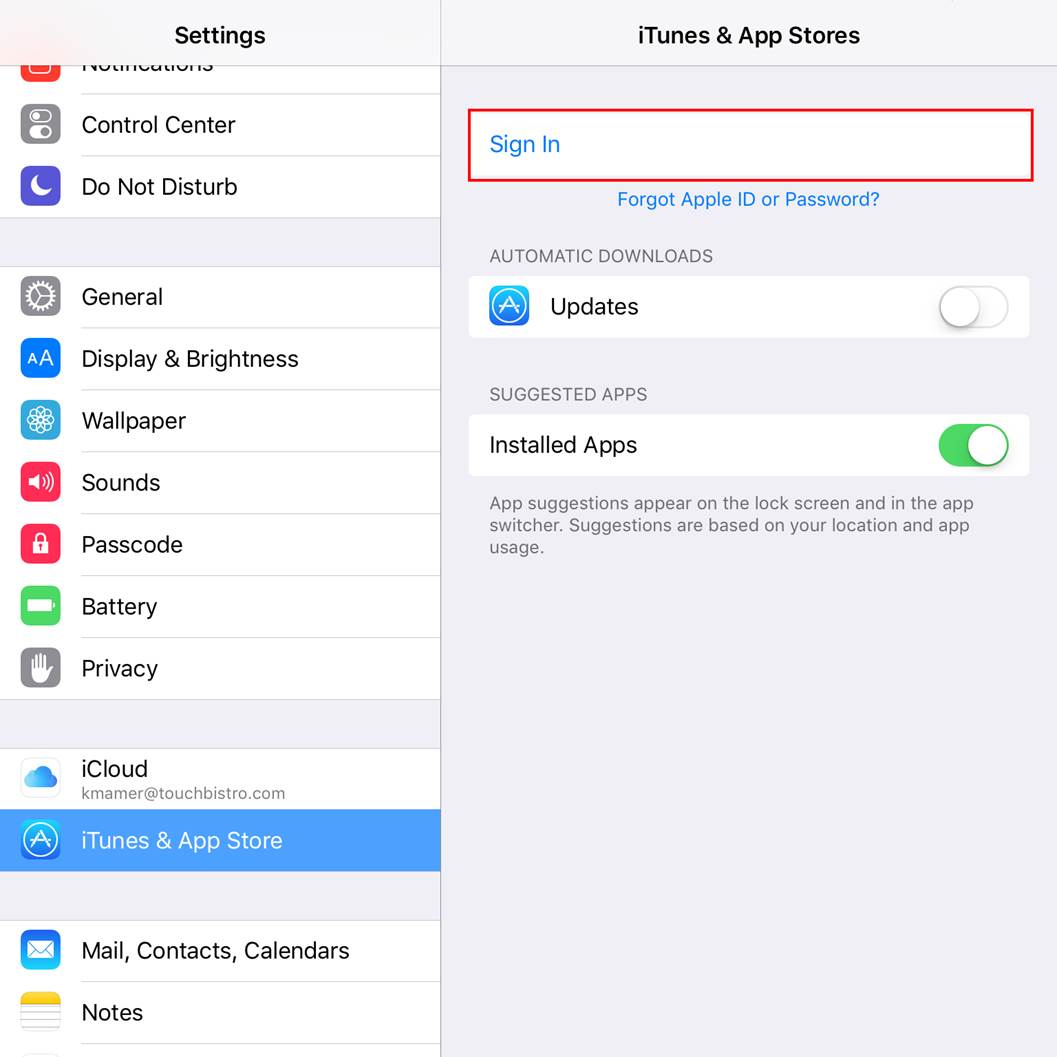
4. Tap Sign In and use the correct Apple ID.
Chapter 6. Download TouchBistro and install it on your iPad
1. Connect your iPad to the same computer you used for the backup.
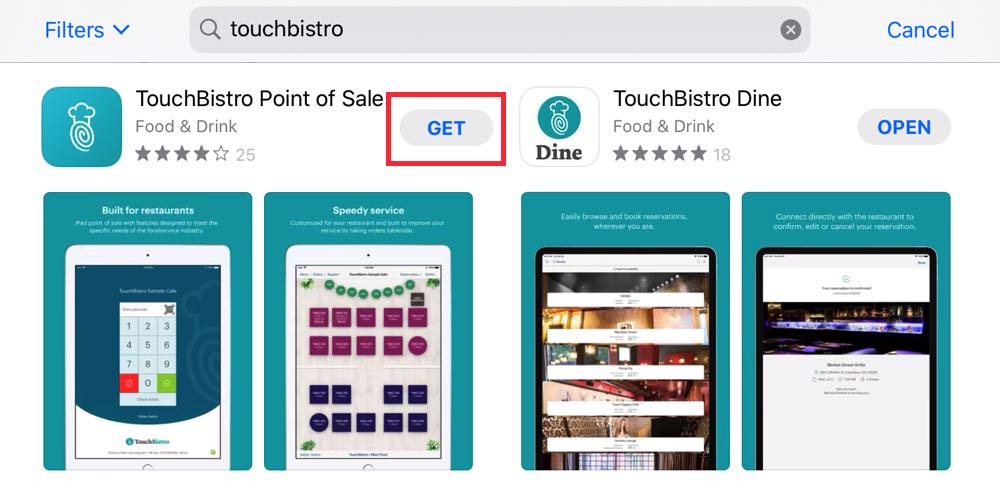
2. Go to the App Store on your iPad, search for “TouchBistro”, and download TouchBistro POS.
3. Swipe up from the bottom of the screen, or tap the Home ![]() button, to ensure that the TouchBistro icon is visible on your Home Screen.
button, to ensure that the TouchBistro icon is visible on your Home Screen.
Chapter 7. Restore Backup
1. Plug your iPad into the computer you used to back up with using iTunes.
2. Wait until iTunes launches. If iTunes doesn’t open automatically, double-click iTunes in the Applications folder, or single-click the iTunes in the dock.

3. Click the Device icon in iTunes to configure your iPad.
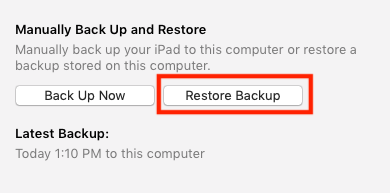
4. On the Summary page, click Restore Backup. This will restore all application data on your iPad, including your TouchBistro restaurant data, to your computer.

5. In the Restore From Backup dialog box, make sure you’ve selected the most recent backup from the iPad Name list (the date and time of the backup are indicated) and tap Restore.

6. Wait for the restore to complete. In most cases, it shouldn’t take more than a minute or two, but it can take much longer if there are any photos, movies, or other data stored on the device.
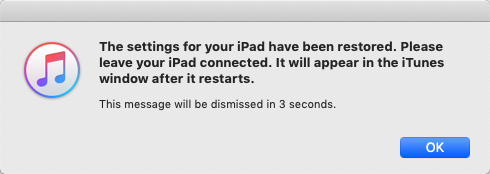
7. iTunes will show you a dialog box to let you know when the restore is complete.
Chapter 8. Enable Find My iPad
Once you’ve completed the restore, sign into your iPad with the corporate Apple ID you intend to use.

1. On your iPad, tap Settings.

2. Scroll to the top of the left-hand sidebar and tap your Apple ID settings then iCloud.

3. Tap Find my iPad.

4. Tap the switch to enable Find My iPad.
Chapter 9. Related Articles
Applying your Touchbistro Software License
Chapter 2: Restaurant Profile and Licensing
How to Reset your TouchBistro Account Password
How to Unlink your TouchBistro License
How to Update Your TouchBistro License


 Email
Support
 Frequently
Asked Questions