Restaurant Information
Table Of Contents
Chapter 1. Option Search
If you’re unsure where a particular option is located under Admin Settings, you can use the Search field to search for a key term in the option.
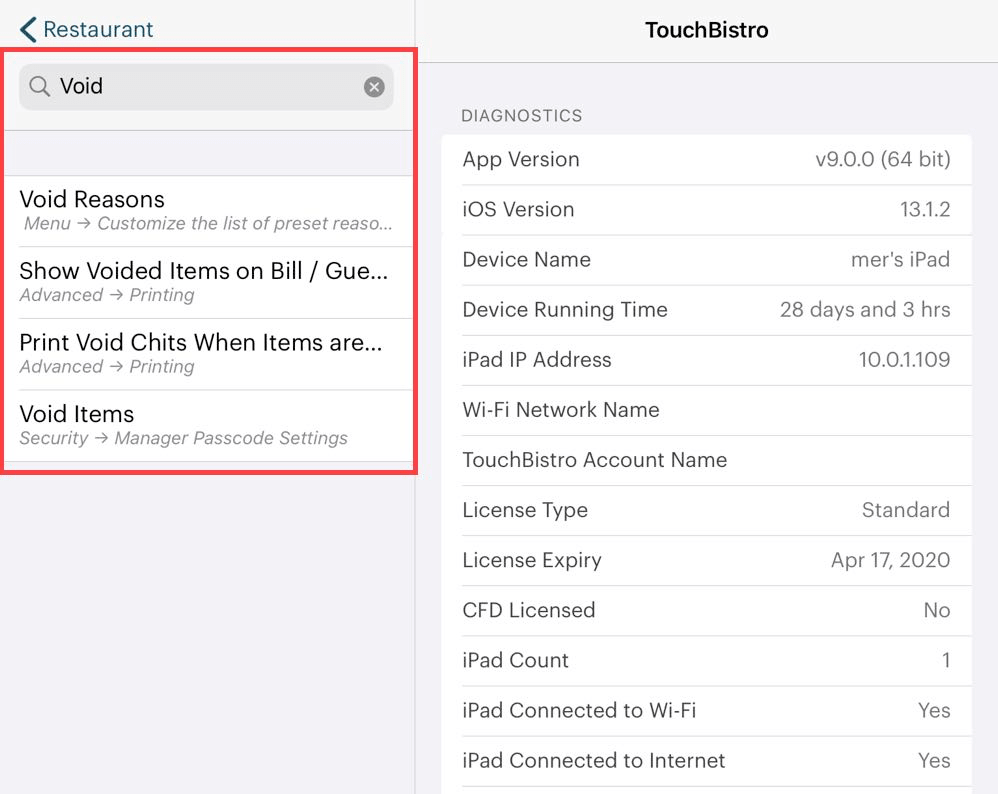
For example, if you’re wondering about options that control voids, enter “void”. The Search field will return several options that match your search. Click on one of the returned matches.
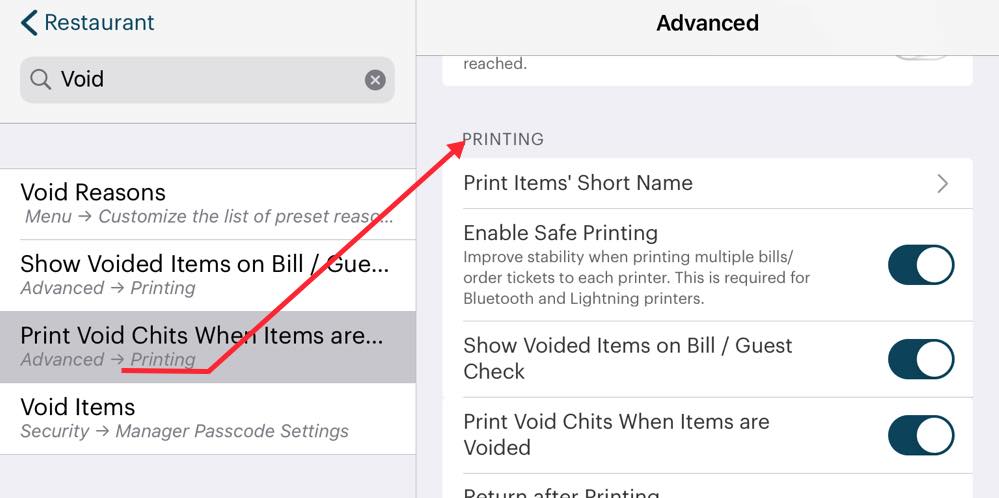
TouchBistro will take you to the appropriate Admin Settings screen. If the option is located in a particular section, the match returned in the left-hand panel will indicate the section the option is found in. In the pictured example above, the results indicate the Print Void Chits When Items are Voided option is found in the Printing section of the Advanced screen.
Chapter 2. Restaurant Information

The Restaurant Information page lets you configure your restaurant’s contact details, enable/review your license, and gives you access to key details about your iPad and your version of TouchBistro.
Section 1. Restaurant Details
Your first task when setting up TouchBistro is to complete your restaurant details under Restaurant Information.
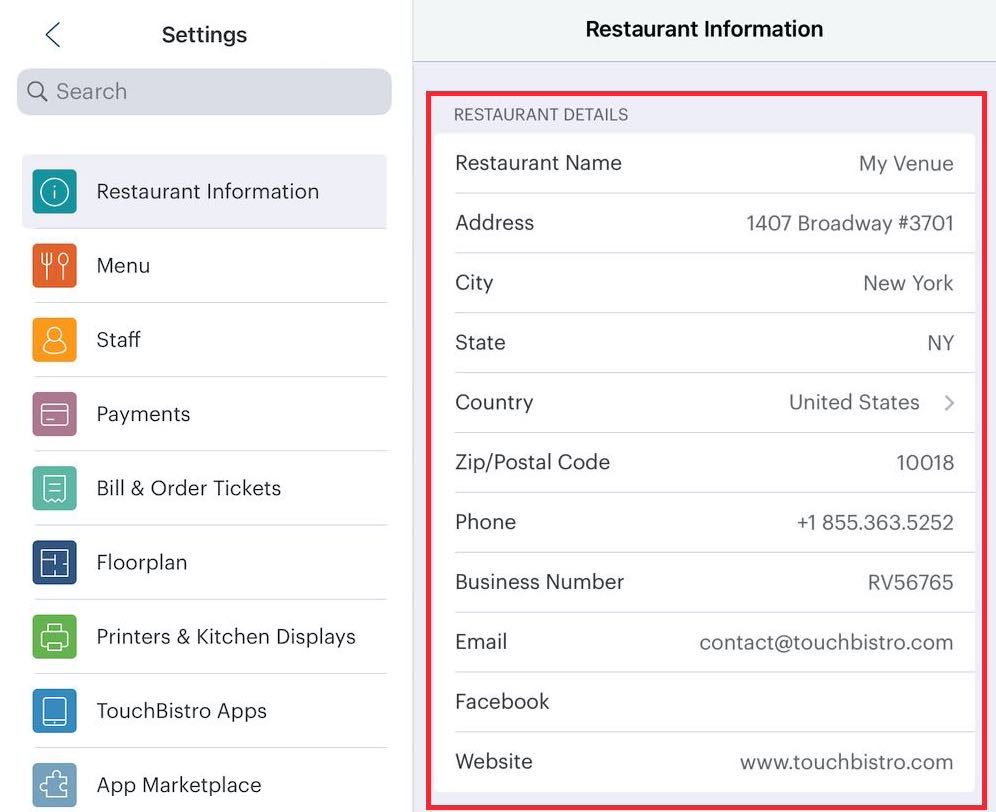
Complete your restaurant name, address, and other details. If your jurisdiction requires a business number to appear on the receipt, complete the Business Number field.
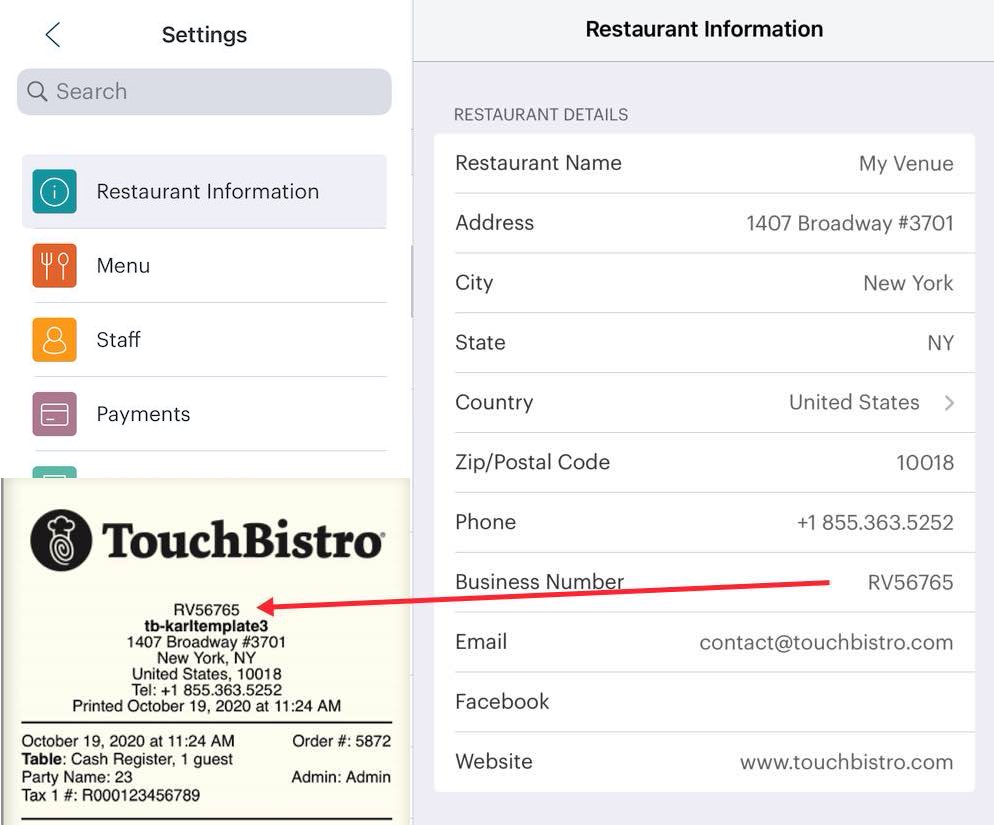
Information entered here will appear on receipts, reports, and other printed/electronic customer-facing/administrative items TouchBistro might generate. The Country field setting is used to determine the currency symbol used by Cloud Reporting. For example, if you would like your cloud reports to display the £ symbol, ensure Country is set to United Kingdom.
Ensure anything entered here is appropriate for public consumption. The Email, Facebook, and Website fields are currently not used on any customer-facing items.
Note: avoid using non-alphanumeric characters in the Name field. Avoid, particularly, an ampersand (&). Integrated payment processors like Tsys use your restaurant information to process payments and non-alphanumeric characters might be interpreted as control codes and result in a processing error.
Section 2. Licensing

Next, you should register an account with TouchBistro by using one of the options in the Licensing Information section. If you tap, Extend Free Trial, TouchBistro will require you to register.
Note: You need to have Internet access to use this screen.
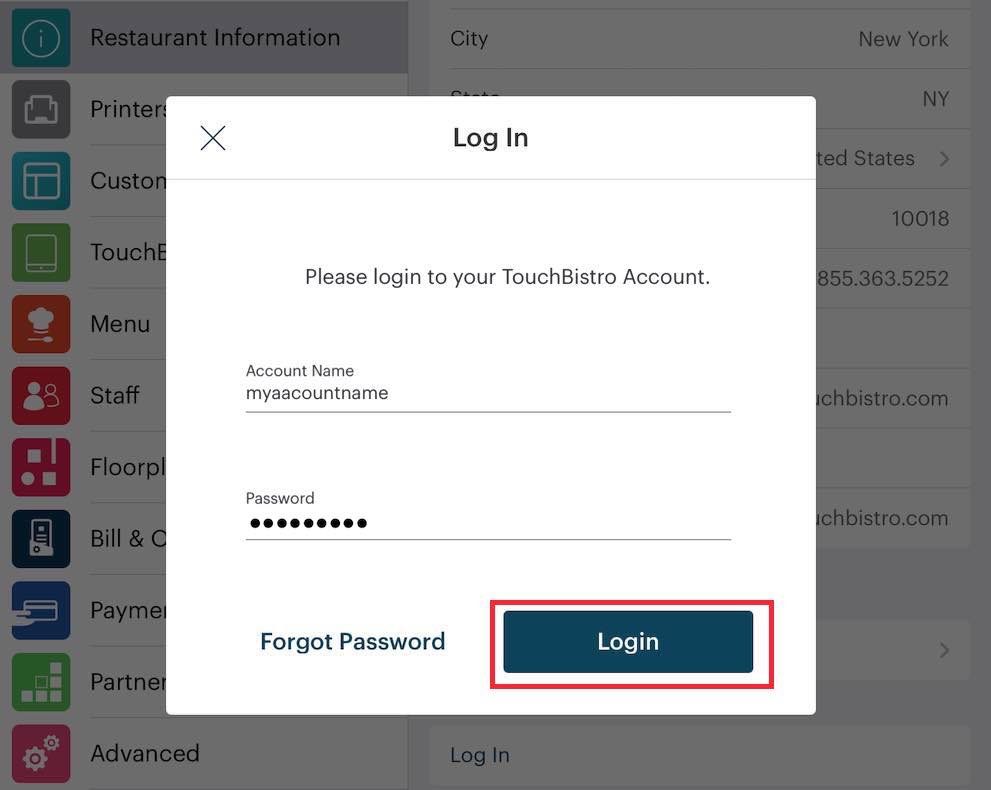
If you already have a registered license, tap Log In.
Section 3. Diagnostics

At the bottom of your Restaurant Information screen is a Diagnostics button. It’s good practice to check your iPad’s file storage amount before installing updates.
Note: You need to have Internet access to use this screen.
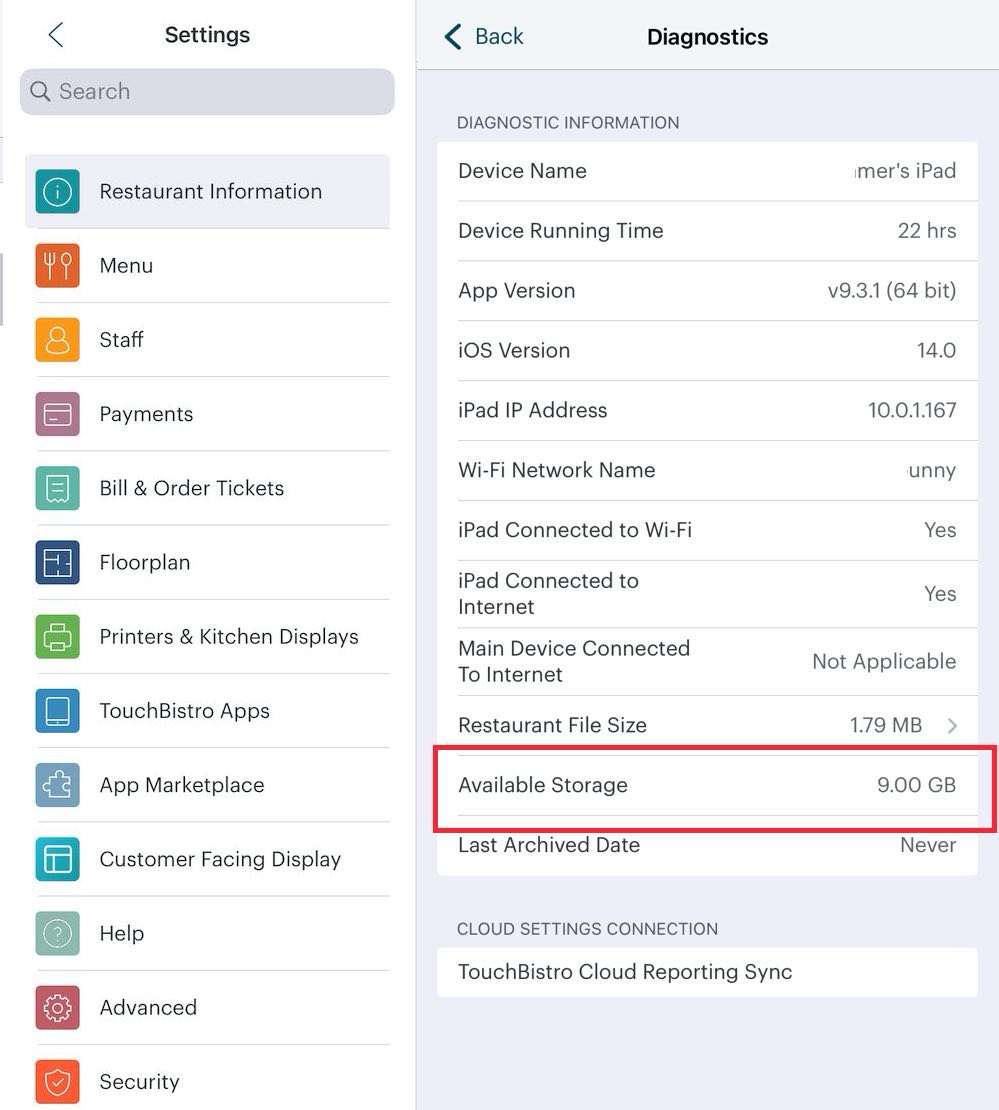
We recommend having at least 1 GB of available storage before updating TouchBistro. TouchBistro and approved companion apps should never reduce your available storage to under 1 GB. If you are low on available storage, you likely have a number of pictures or other large files (MP3s or non approved companion apps) on the iPad. Delete these to free up storage.
Chapter 3. Related Articles
Applying your Touchbistro Software License
How to Change your Apple ID after you’ve Installed TouchBistro
How to Reset your TouchBistro Account Password
How to Update Your TouchBistro License


 Email
Support
 Frequently
Asked Questions
