Customer Account List
Table Of Contents
Section 1. Adding a New Account
Section 3. Deleting an Account
Section 4. Archiving an Account
Chapter 3. Closing an Order to an Account
Chapter 5. Using the Account History Screen
Section 1. Edit Account Details
Section 1. Adding Account Reports to End of Day Template
Chapter 1. Introduction
Customer Accounts are a way to extend temporary credit to customers. For example, you cater your local city hall’s weekly council meeting. Instead of charging the city each time for the order, you agree to settle up at the end of the month and bill it, instead, to a Customer Account.
You can also use accounts to log a deposit against a future order (a catering job) or event at your venue (a wedding).
Chapter 2. Accessing Accounts
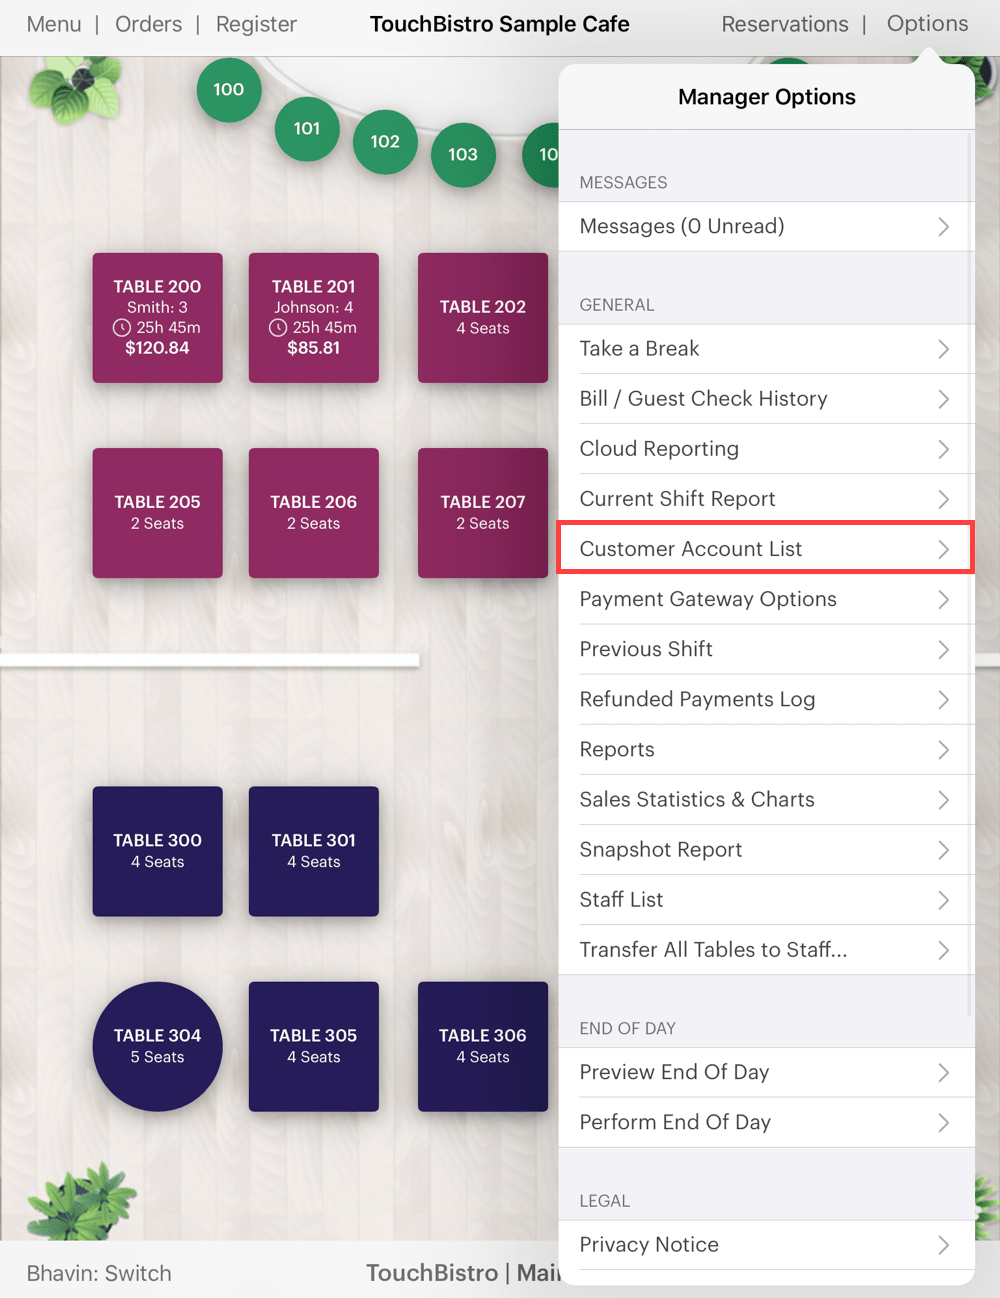
1. Tap Customer Account List to set up and manage accounts.
Section 1. Adding a New Account
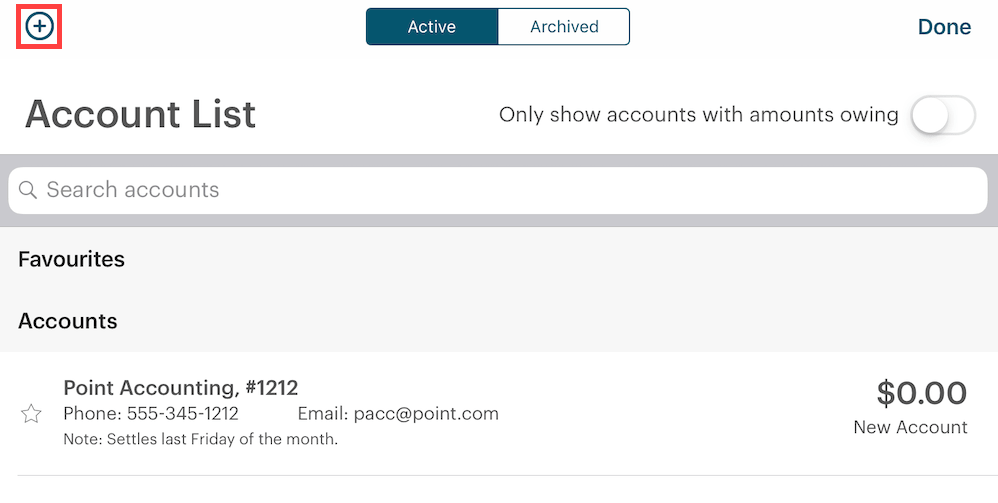
1. From the Account List screen, tap the Add ![]() icon.
icon.

2. Enter details about the account and tap Done. Note: the Account Name/Number, Email, and Phone Number fields are searchable.
Section 2. Favoriting
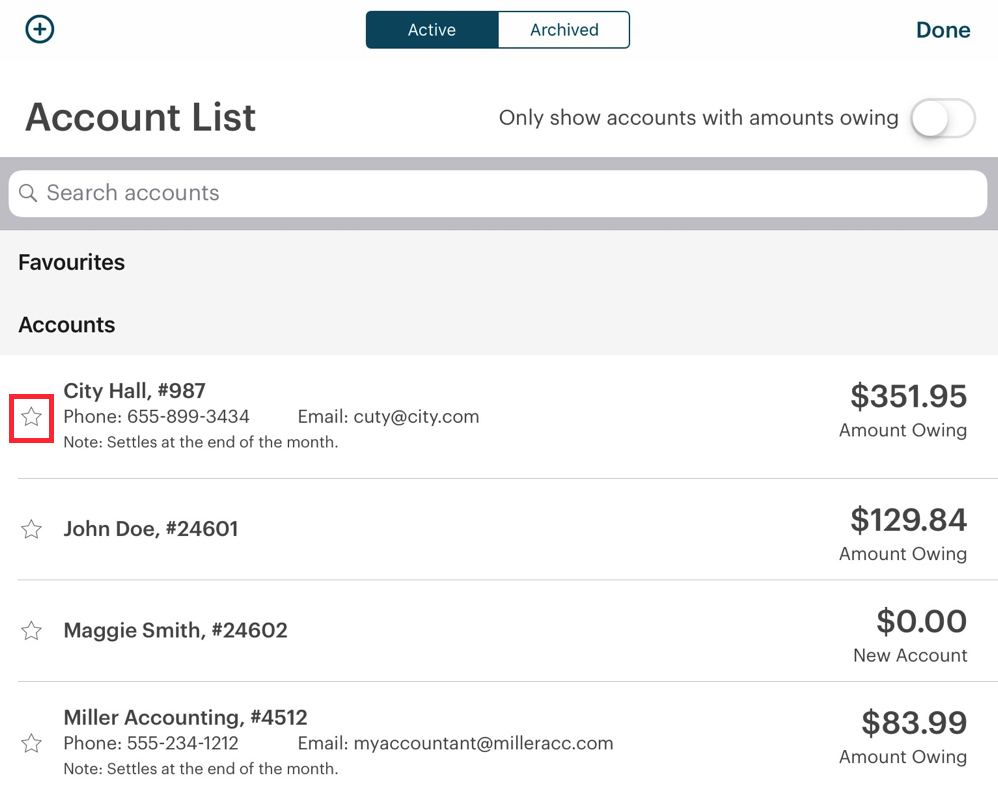
1. If one or more of your accounts are regulars, you can favorite an account by tapping the Star ![]() icon.
icon.
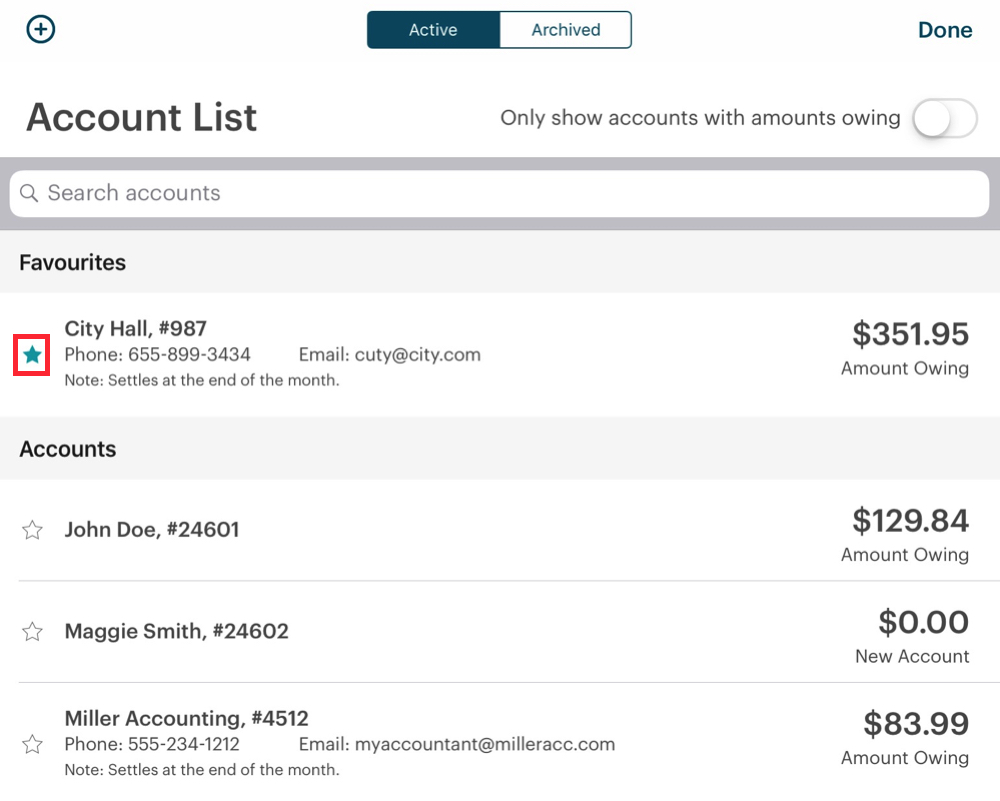
2. After tapping the Star icon it will move the account to the Favorite section. If you have a large number of accounts, favoriting regulars can speed up the use of this feature at checkout time.
3. You can remove an account as a favorite by simply tapping the Star icon again.
Section 3. Deleting an Account
You can delete an account as long as there is no account history (you’ve never closed a bill to the account or added a deposit.)
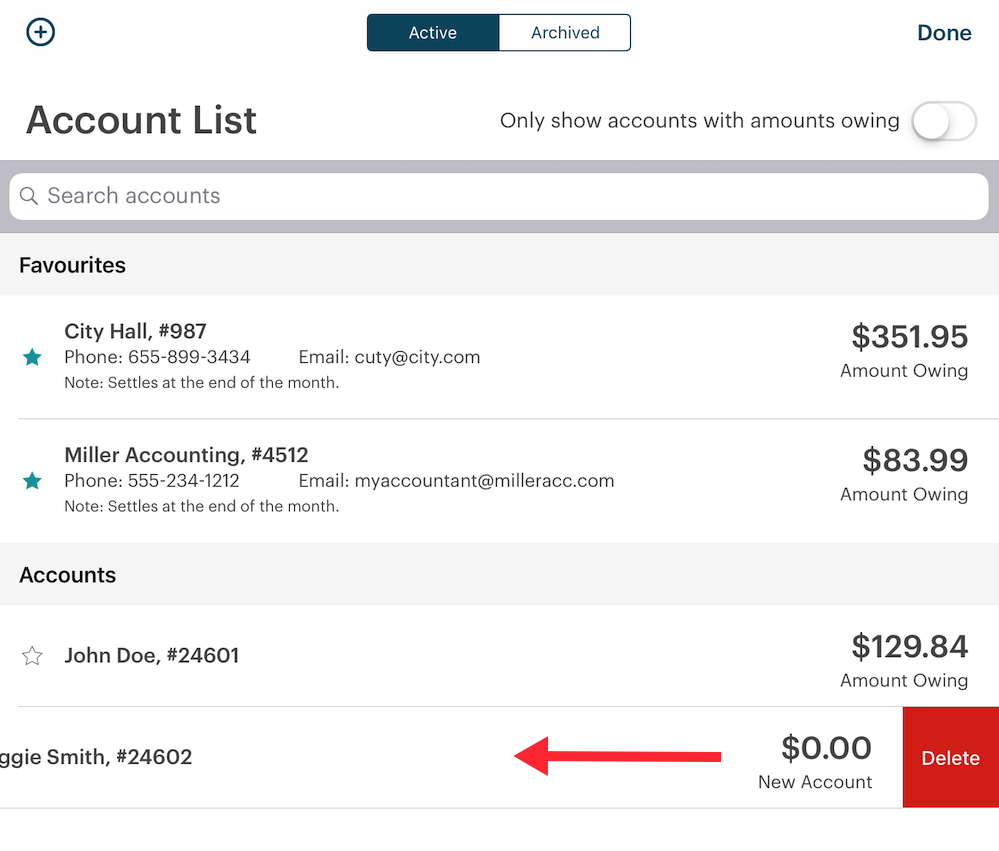
To delete, left swipe on the account and tap Delete.
Section 4. Archiving an Account
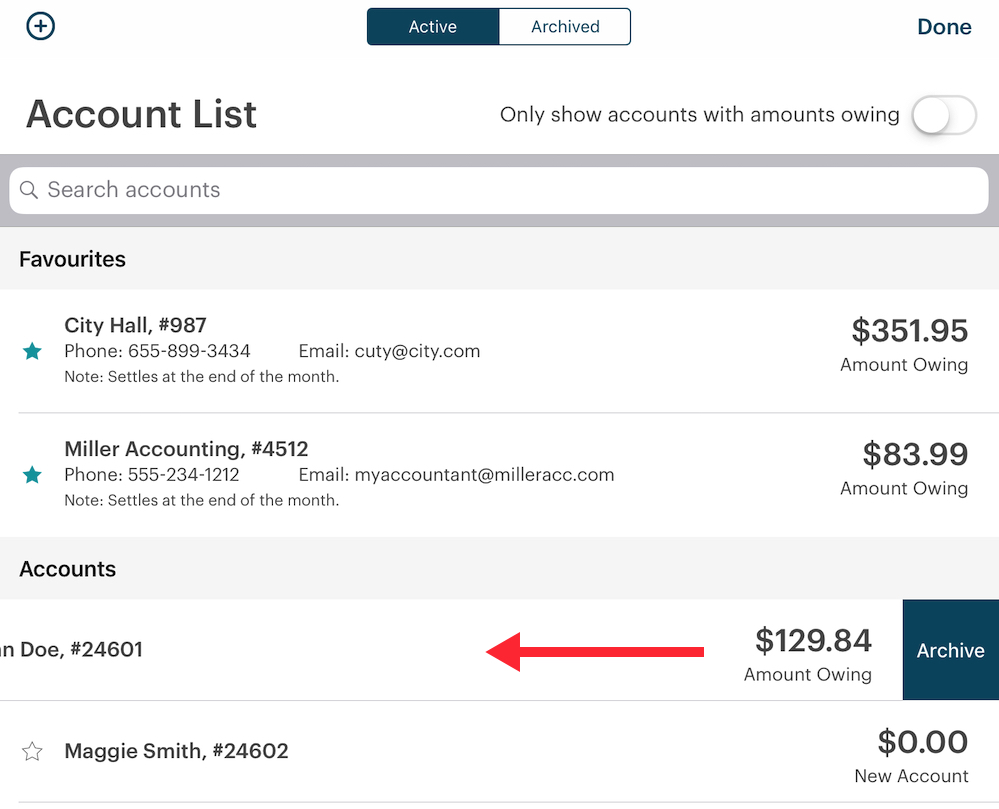
1. If an account has activity but the customer is no longer a customer, you can left swipe on the account and tap Archive.
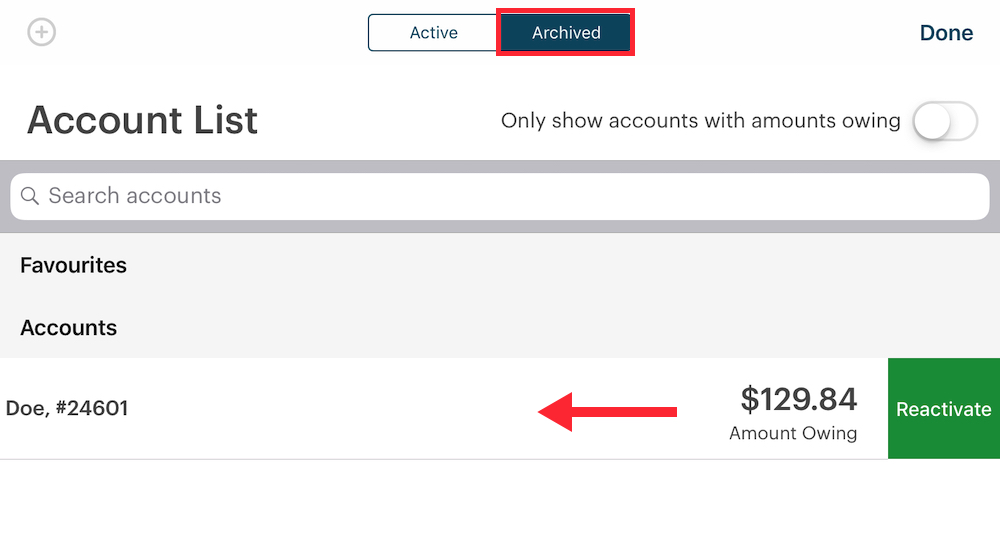
2. The archived account gets put under the Archive tab. To restore, tap the Archive tab and tap Reactivate.
Chapter 3. Closing an Order to an Account
After creating an account, you’re ready to close an order to an account.
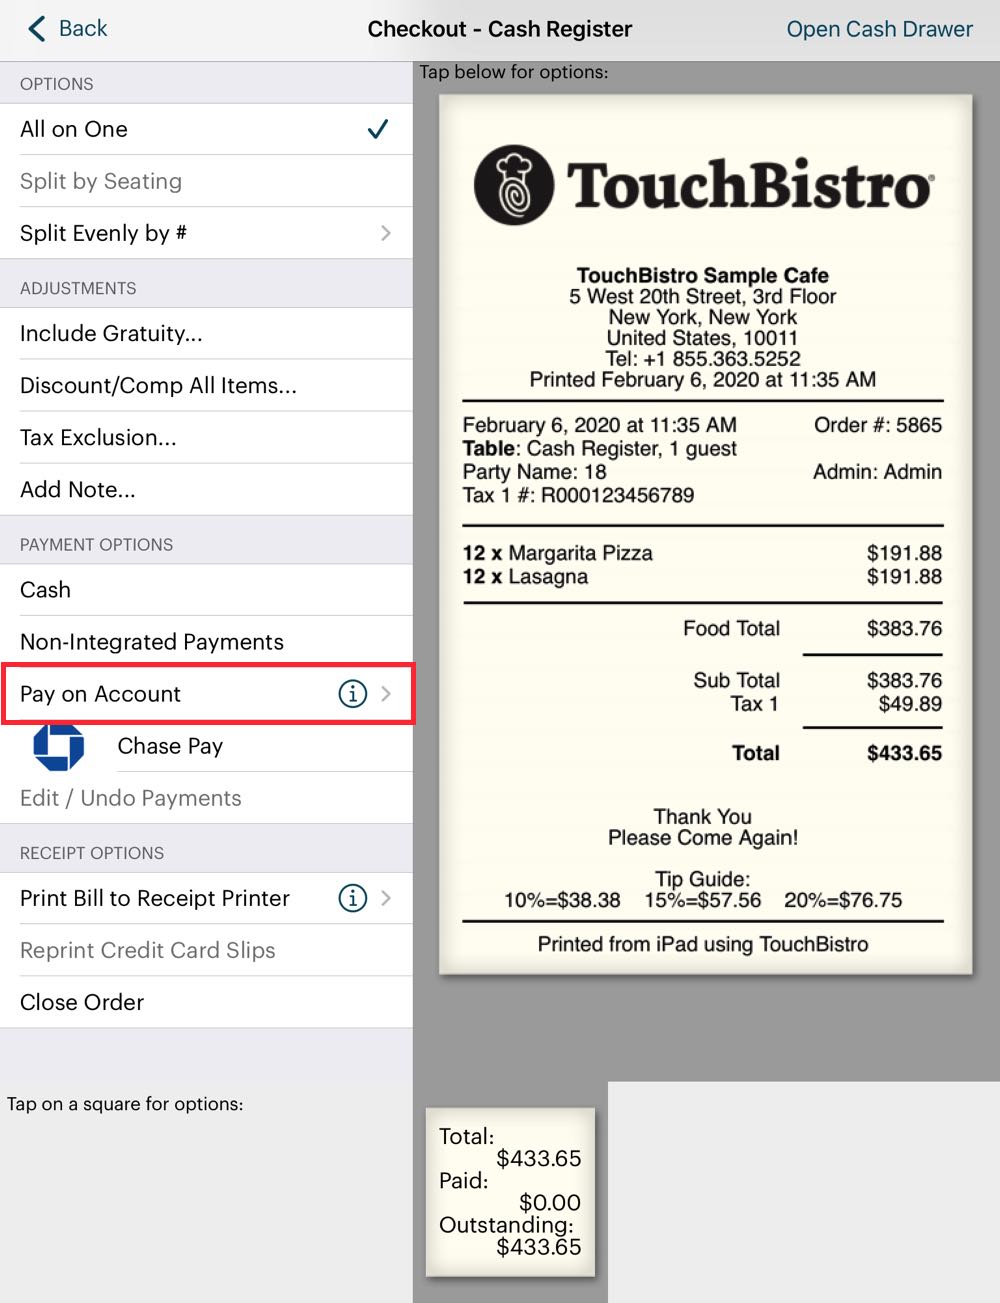
1. From a Checkout screen, instead of selecting payment option like Credit Card or Cash, tap Pay on Account.
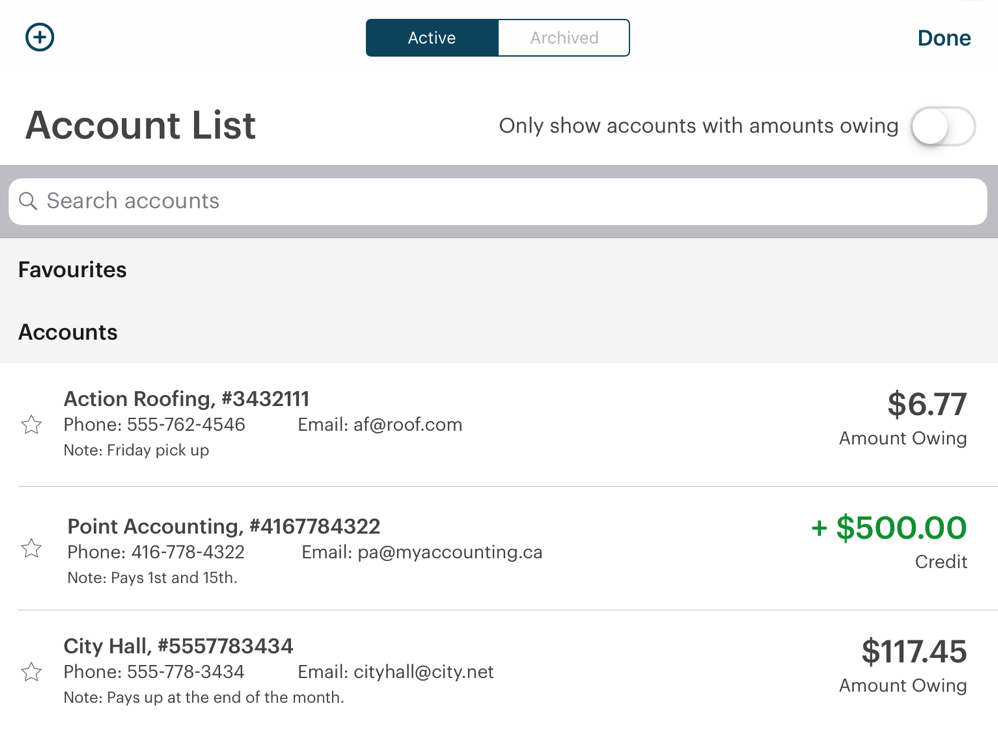
2. Tap the appropriate account.
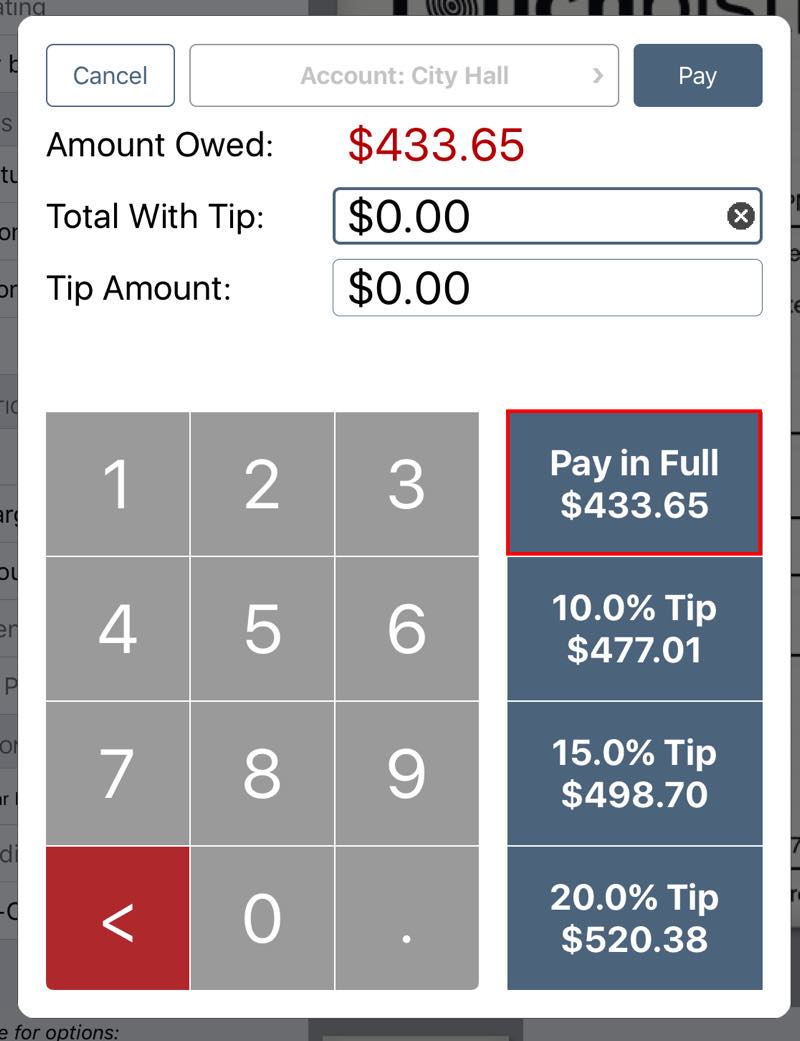
3. Tap Pay in Full or any offered tip percentage.
4. Close the table.
Chapter 4. Applying a Payment

1. If a customer comes in and wants to pay off his/her account (either in full or in part), tap Customer Account List.
2. Tap the account, for example, City Hall.
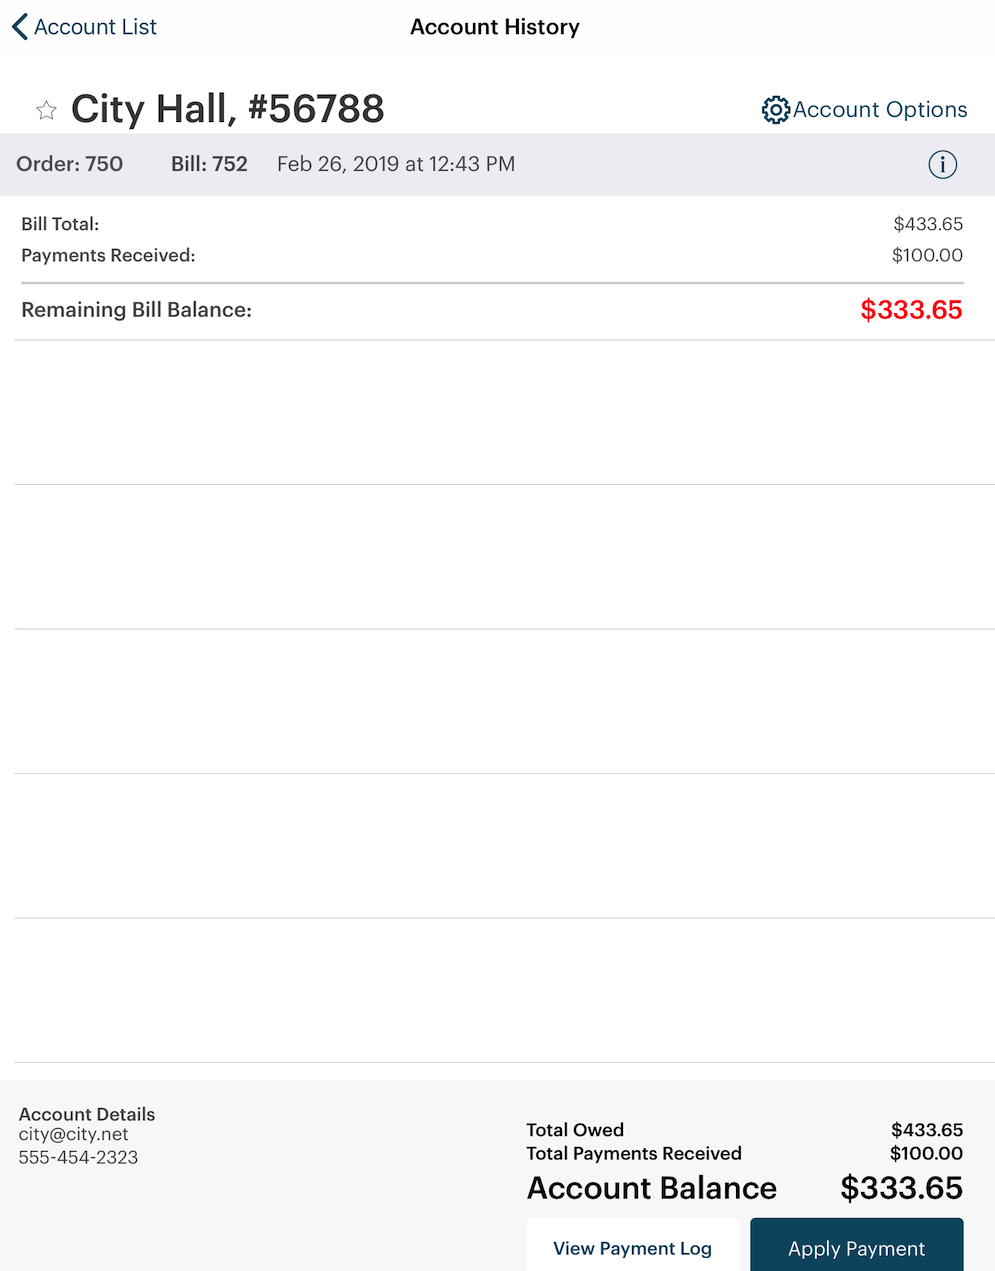
3. You will see the account’s history.
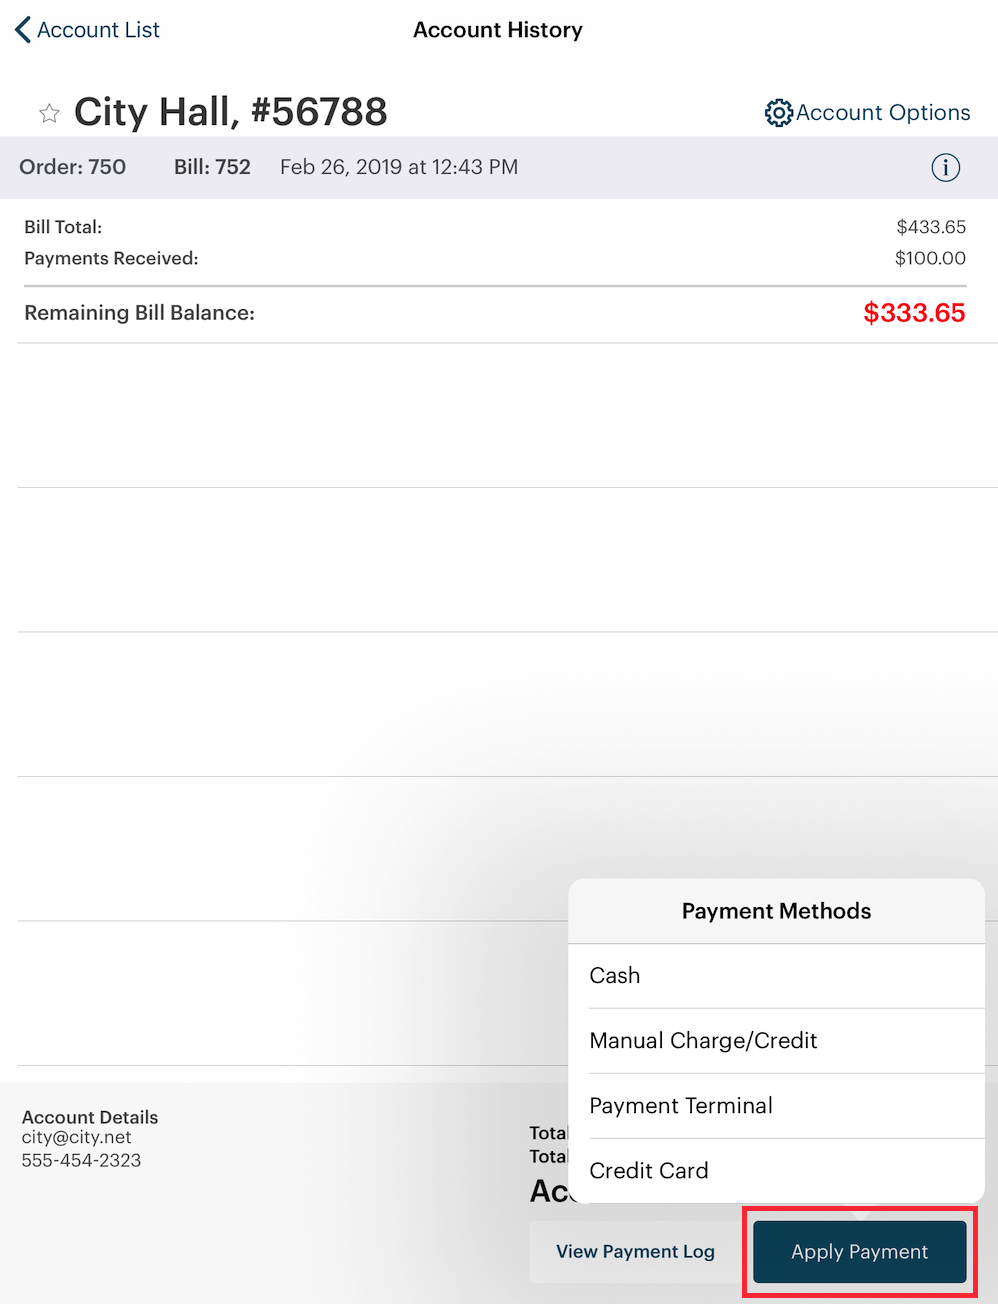
4. Tap Apply Payment and select a payment method. You can use an integrated payment method if you wish.
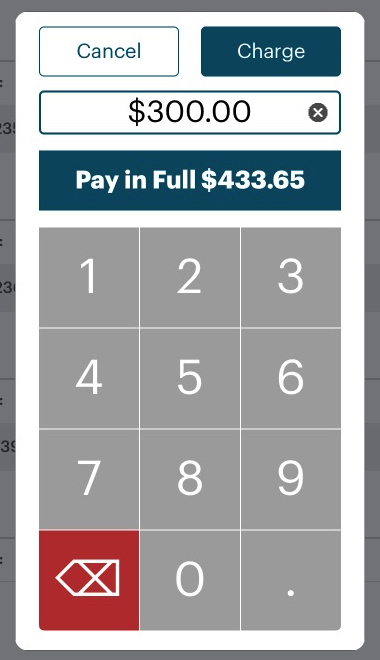
5. If the customer wishes to completely pay off the account, tap Pay in Full. Otherwise, enter the amount the customer wishes to pay against the account balance and tap Charge. For example, the customer wants to pay off $300 of the outstanding account balance.
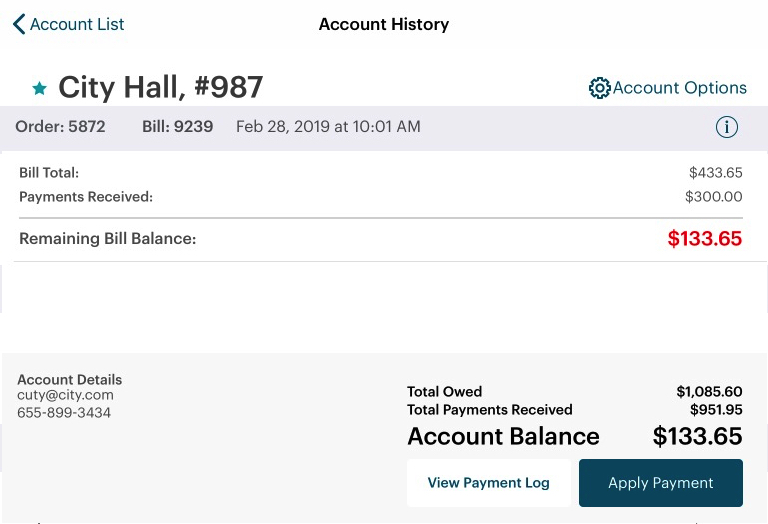
6. You will see the account’s remaining balance after the payment.
Chapter 5. Using the Account History Screen
The account history screen will show you all bills closed to this account. You can scroll down to see additional bills. You cannot export or print this list of bills.
Section 1. Edit Account Details
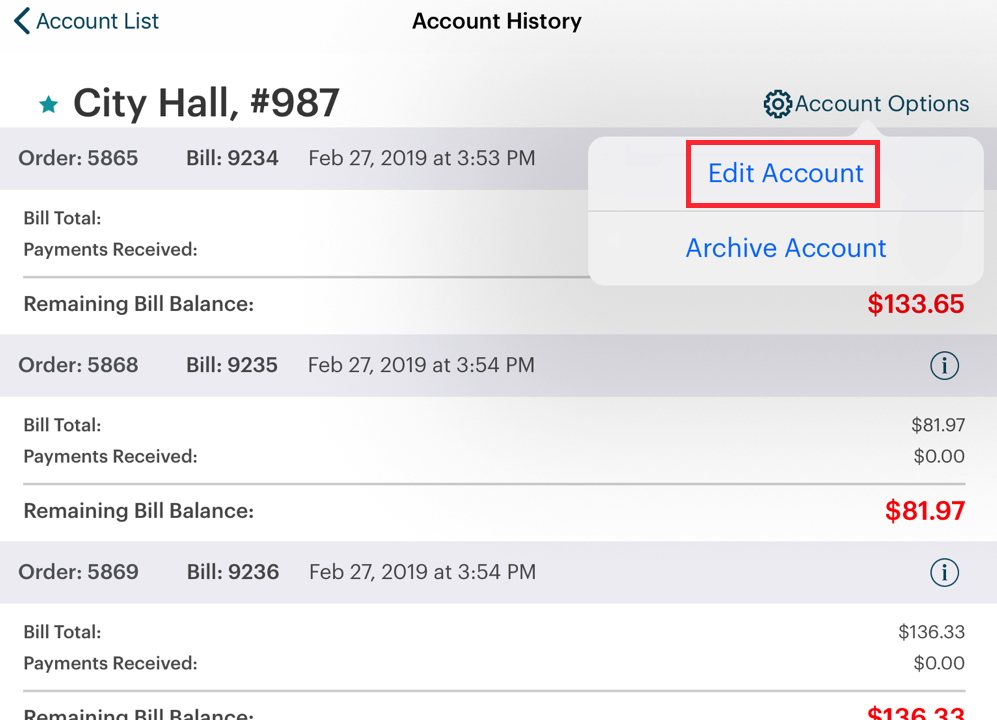
1. If you want to edit the details of this account (for example, change the phone number), tap Account Options | Edit Account.

2. Edit the appropriate field and tap Done.
Section 2. Archive
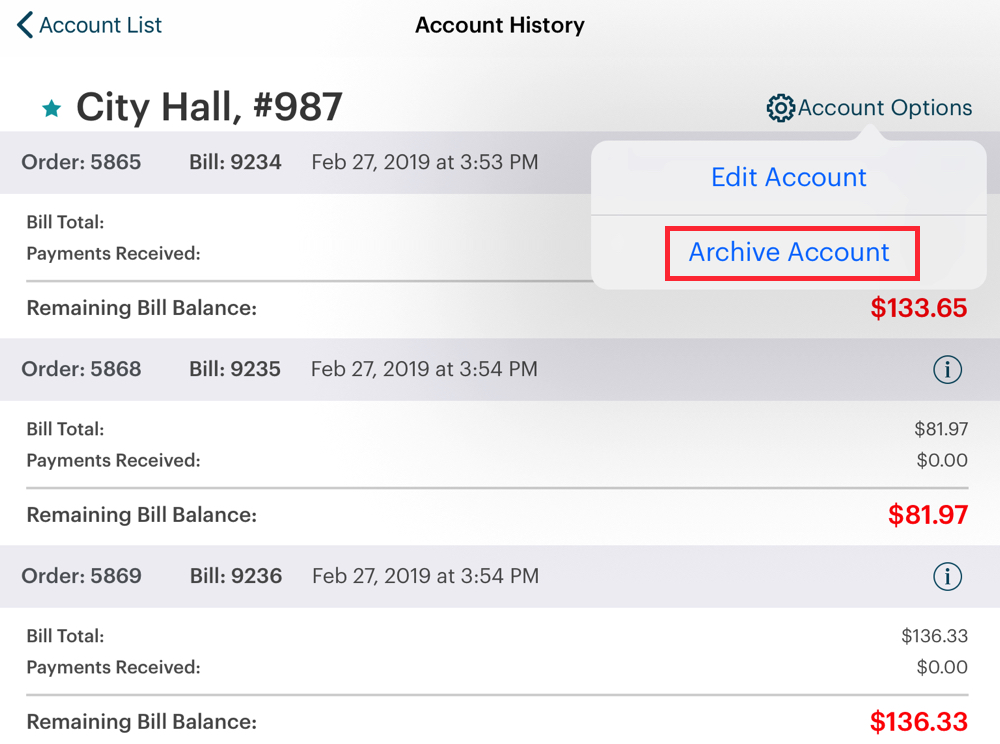
You can archive the open account by tapping Account Options | Archive Account.
Section 3. Favoriting
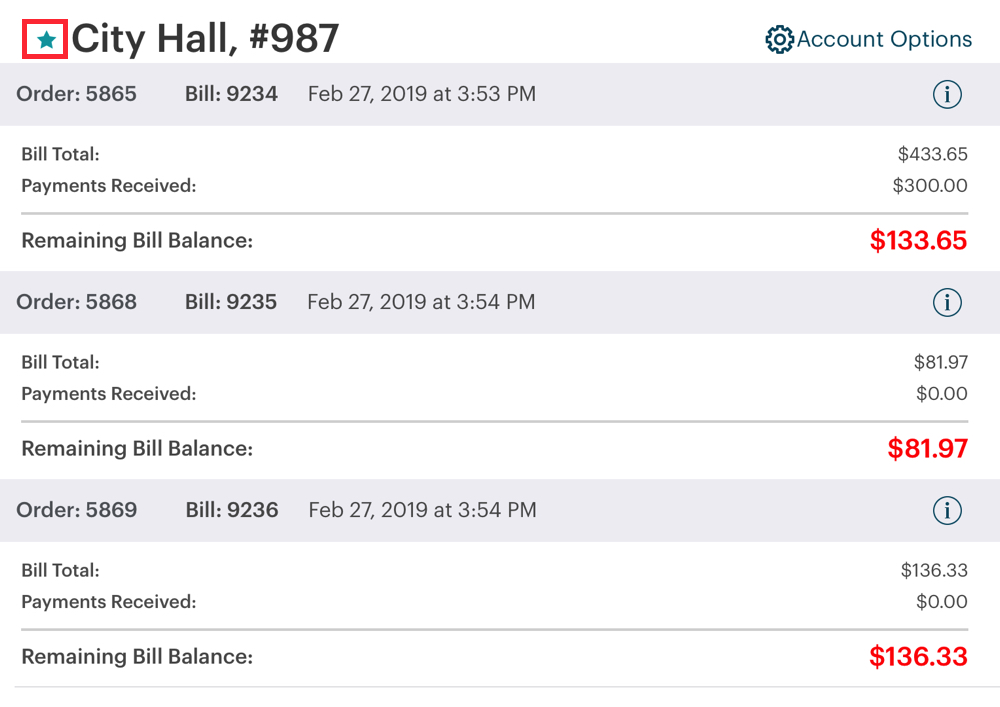
If you wish to favorite or remove this account’s favorite status, you can do so within the account’s history screen by tapping the Star icon. A blue star indicates the account has been favorited. A non-blue star indicates the account is not a favorite.
Chapter 6. Reporting
Section 1. Adding Account Reports to End of Day Template
If you plan to use accounts, you should add the account reports to your end of day template. To do this:
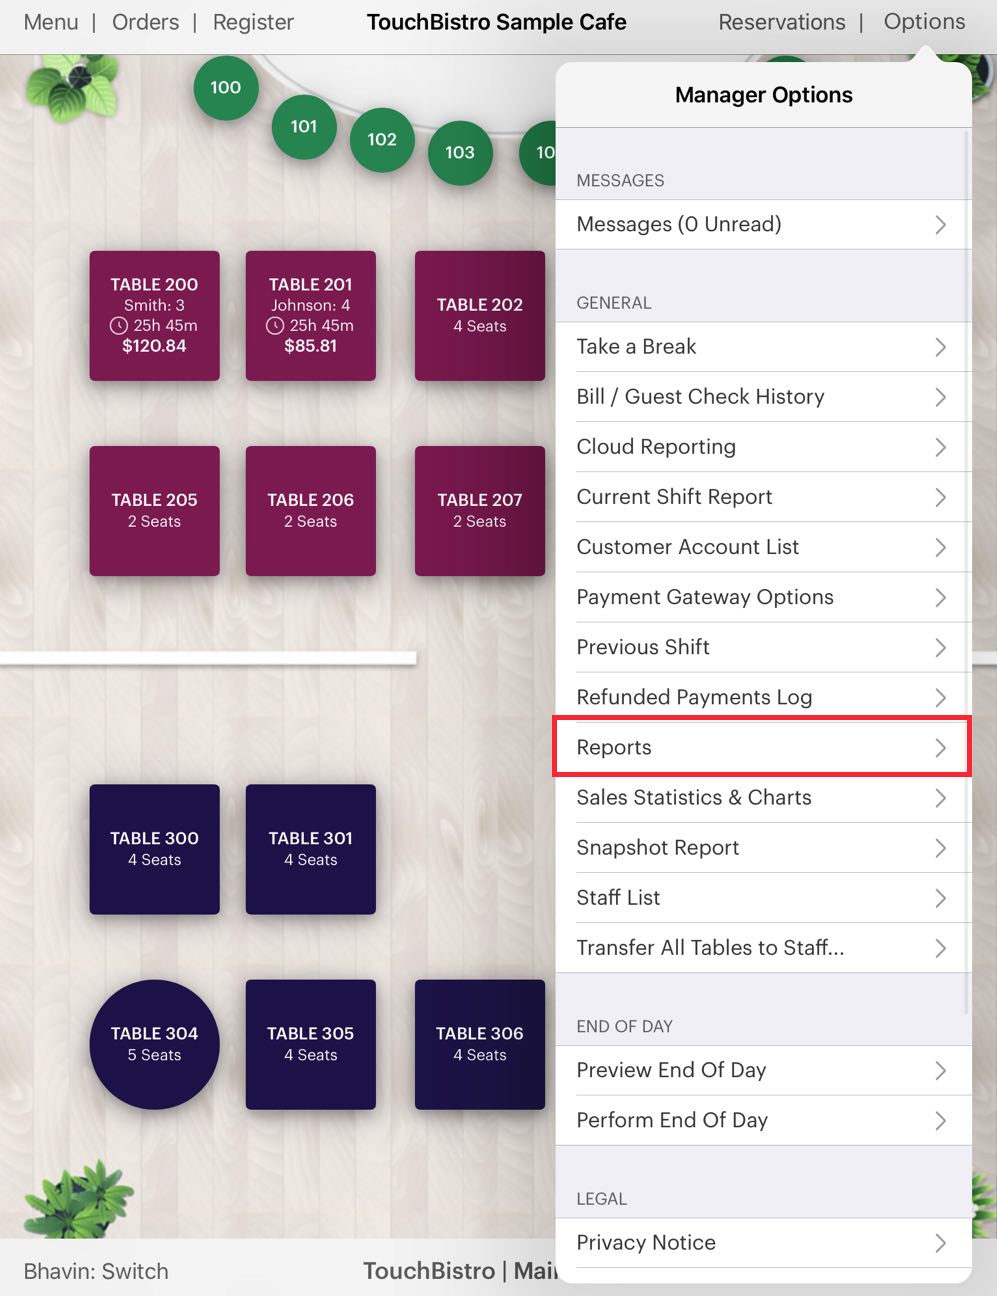
1. Tap Admin | Reports.
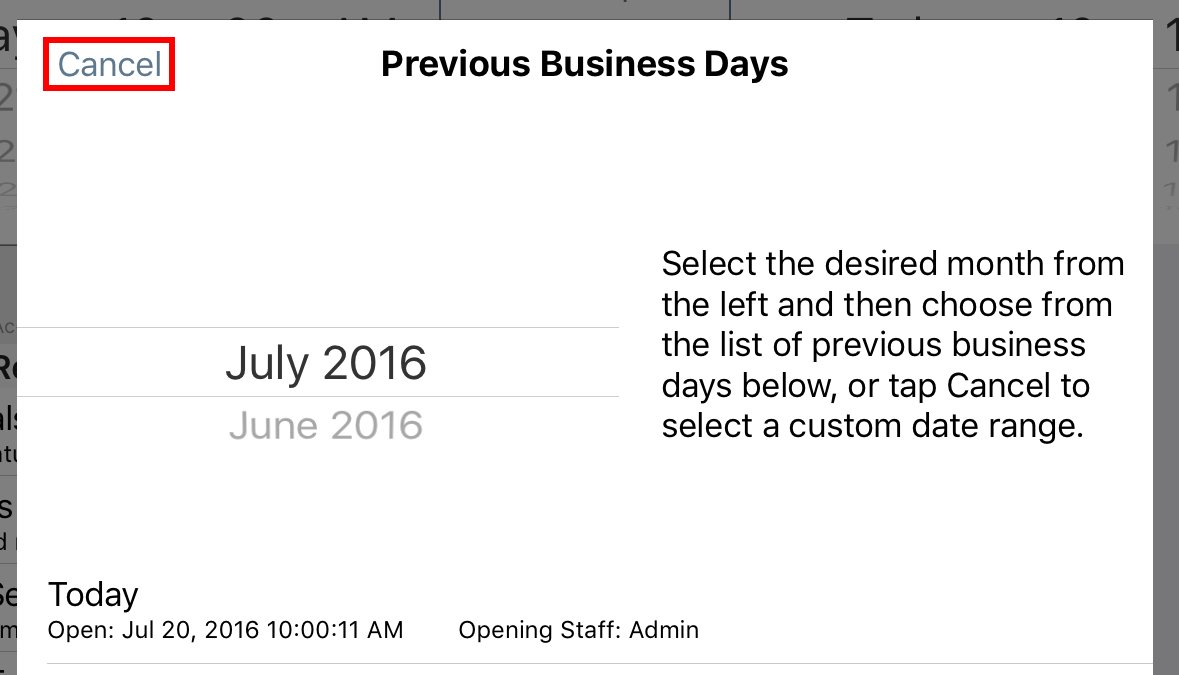
2. Tap Cancel.
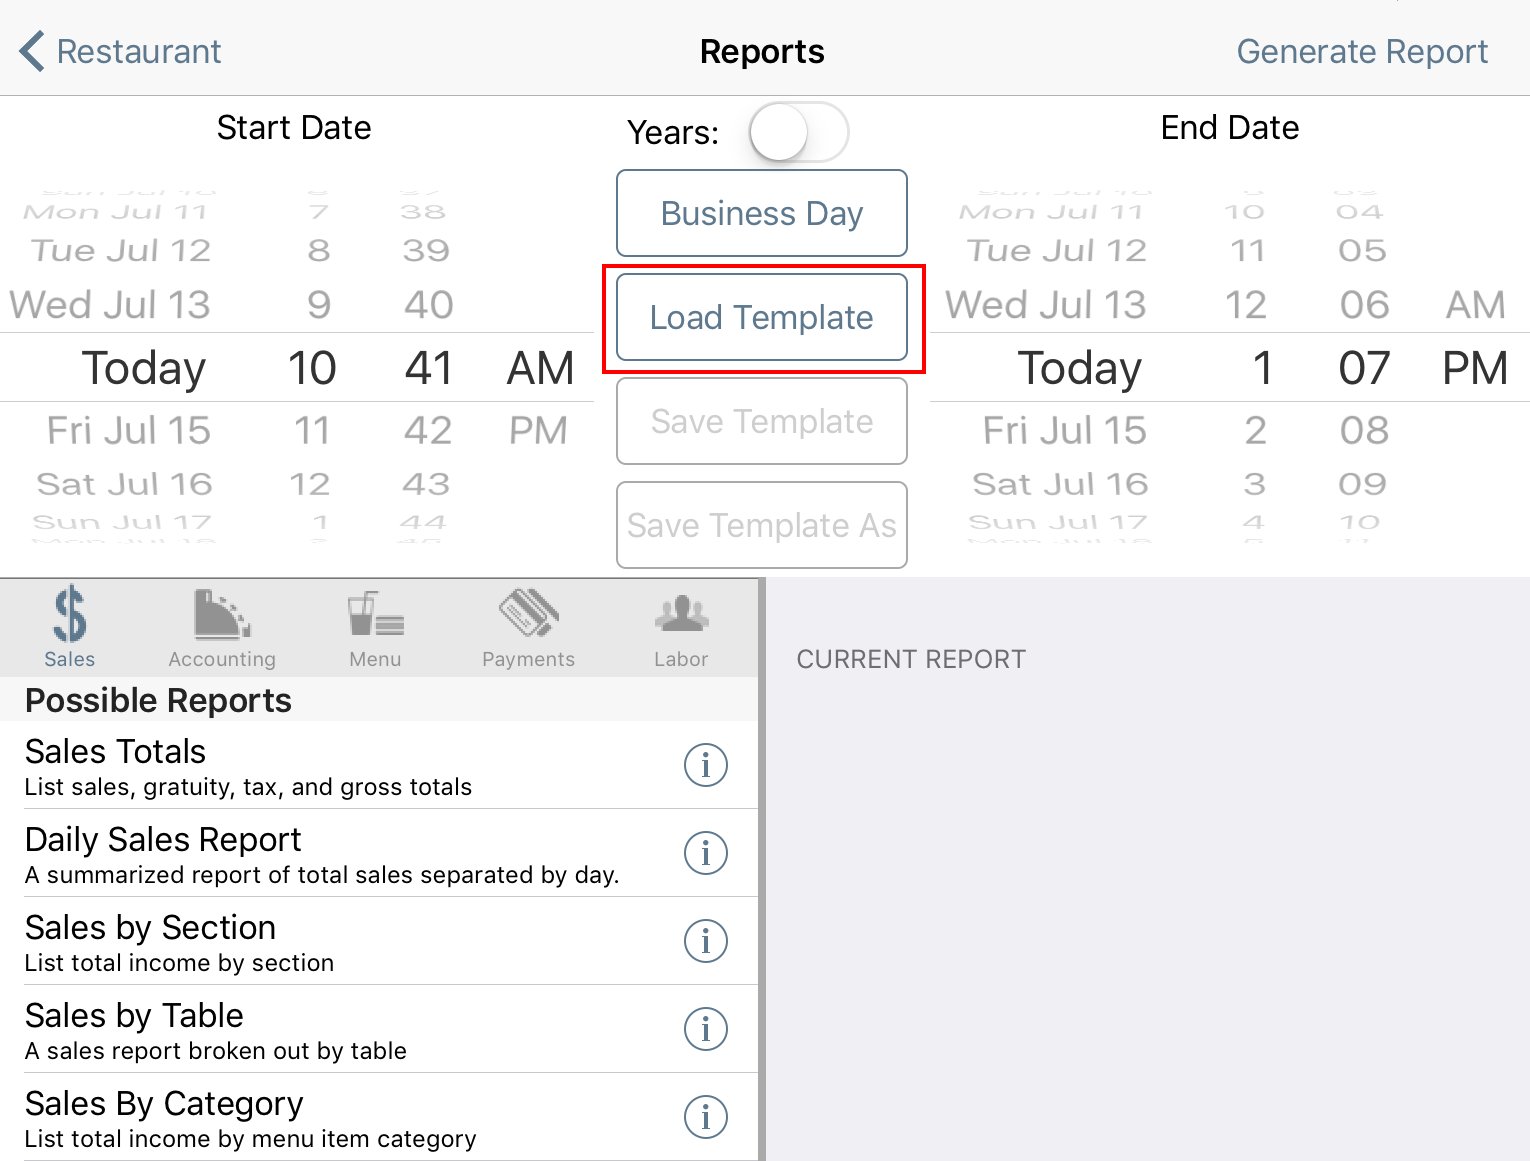
3. Tap Load Template.
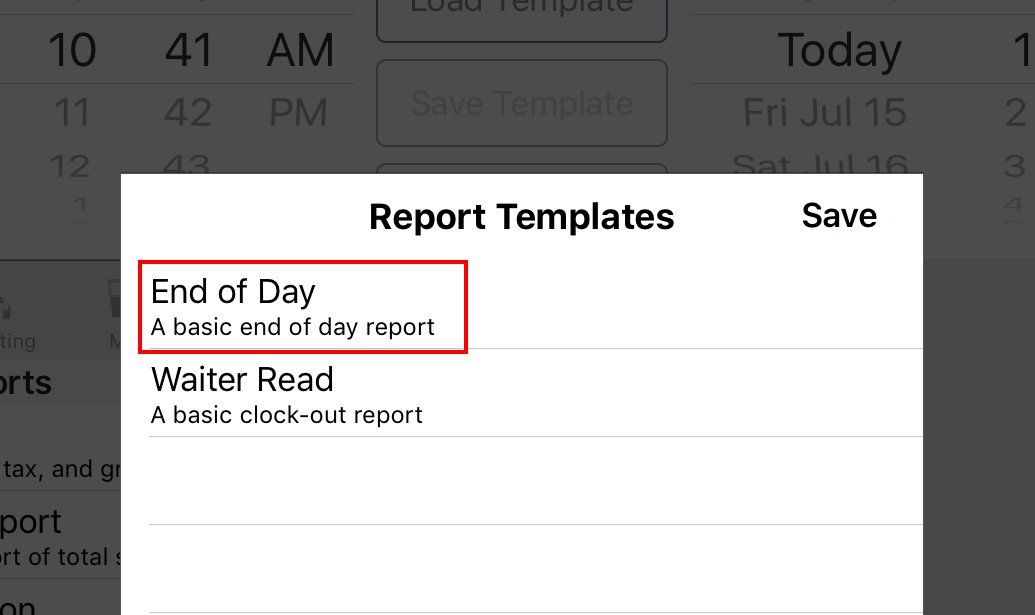
4. Tap End of Day.
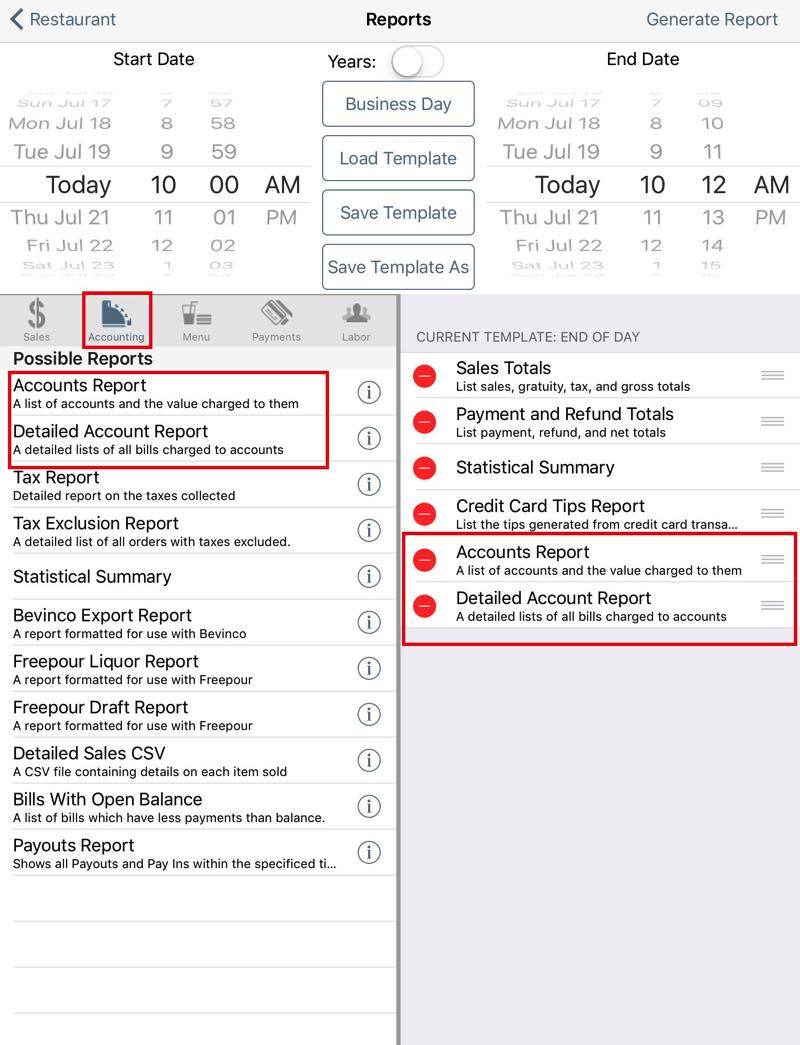
5. Tap Accounting and add the Accounts Report and Detailed Account Report to your list of reports.
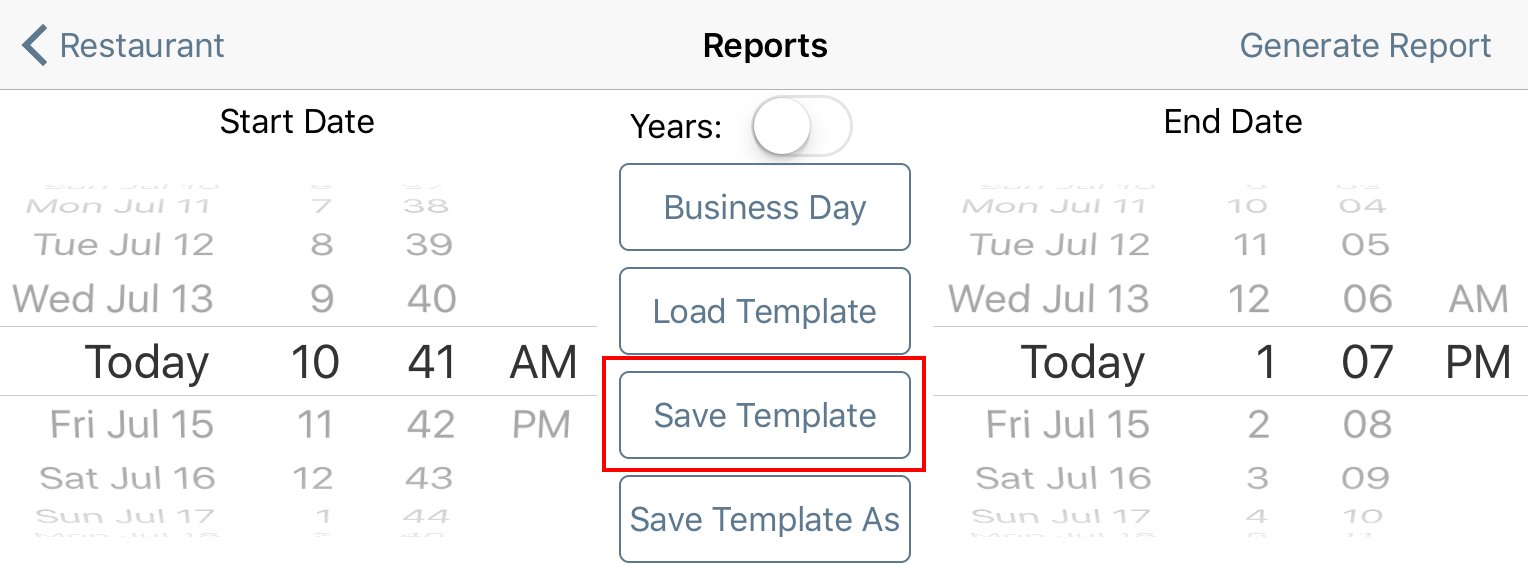
6. Tap Save Template.
Section 2. Viewing Your End of Day
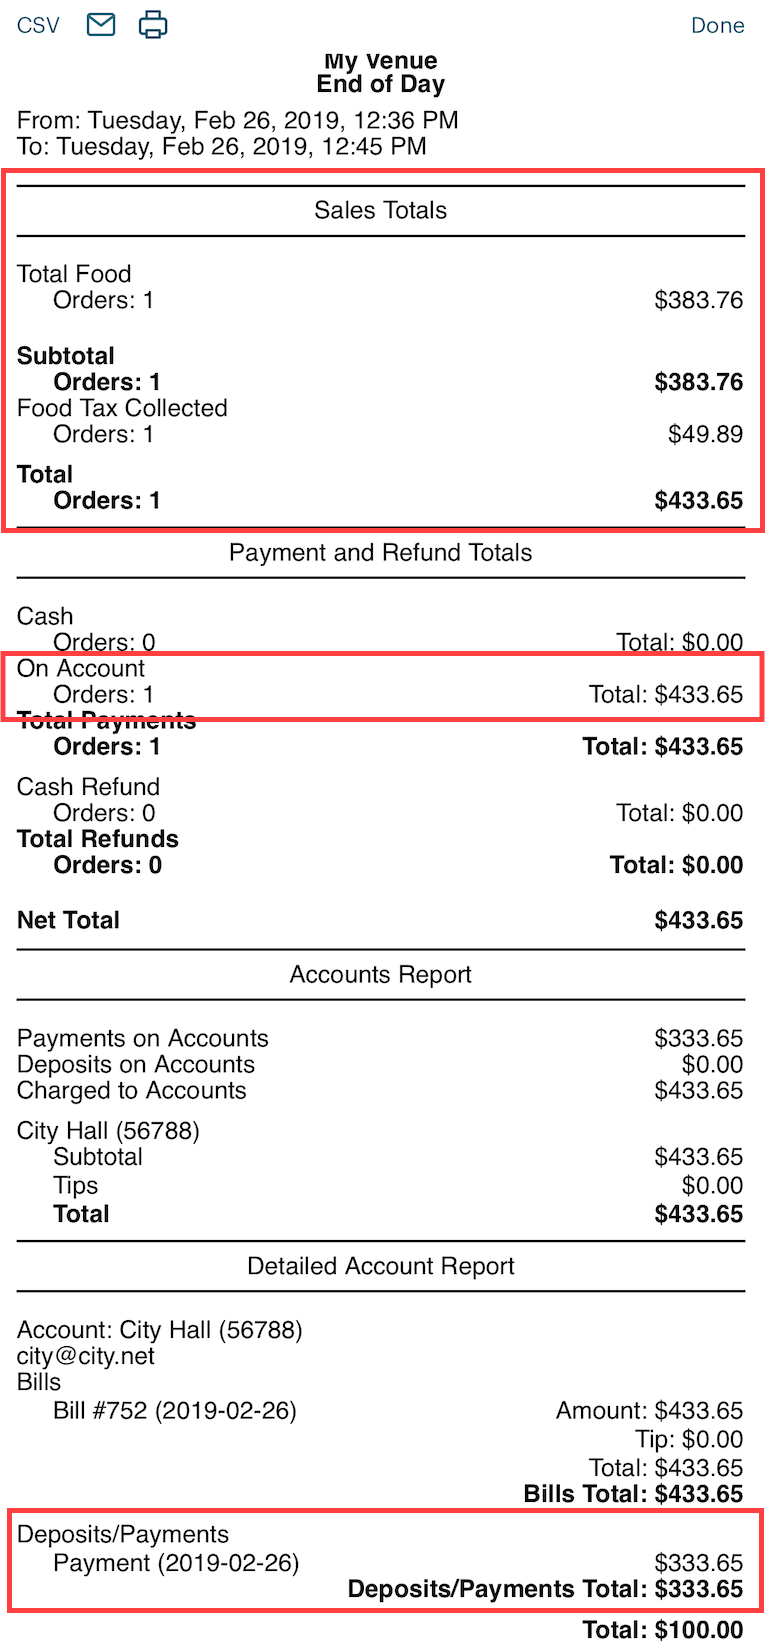
When you view your end of day, any orders charged to accounts will be logged as sales under the Sales Totals. The Payment and Refund Totals report will indicate the amount charged to accounts as well as the number of orders charged to accounts.
The Accounts Report (added to the template) will show you a summary of any payments made against accounts, any deposits added to accounts, and the total amount charged to accounts. The Accounts Report, as well, shows which accounts were charged and for how much.
The Detailed Account Report breaks out all activity for each account. It will show you which accounts had charges, payments, and deposits.
Chapter 7. Related Articles
Taking and Closing Deposits for Future Orders using Accounts


 Email
Support
 Frequently
Asked Questions