Enabling Push Operations
Table Of Contents
Chapter 1. Introduction
To integrate with PushConnect, you will need to enable it through the TouchBistro cloud portal. Your Push Operations account manager might also request a week of sales data. This guide will show you how to enable TouchBistro for your PushConnect integration as well as how to generate and send Push Operations your data.
Chapter 2. Enabling in TouchBistro
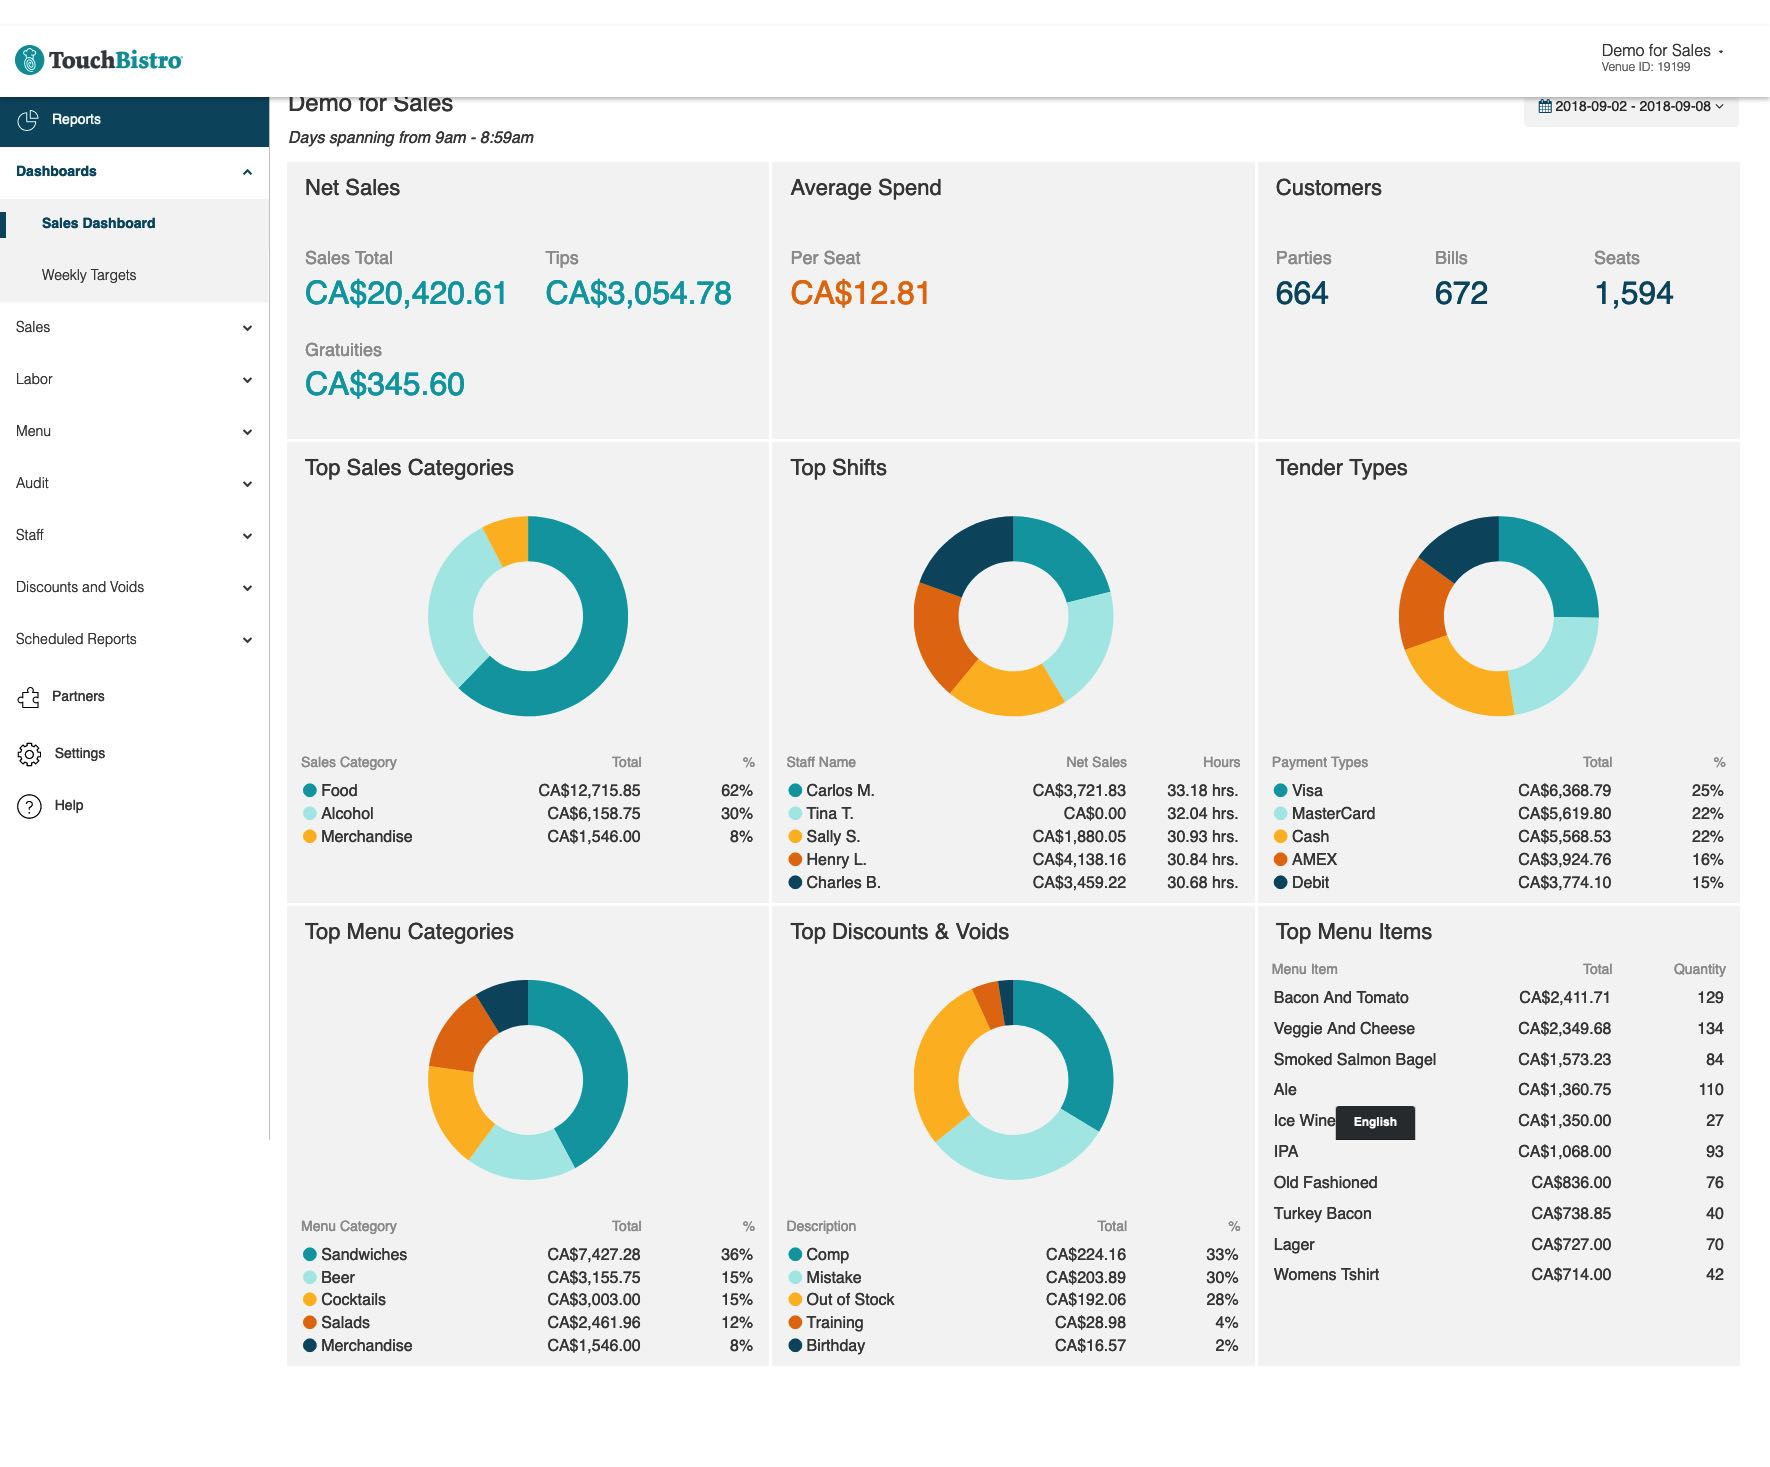
1. Login to your TouchBistro cloud portal.
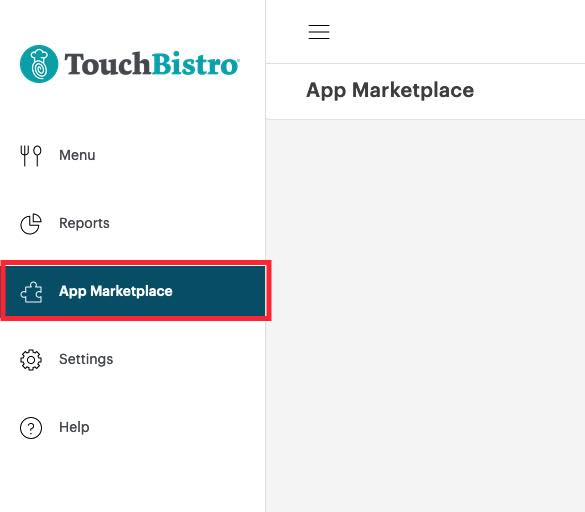
2. Click App Marketplace.
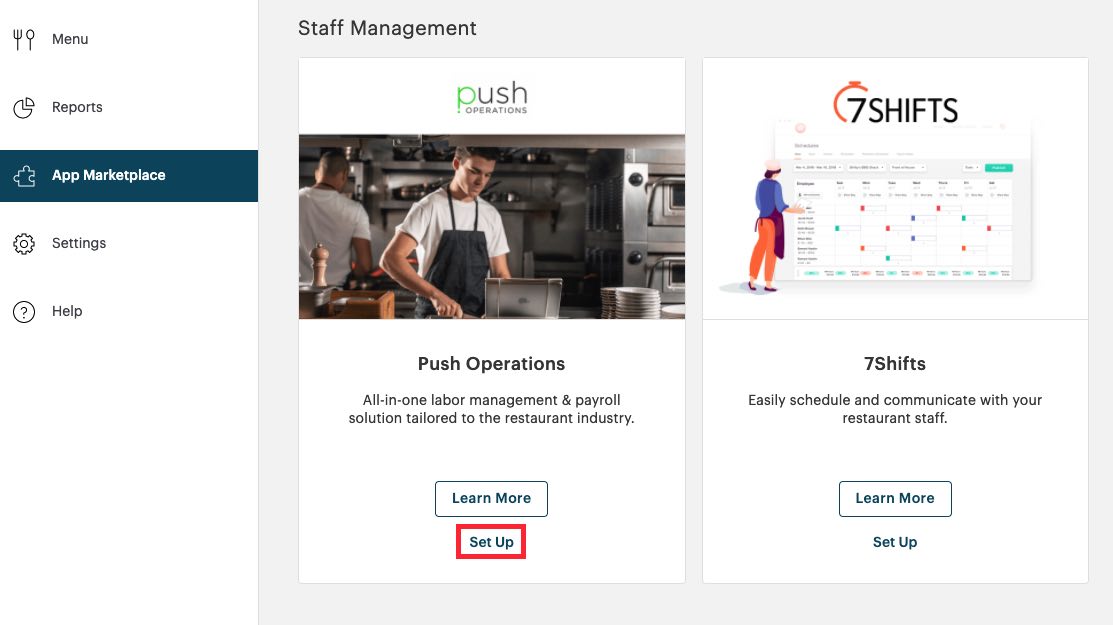
3. Locate your Push “chicklet” and click Set Up.
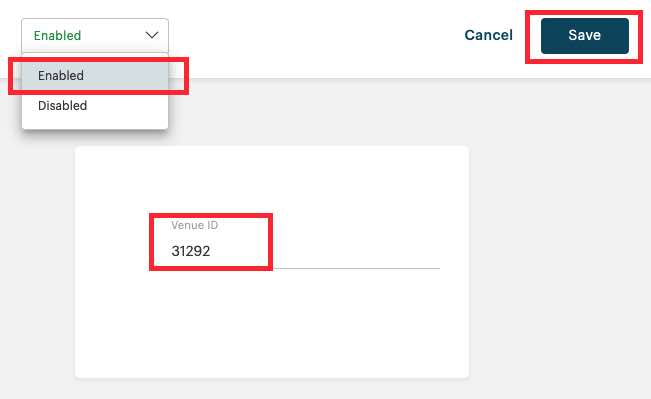
4. Select Enabled. Copy your Restaurant ID. You will need to enter this into your Push integration. Please consult with your Push onboarding representative for the location to enter it. Click Save.
Chapter 3. Generating Verification Reports
Your Push Operations account manager will ask you for seven days of sales reports. Each of these reports needs to include:
1. Gross Sales
2. Net Sales
3. Gross Category Sales
You can generate this data from your cloud portal.
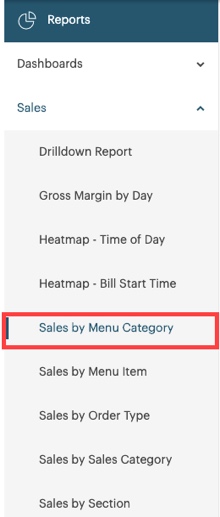
1. Click on Sales | Sales by Menu Category.
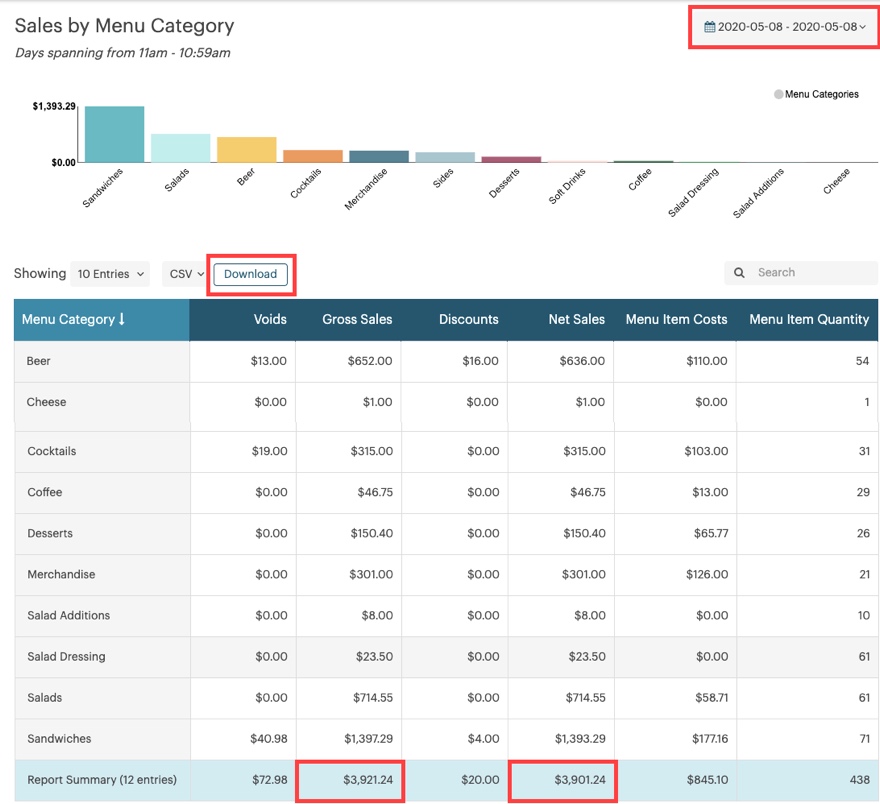
2. In the top right, use the calendar widget to select your most recent completed day. For example, May 8.
3. You will see the Gross Sales column gives you a total of your gross sales for the day. As well, the Net Sales column gives you a total of your Net Sales. The report also breaks out menu category sales by gross sales (requested by your Push Operations account manager).
4. Click Download.
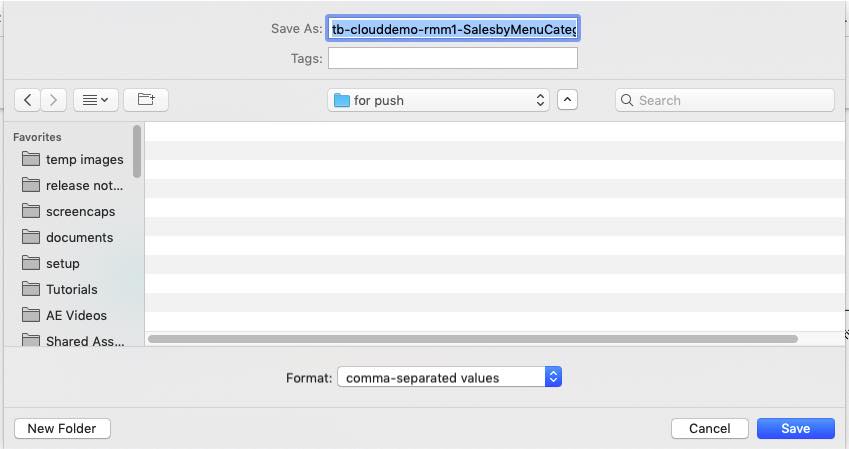
5. Save your csv file to a directory.
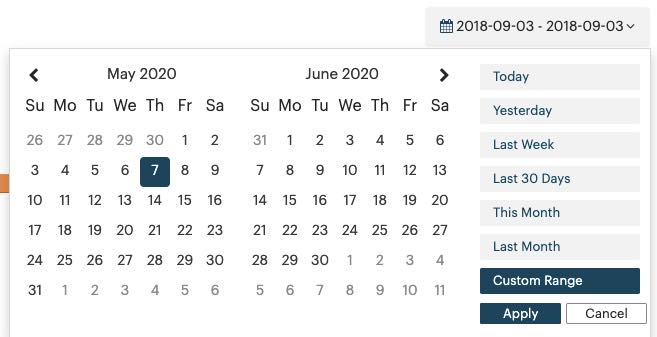
6. Reset your calendar widget to the next most previous day. For example, May 7.
7. Download this report as a CSV to the same directory.
8. Repeat steps 2 to 5 five more times.
9. When you have seven reports, add those files to an email to your Push Operations account manager.


 Email
Support
 Frequently
Asked Questions
