Reservations iPad App – Manage Blocked Periods
Chapter 1. Blocking All Tables
If you need to, on the fly, turn off Internet and/or Internal bookings, you can use the Manage blocked periods option. To do this:
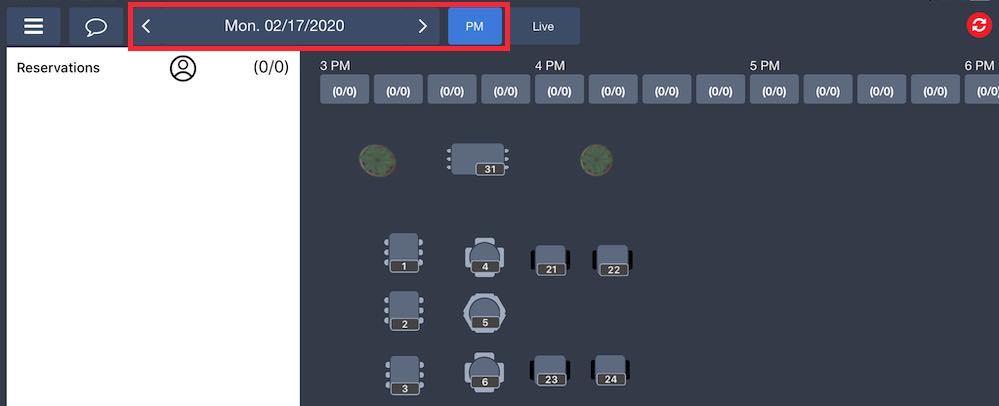
1. First use the Calendar tool to select the date for your blocked period.
2. Then select your timeslot by tapping the AM/PM timeslot control. Toggle it to the timeslot you desire for the blocked period. For example, if you want to set a blocked period for Monday Feb 17’s PM timeslot but the timeslot is in AM mode, tap AM toggle it to PM.
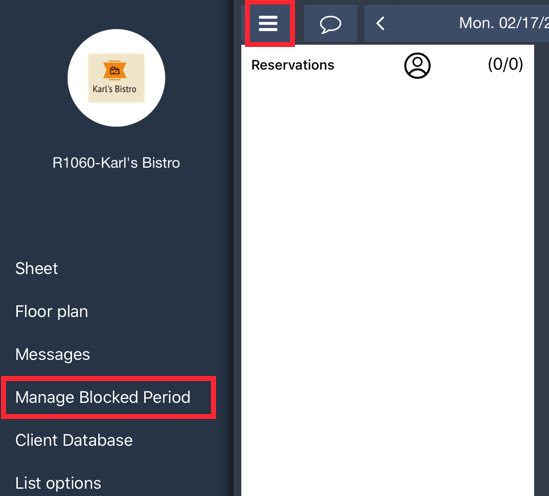
3. Tap the Menu option and then tap Manage Blocked Periods.
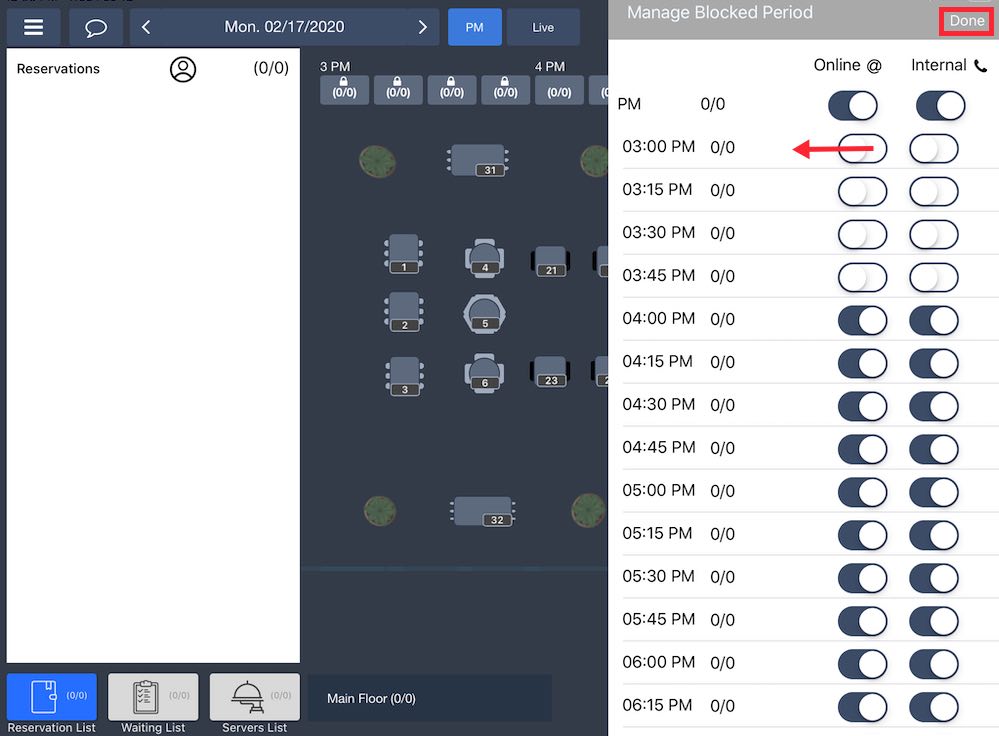
4. To disable the ability to take a reservation, slide the time segment to the off setting. Tap Done.

5. Time segments that are locked internally will reflect on the Timetable.
Your blocked time segments will only be active for that day and timeslot. For example, if you set blocked time segments for Monday Feb 17’s AM timeslot, they will not carry over to Monday Feb 17’s PM timeslot. Likewise, they will not carry over to Tuesday’s AM timeslot.
Chapter 2. Blocking Individual Tables
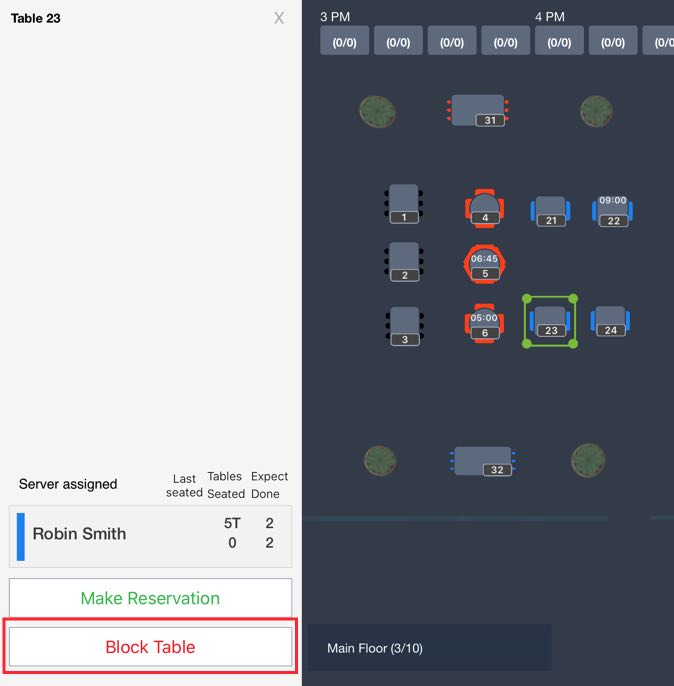
You can block an individual table by tapping on the table and tapping Block Table.
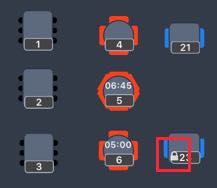
The table will get marked with a lock icon and will be unavailable for booking for the rest of the Timeslot. This will not affect parties with prior reservations.


 Email
Support
 Frequently
Asked Questions
