Reservations – Sheet
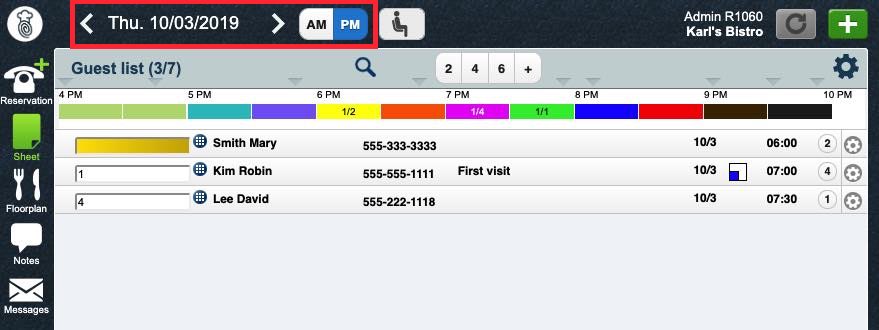
The Sheet tool lets you see a simple list of reservations for a specific day and AM/PM timeslot. You can also use the Sheet tool to manage reservations and add reservations or walk-ins.

1. Click on the calendar tool to pick the day. You can click on the < > arrow controls to move forward and backward by a day.

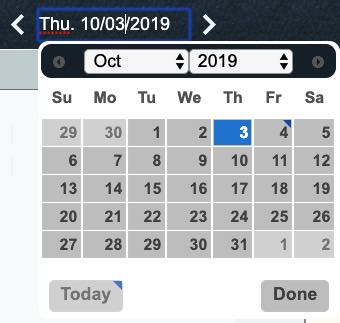
2. Alternatively, click on the date field to pop up the calendar control to select a specific date.
3. Click either the AM or PM timeslot.

4. You will see a list of any reservations that have been made for that date and time block.
![]()
5. If the list is too long and you’re looking for a specific reservation, you can use the Search ![]() field to help narrow the results. For example, if you type in Kim, you will only see the Kim Robin reservation.
field to help narrow the results. For example, if you type in Kim, you will only see the Kim Robin reservation.
6. The colored time bands above the search results give you a quick overview of the number of reservations taken for the period and the number of covers. In the example above, we can see at 6 pm there is 1 reservation taken with 2 covers. At 7 pm, there is 1 reservation taken with 4 covers.

7. The results list will show you the reserved table. If there is no reserved table, the table field will be filled in with a gold color.
8. You can double-click on a name and bring up the Reservations dialog box and make modifications to the reservation.

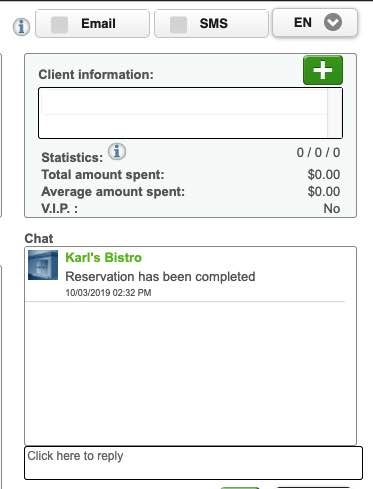
9. You can also check and respond to any patron communication via the Reservations dialog box.
10. If you added any notes to the reservation, one note will appear inline. If you click on the reservation, any additional notes will appear in the Notes field at the bottom of the screen.

11. On the far right, the number of seats for the reservation is indicated. For example, for Kim Robin the 4 indicates 4 seats are needed.

12. You can click the Gear ![]() icon to change various reservation statuses. For example, you can indicate confirmation actions taken.
icon to change various reservation statuses. For example, you can indicate confirmation actions taken.

13. You can also use the Walkin button on this screen to seat a Walkin.


 Email
Support
 Frequently
Asked Questions
