
 Email
Support
Email
Support Frequently
Asked Questions
Frequently
Asked Questions
Setting Up a Pay It Forward Account
Table Of Contents
Chapter 2. Set Up a Donation Account
Chapter 3. Add Account Reports to Your End of Day
Chapter 4. Create a Donation Sales Category
Chapter 5. Create a Menu Category for the Donation
Chapter 6. Create an Open Price Donation Menu Item
Chapter 7. Add the Donation Menu Category to your Menu
Section 1. Example of Customer Paying It Forward
Section 2. Reporting and Adding Funds
Section 4. Reporting for Funds Drawn from the Charity Account
Chapter 1. Introduction
It’s popular in some venues to set up a “pay it forward” system. A customer makes a purchase and wants to be billed more than the bill amount. The extra is ear-marked by the venue to help pay for a meal or coffee for future customer deemed in need of a free meal or beverage.
A way to handle this is:
1. Set up an Account to hold the charity funds.
2. Add Account reports to your End of Day template.
3. Create a Sales Category that will help separate out donation money on your end of day.
4. Create a Menu Category for the donation.
5. Under the donation Menu Category set up an open-priced menu item that lets the customer specify the amount he/she wishes.
6. Add the donation Menu Category to your Menu.
Chapter 2. Set Up a Donation Account
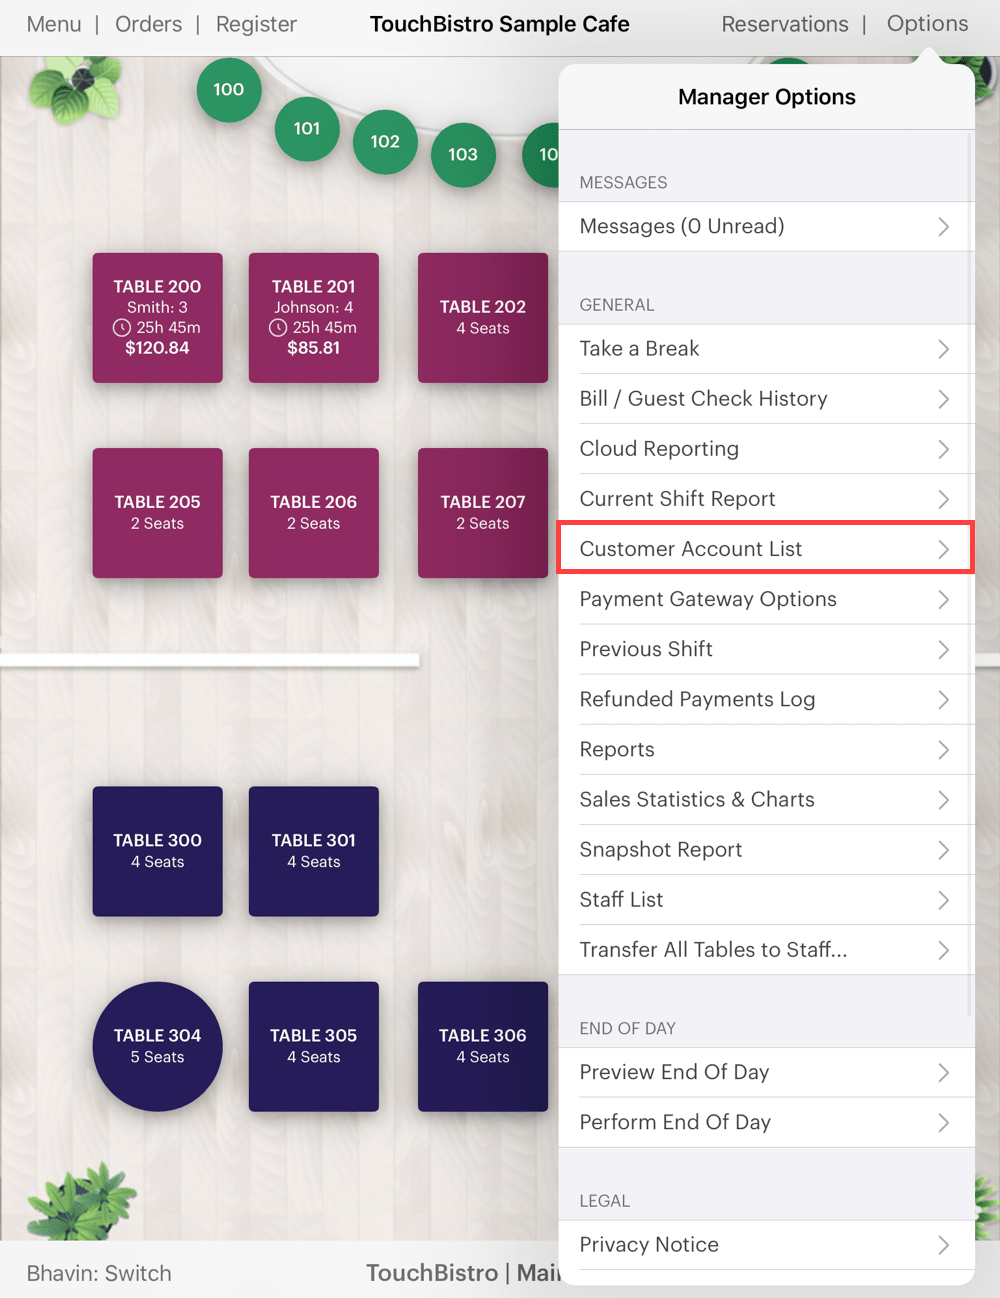
1. Tap Admin | Customer Account List.

2. Tap the Add ![]() icon to create a new account.
icon to create a new account.
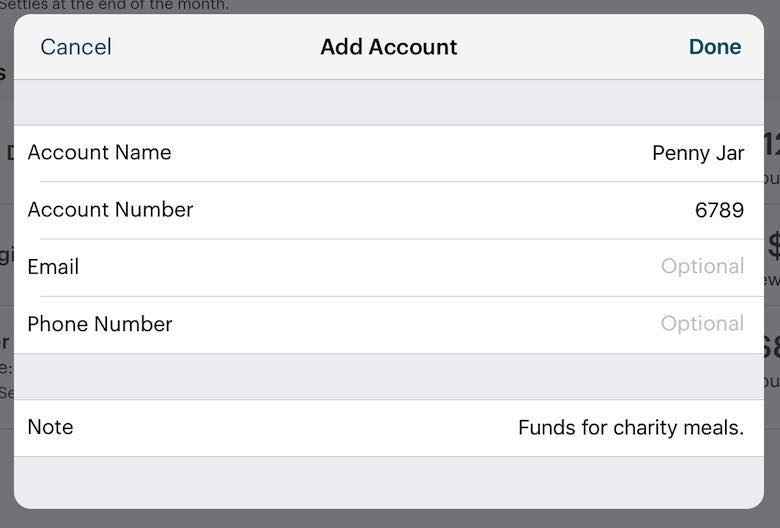
3. Account number can be your venue’s phone number. Give your donation account a name like “Penny Jar”. Make a note about this account’s intended use. Tap Done.
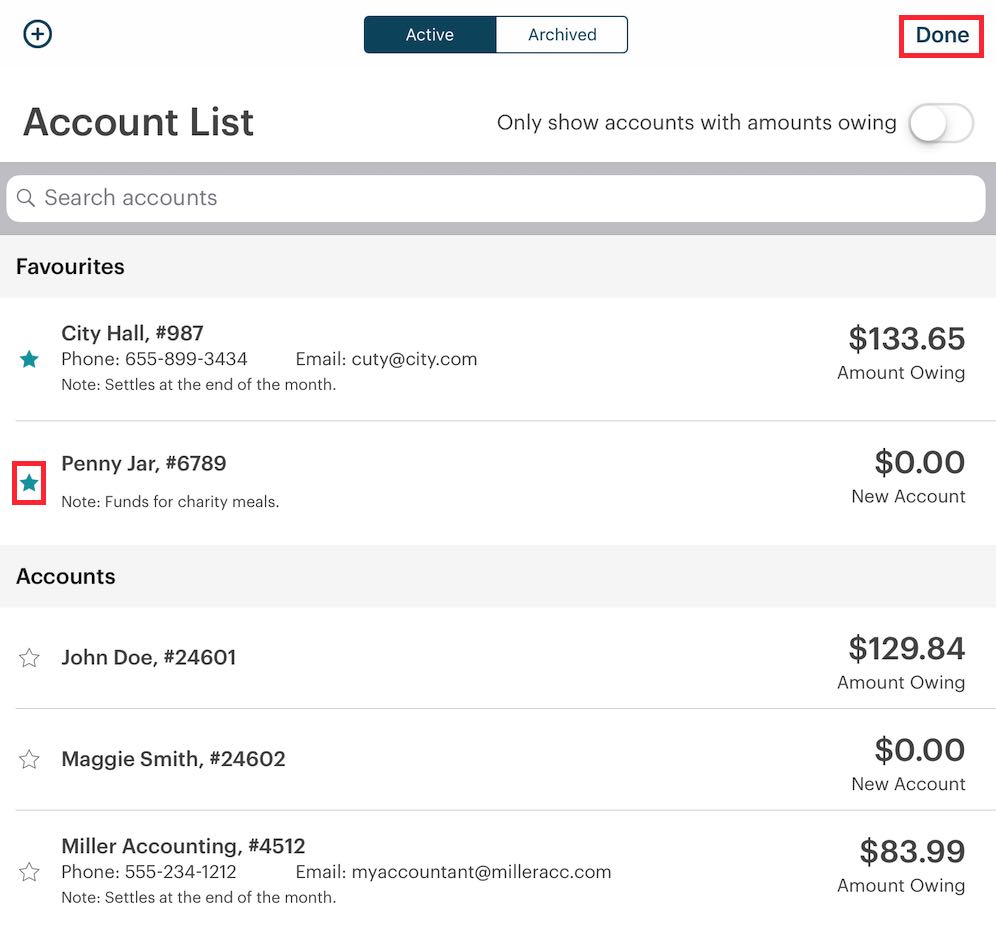
4. You might want to tap the Star icon to favorite this account. Tap Done.
Chapter 3. Add Account Reports to Your End of Day
Next add the account reports to your End of Day template. This will help you see when meals are paid for out of the charity funds account.
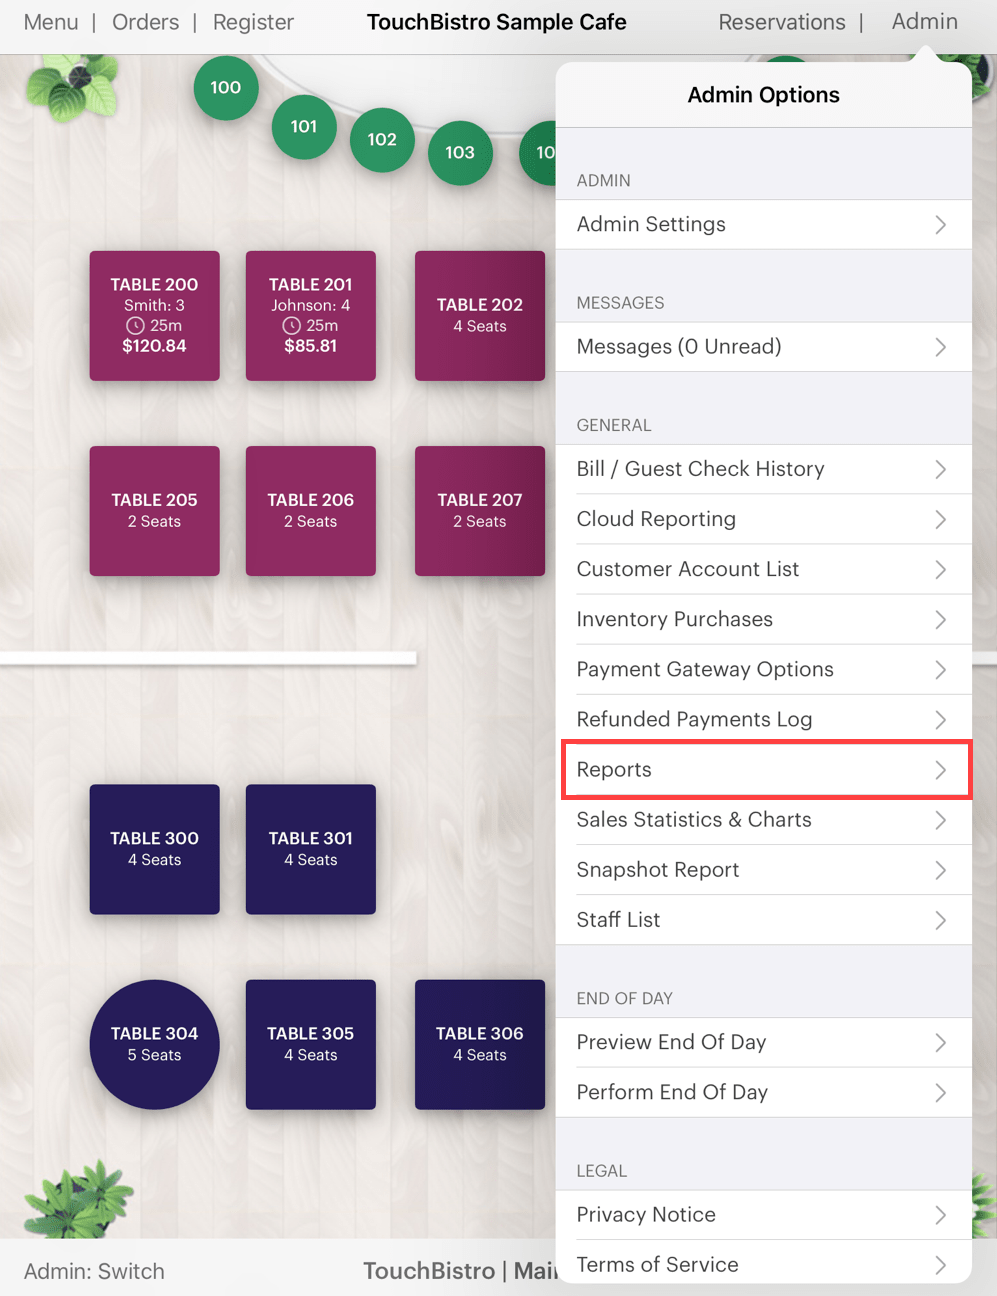
1. Tap Admin | Reports.
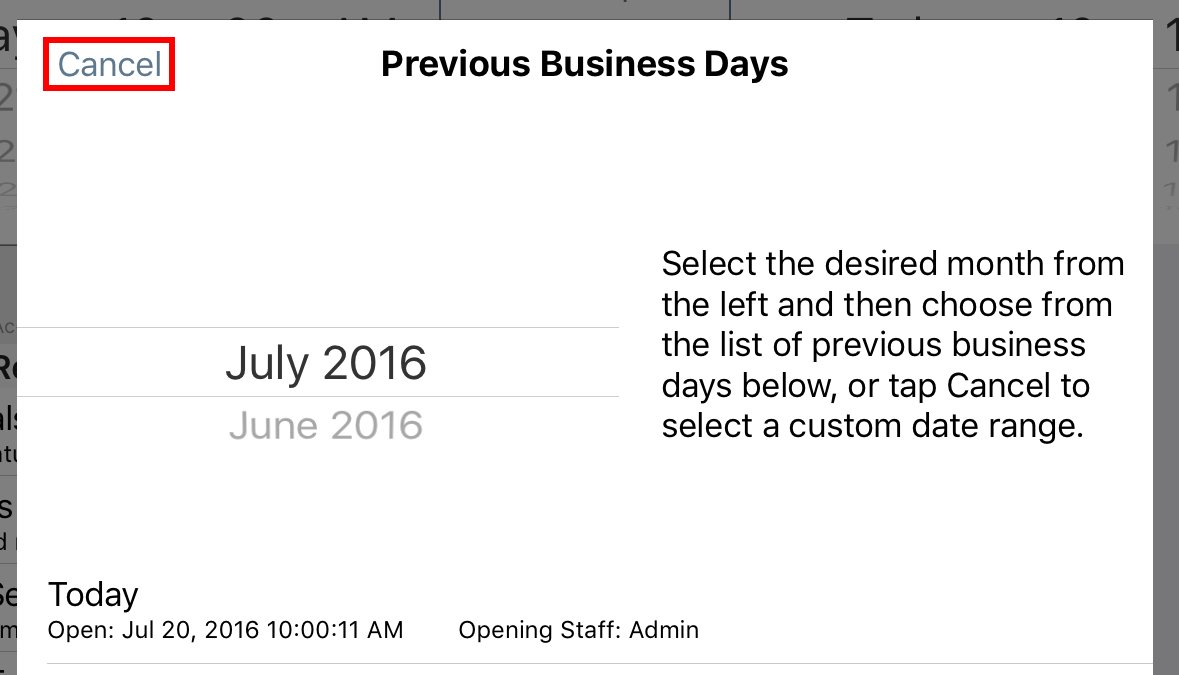
2. Tap Cancel.

3. Tap Load Template.
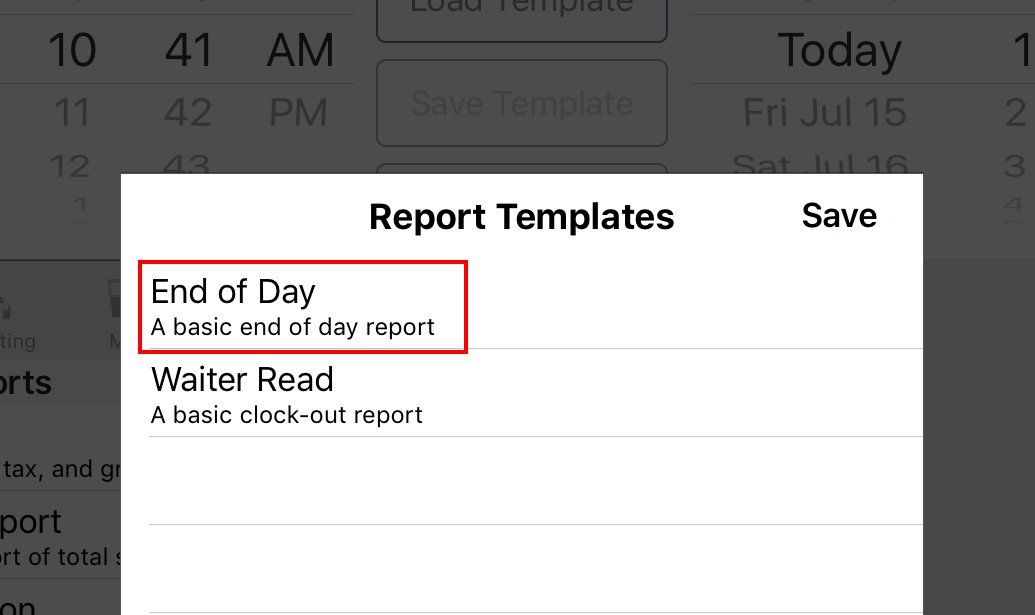
4. Load the End of Day template.
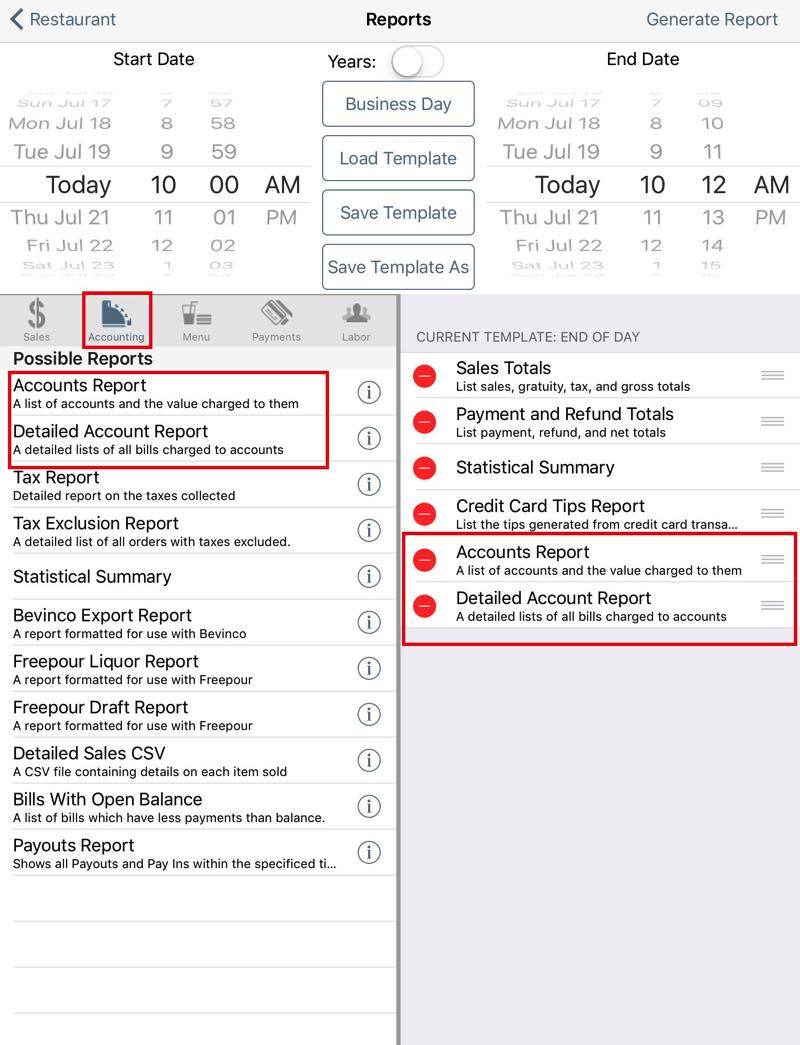
5. Tap Accounts and add the Accounts Report and the Detailed Account Report to your End of Day.
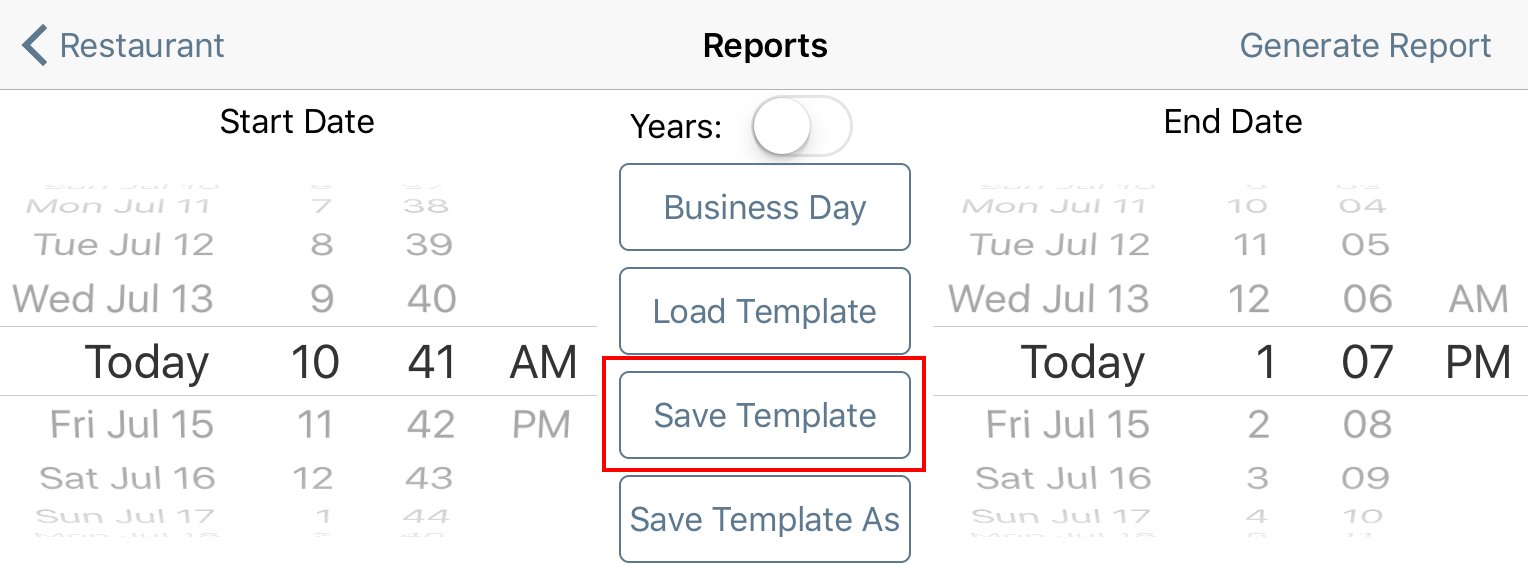
6. Tap Save Template.
Chapter 4. Create a Donation Sales Category
In this step, we’re creating a Sales Category called Pay It Forward. We create a sales category so funds paid at checkout time will be clearly accounted for on your End of Day report. As well, it will ensure money given for a pay it forward program will not affect food or alcohol costs.

1. Tap Admin | Admin Settings | Menu | Sales Categories.
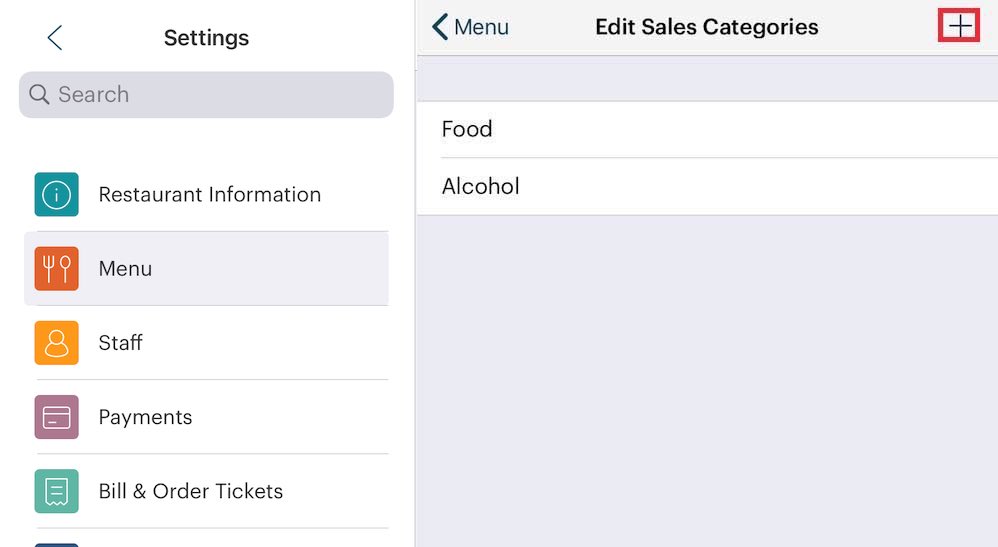
2. Tap the Add + icon at the top right.
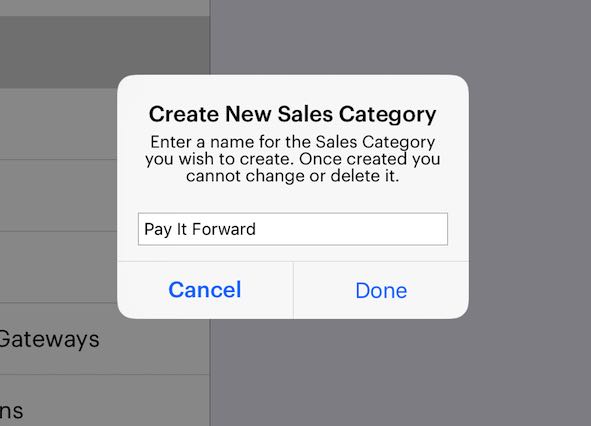
3. Give your donation Sales Category a name like Pay It Forward.
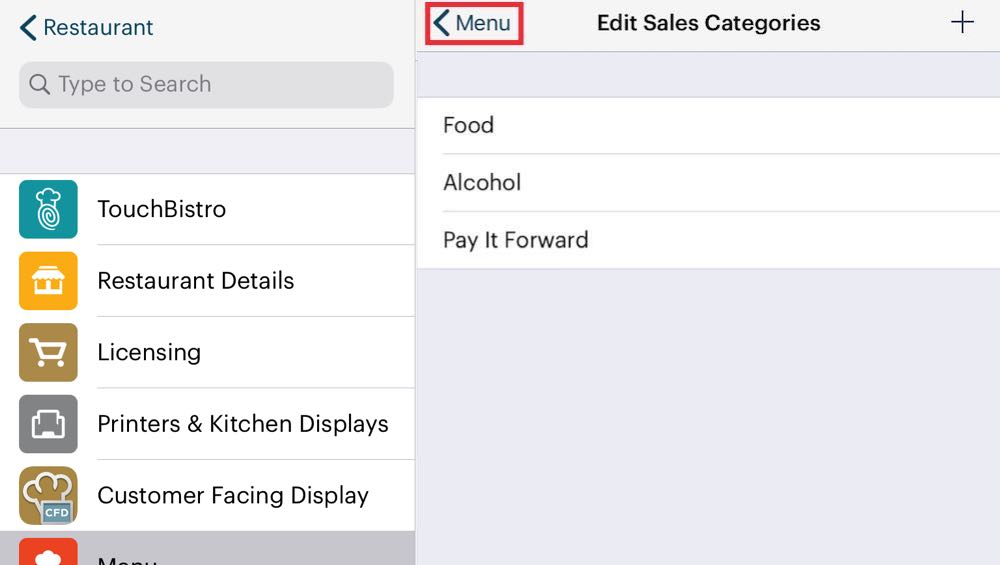
4. Tap Menu to return to the Menu screen.
Chapter 5. Create a Menu Category for the Donation
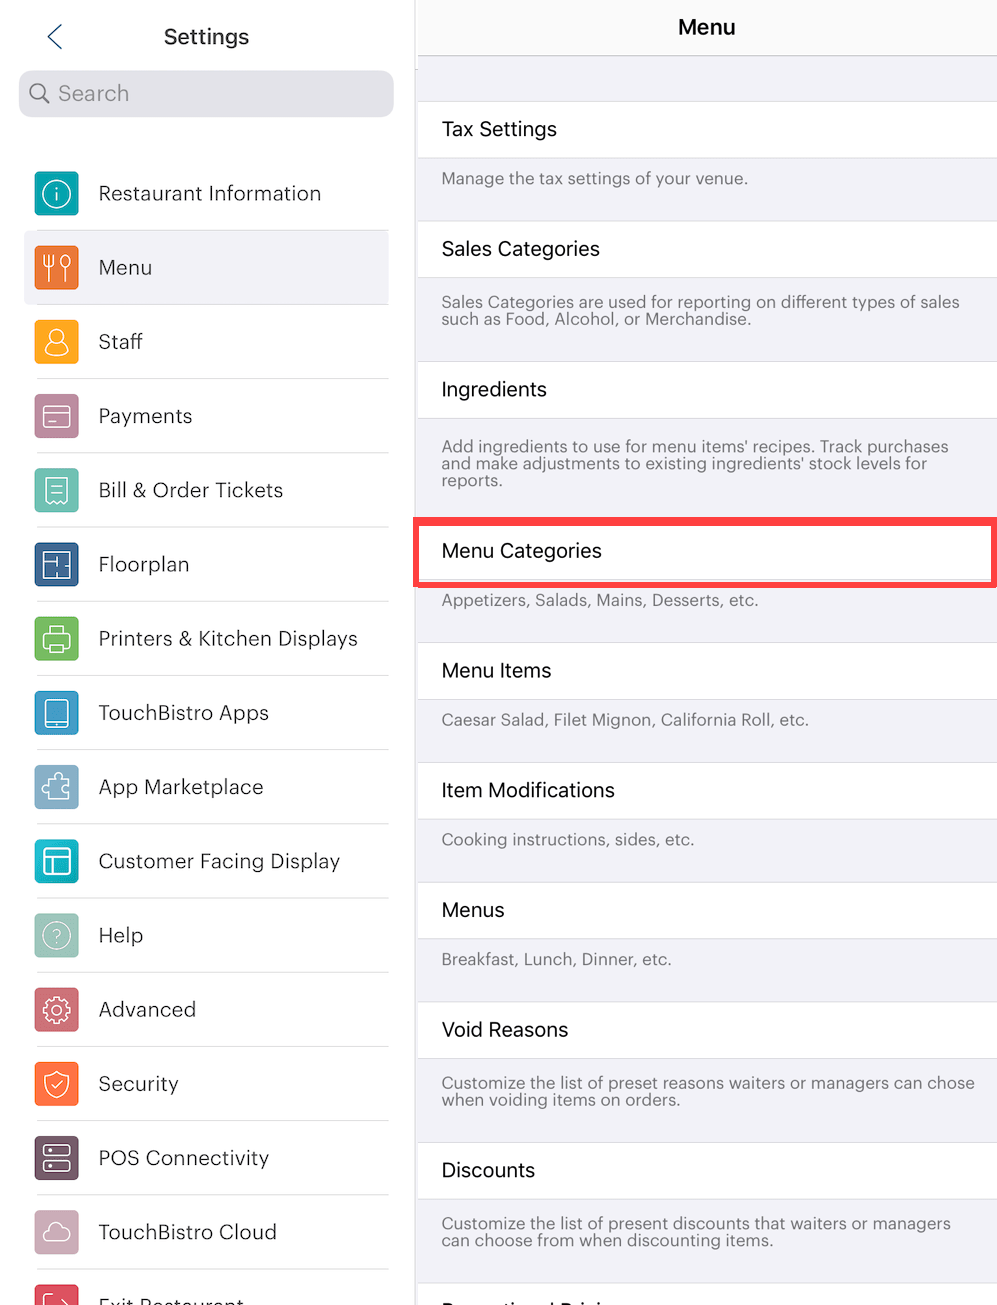
1. Tap Menu Categories.
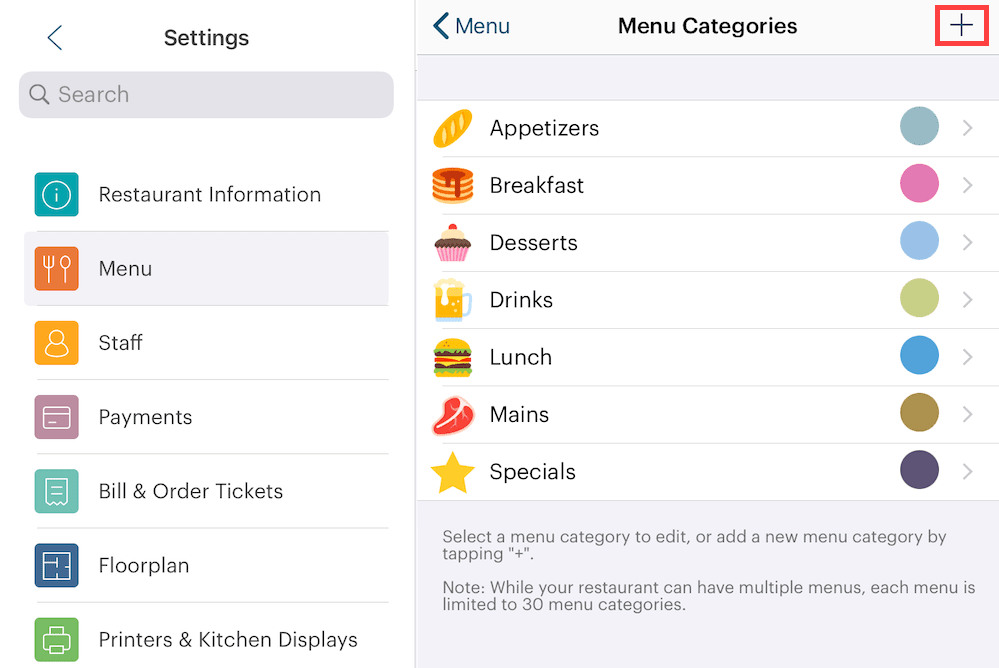
2. Tap the Add + icon at the top right.
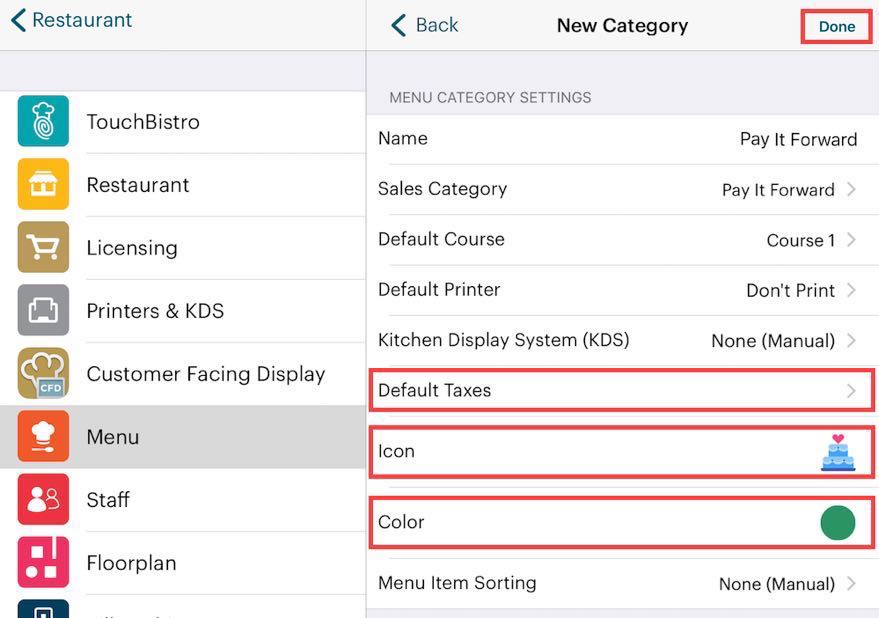
3. Give this category a name like Pay It Forward. Tap Sales Category and select the Pay It Forward Sales Category.
4. You can leave Default Course, Default Printer, and KDS set to their defaults.
5. Tap Default Taxes.
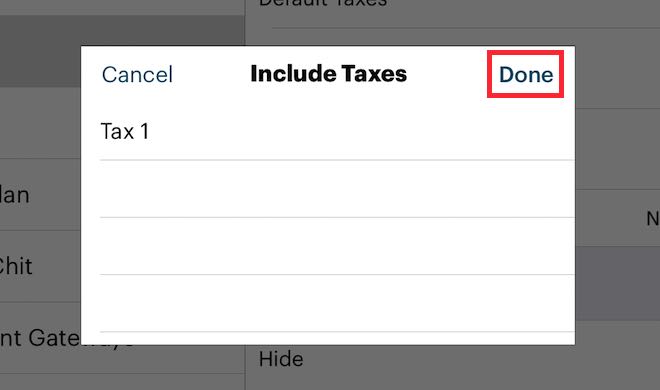
6. Deselect the taxes (that is remove the Checkmark ![]() ) and tap Done.
) and tap Done.
7. Ensure Default Taxes is blank. We don’t want collect any taxes on the donation amount.
8. Tap Icon and Color to set an appropriate icon and color.
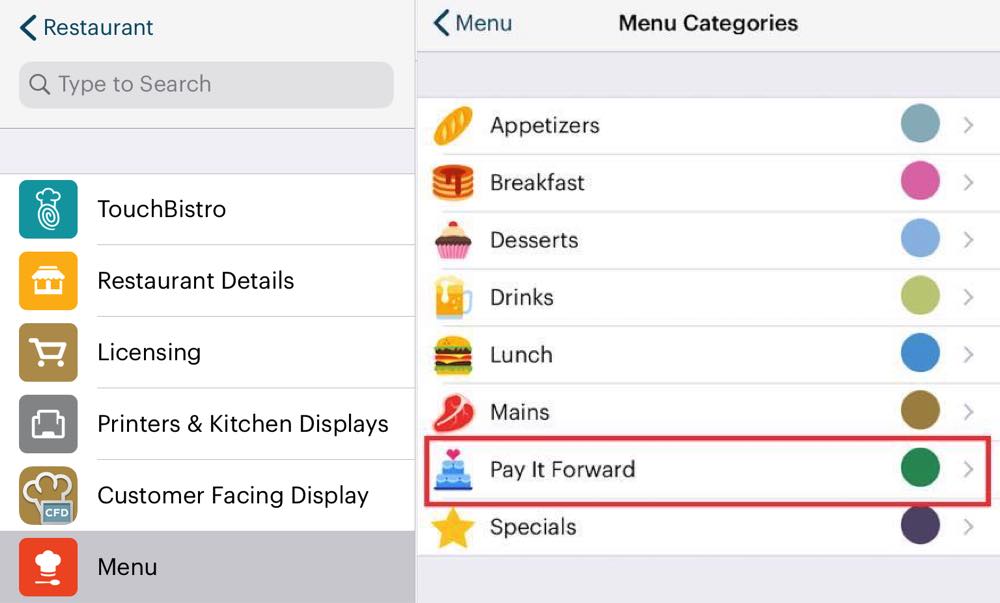
9. Tap Done and return to the Menu screen.
Chapter 6. Create an Open Price Donation Menu Item

1. Tap Menu Items.
2. Tap the Pay It Forward Menu Category.
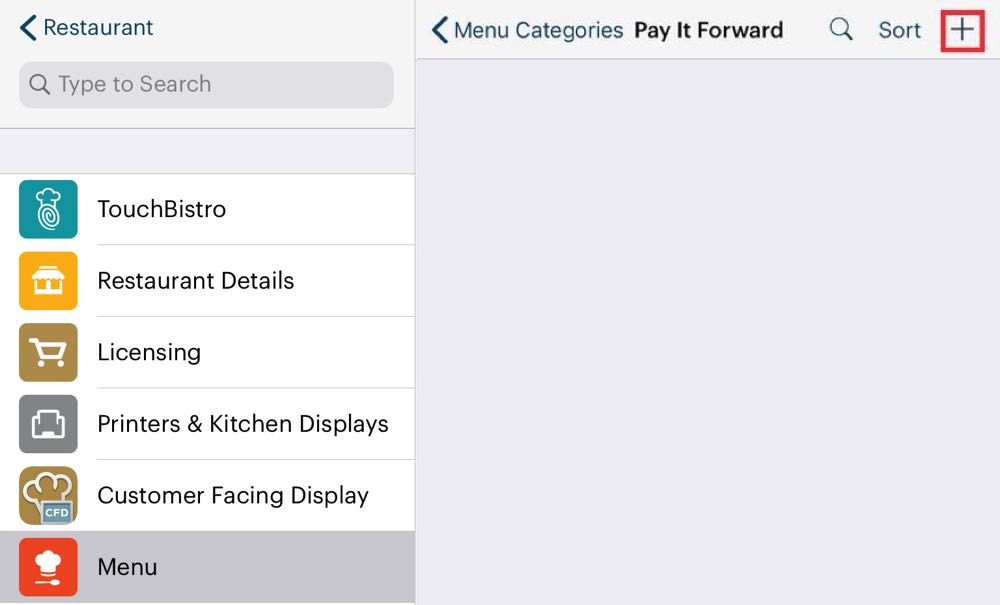
3. Tap the Add + icon at the top right.
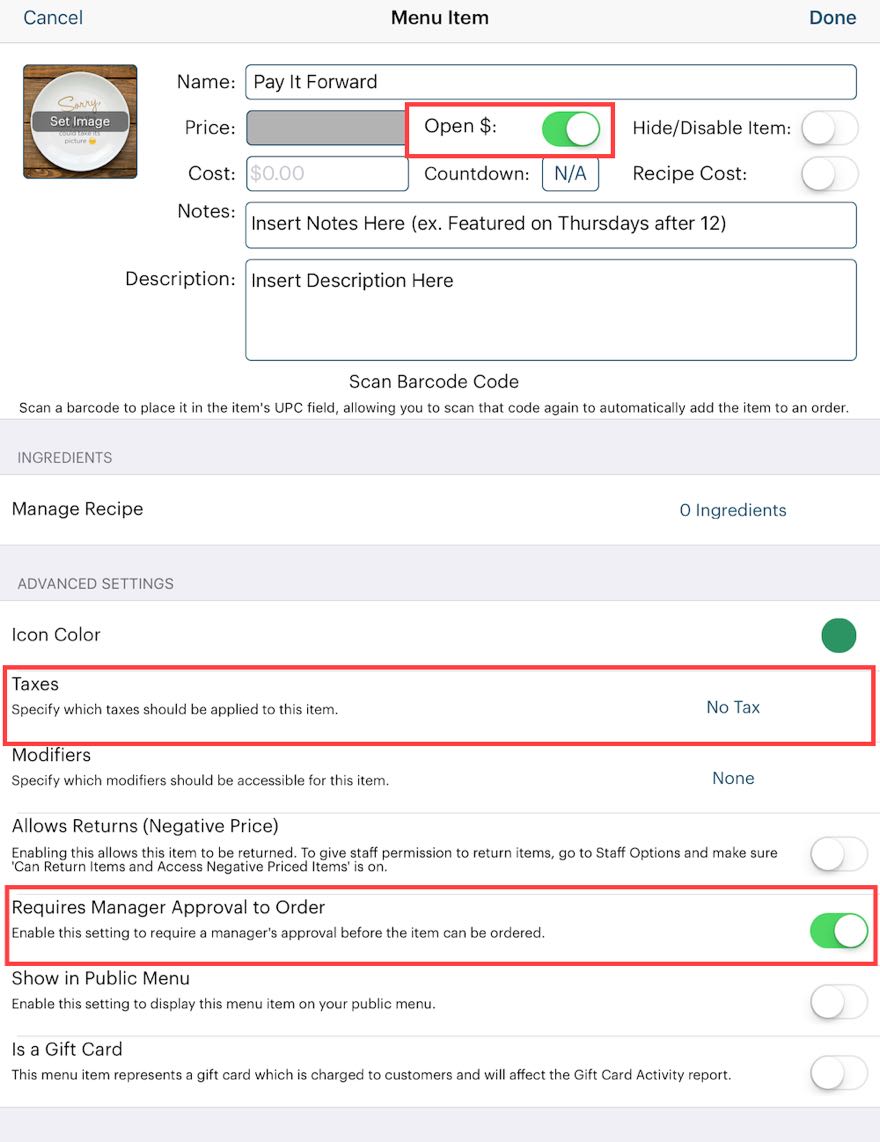
4. Give this menu item a name like Pay It Forward or Pay It Forward Donation.
5. Enable Open $ to set it to be an open priced item.
6. Ensure no taxes are set.
7. You might want to enable Requires Manager Approval to Order to provide some managerial oversight when a customer wants to pay a donation. This ensures a server or cashier doesn’t collect money without managerial oversight.
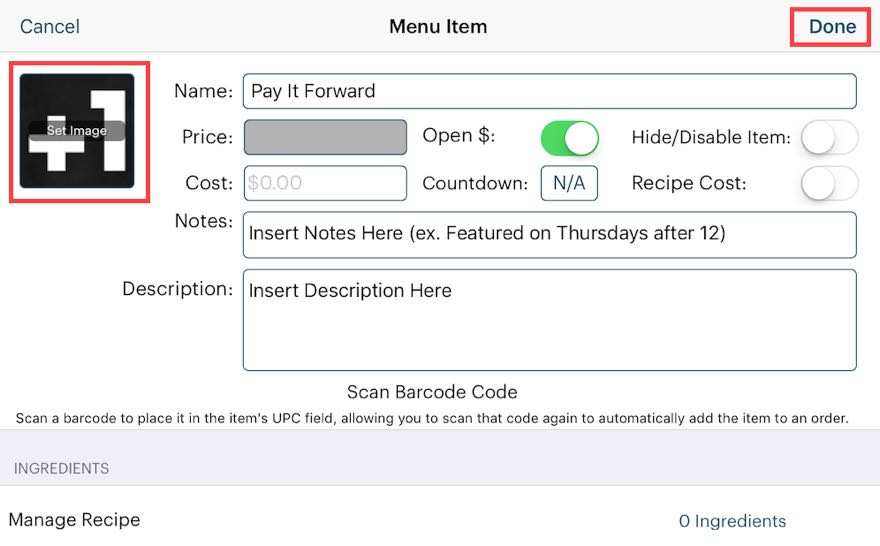
8. Tap Set Image if you want to set an image. Tap Done.
9. Return to the Menu screen.
Chapter 7. Add the Donation Menu Category to your Menu
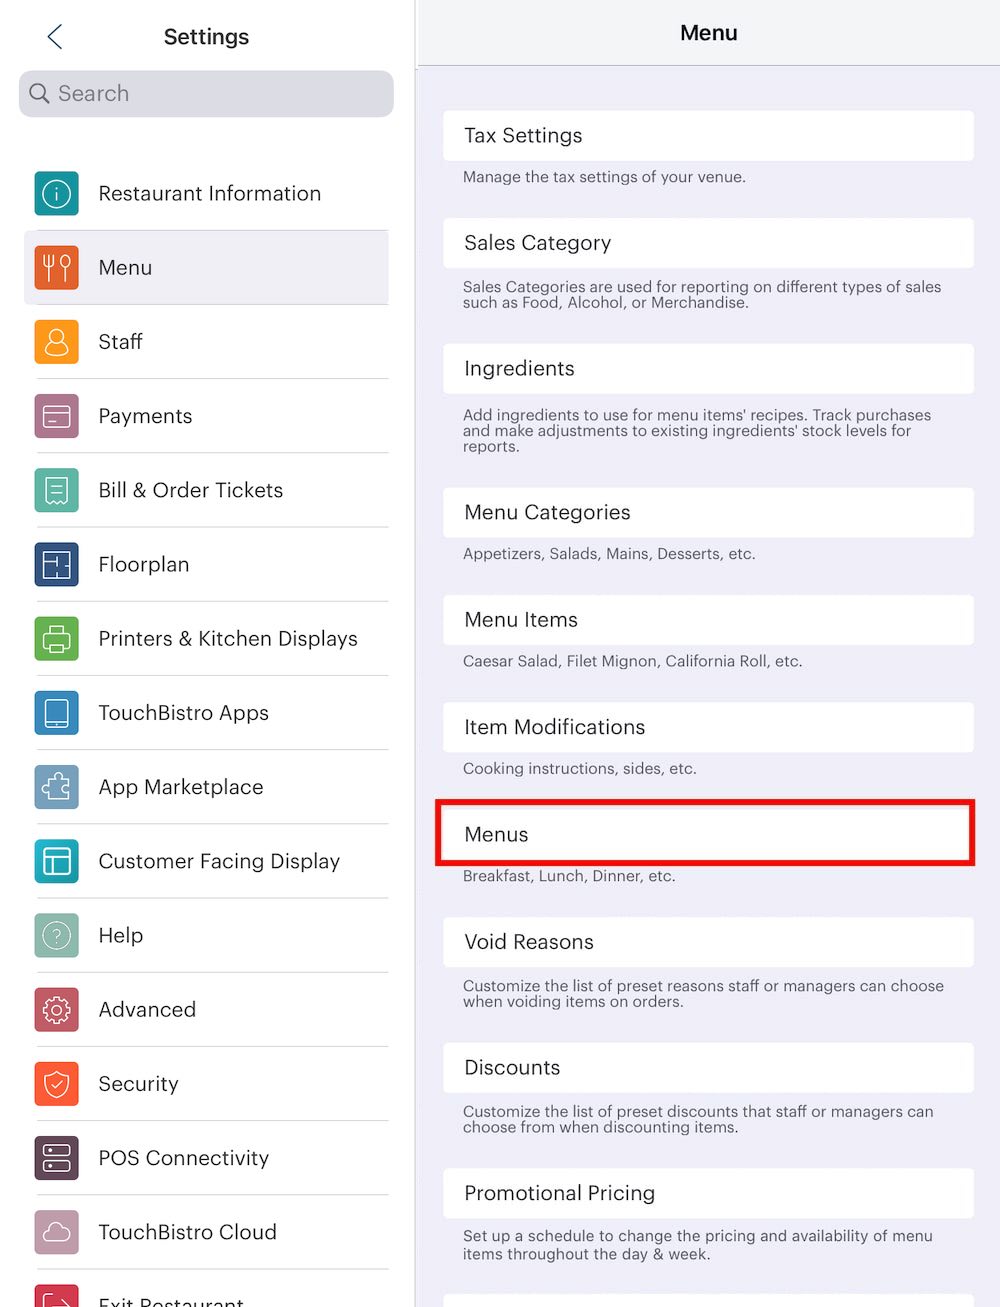
1. Tap Menus.
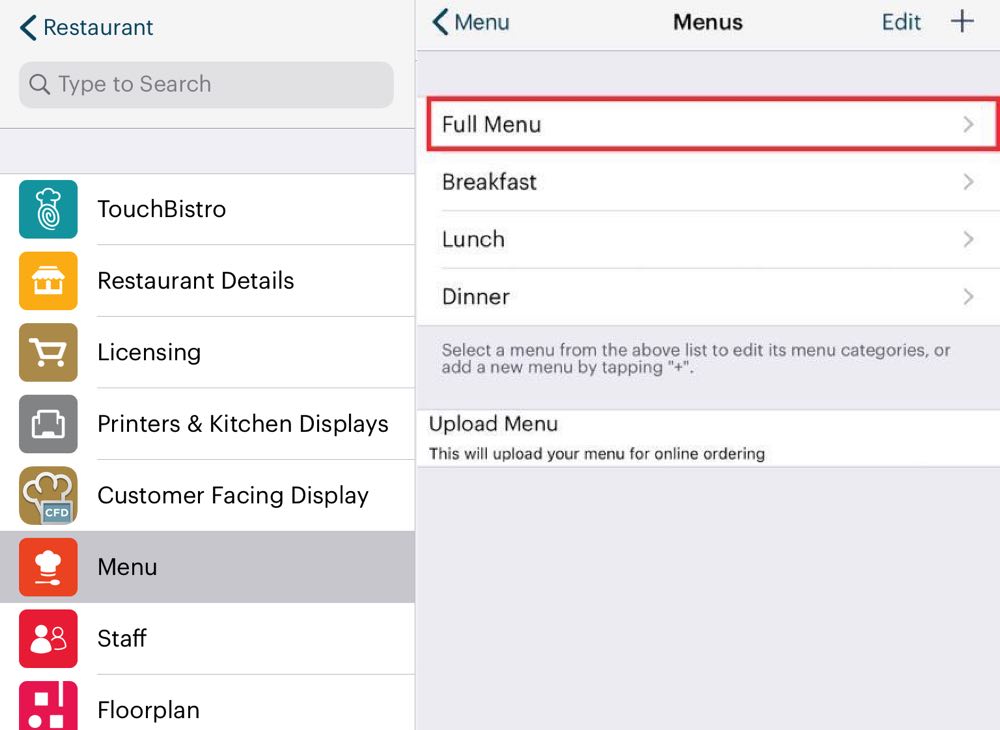
2. Tap a menu.
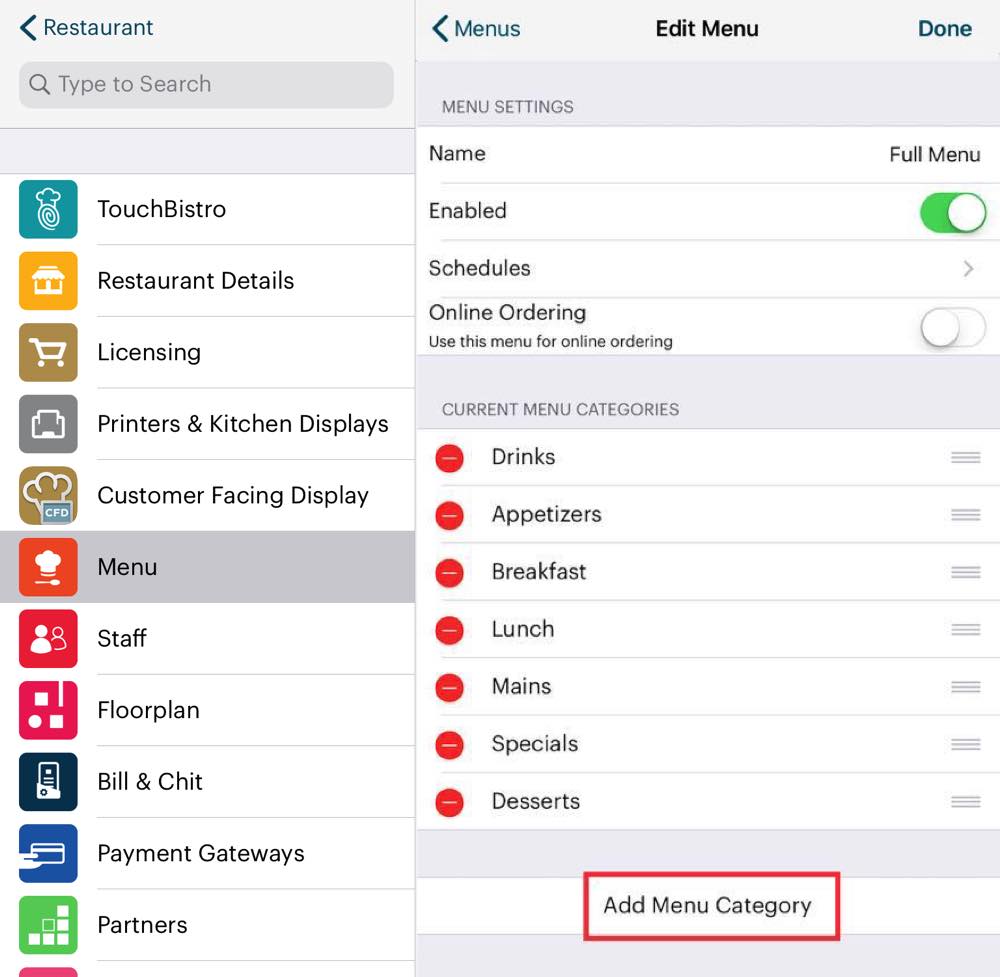
3. Tap Add Menu Category.
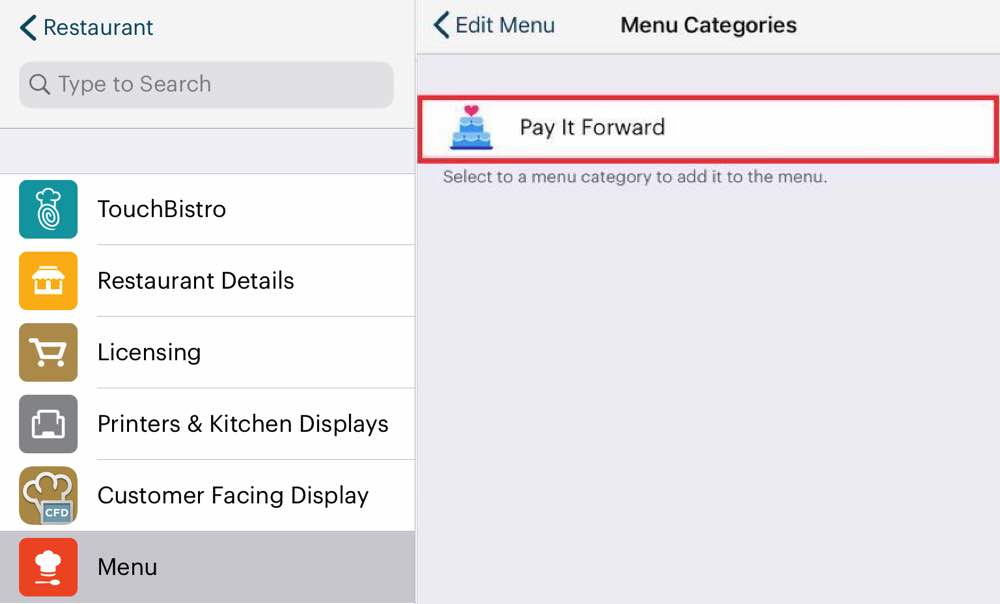
4. Select your Pay It Forward category.
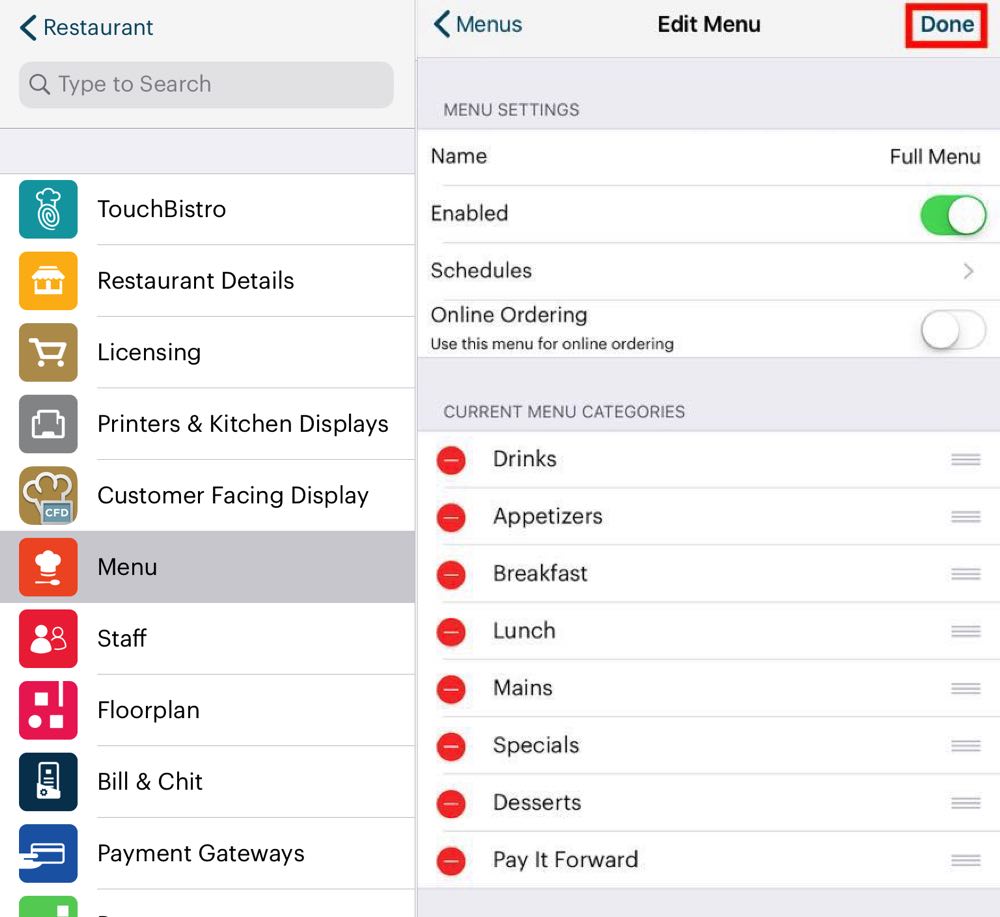
5. Tap Done. Add this menu category to any other appropriate Menus.
Chapter 8. Using
You’re now ready to offer customers the ability to donate funds and give servers the ability to charge charity meals to the donation account.
Section 1. Example of Customer Paying It Forward

1. A customer orders a meal and wants to provide a comparable meal for the next person in need. In this case the customer wants to donate $15.98. Tap your Pay It Forward menu category.
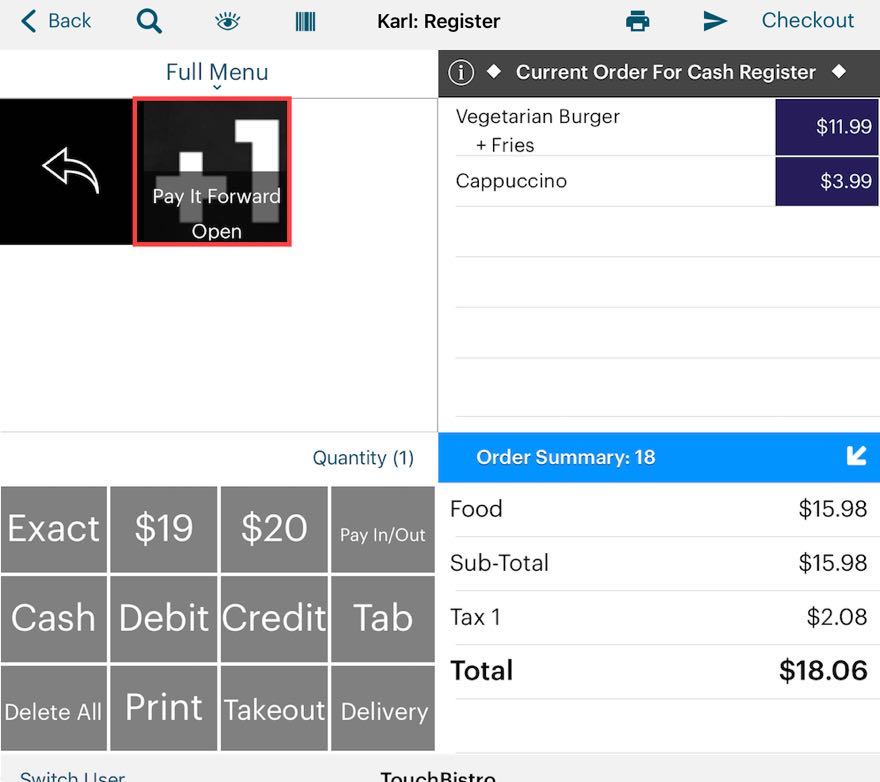
2. Tap your open priced donation item.
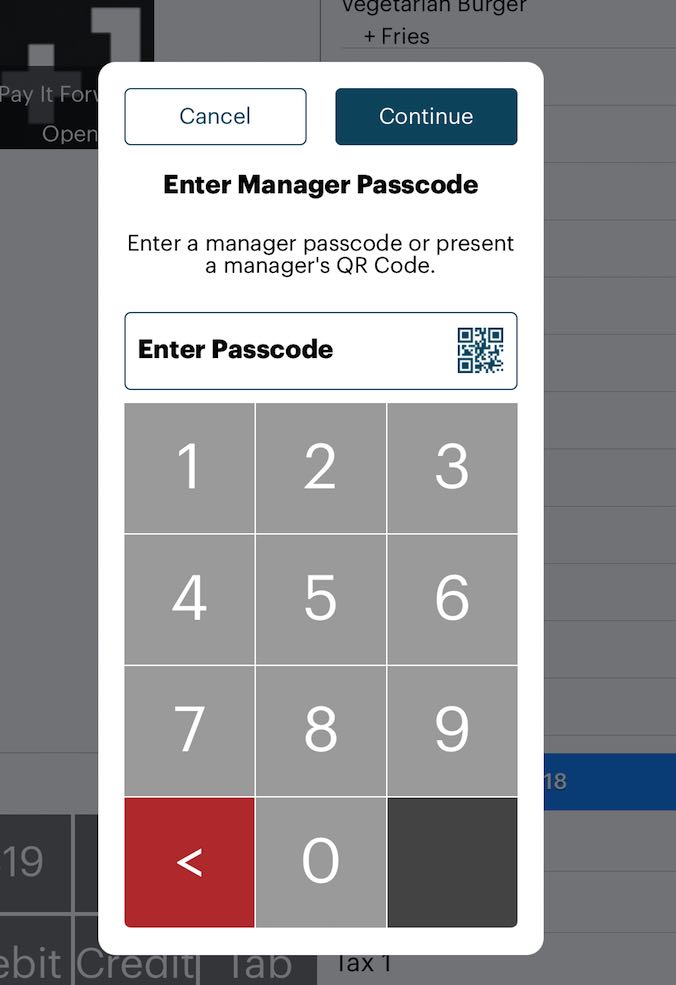
3. If you require manager approval to add this item, your server will be prompted to seek a manager passcode.
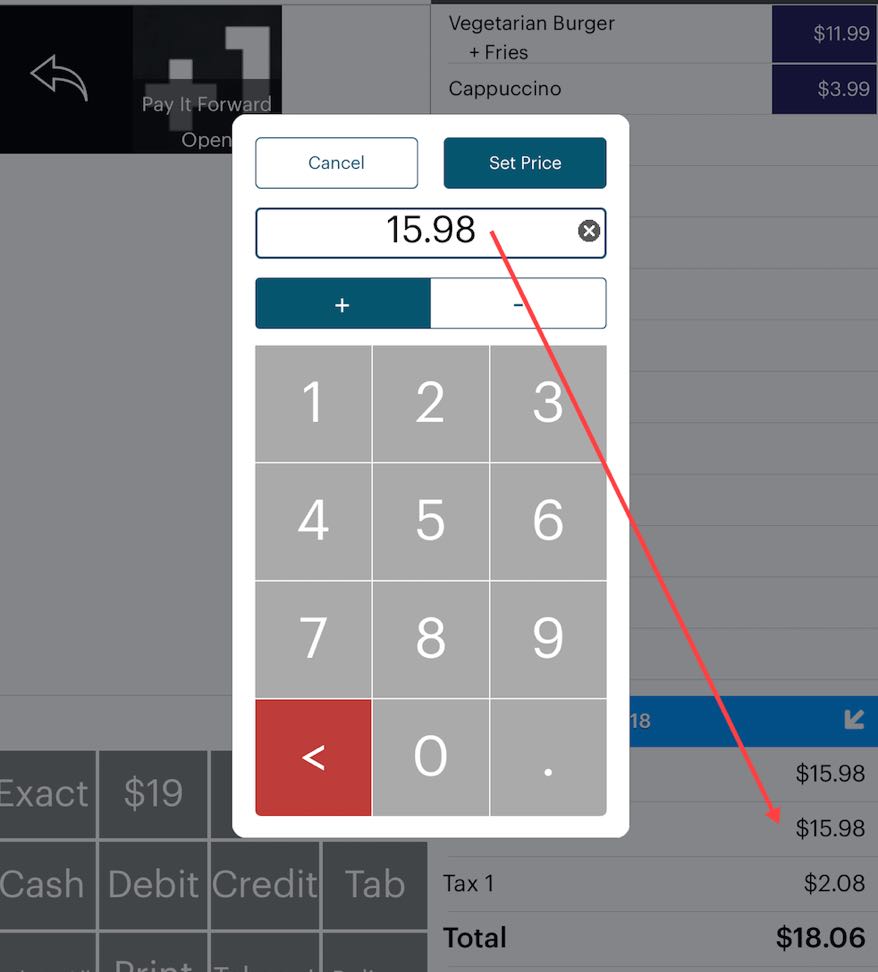
4. Enter an amount, for example the subtotal amount or the after-tax total amount.
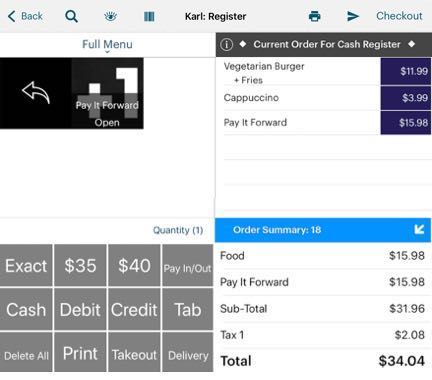
5. Use a quick pay button or tap Checkout and close the bill in the normal fashion.
Section 2. Reporting and Adding Funds
We’ll assume you only top up the donation account at the end of the day. Imagine you’ve done a day’s business and now close your day and generate an End of Day report.
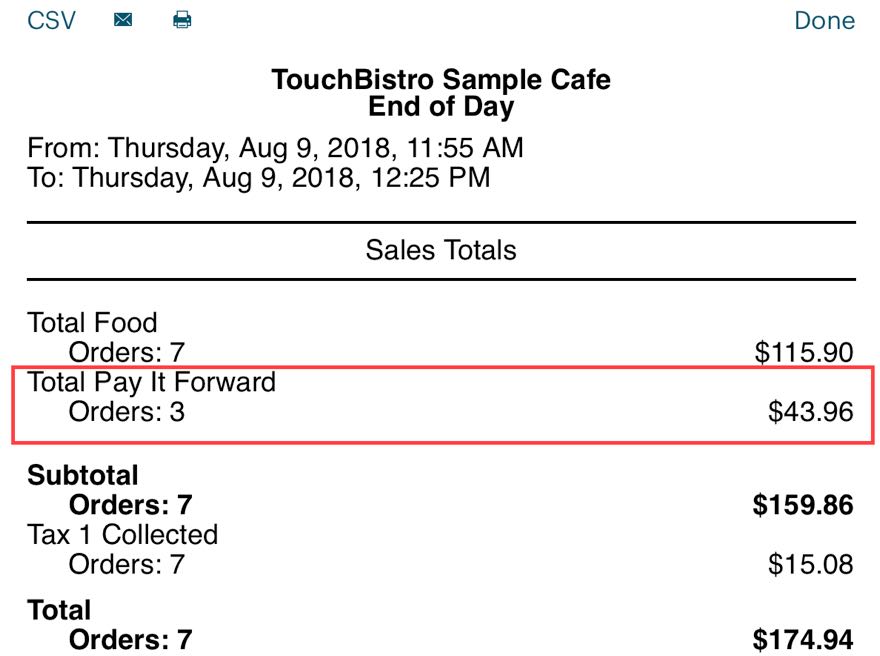
1. In the example above, we can see there were 7 orders during the day and 3 of them included Pay It Forward donations. For now, the $43.96 will be treated like income for the restaurant until the money is dispersed in the form of charity.
2. The next morning when you open, tap Customer Account List.
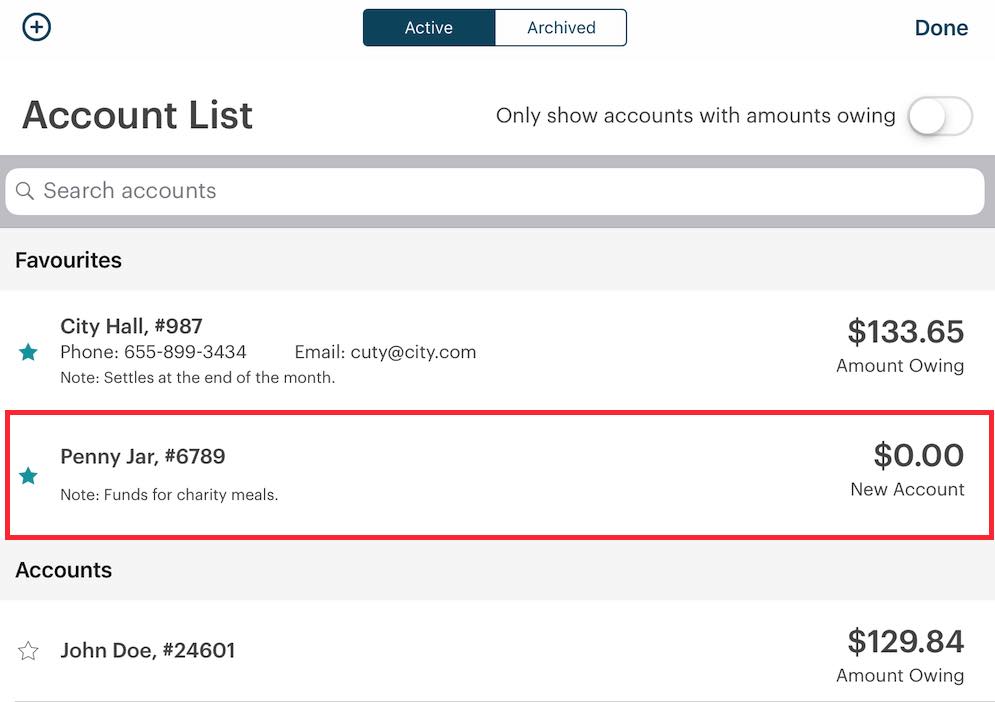
3. Tap your Penny Jar account.
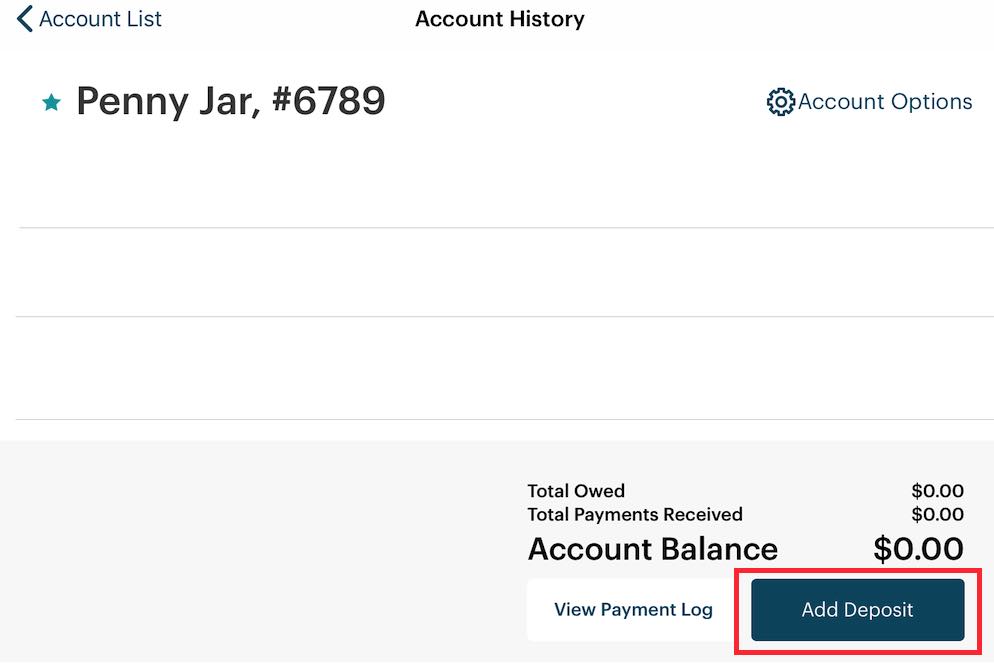
4. Tap Add Deposit.
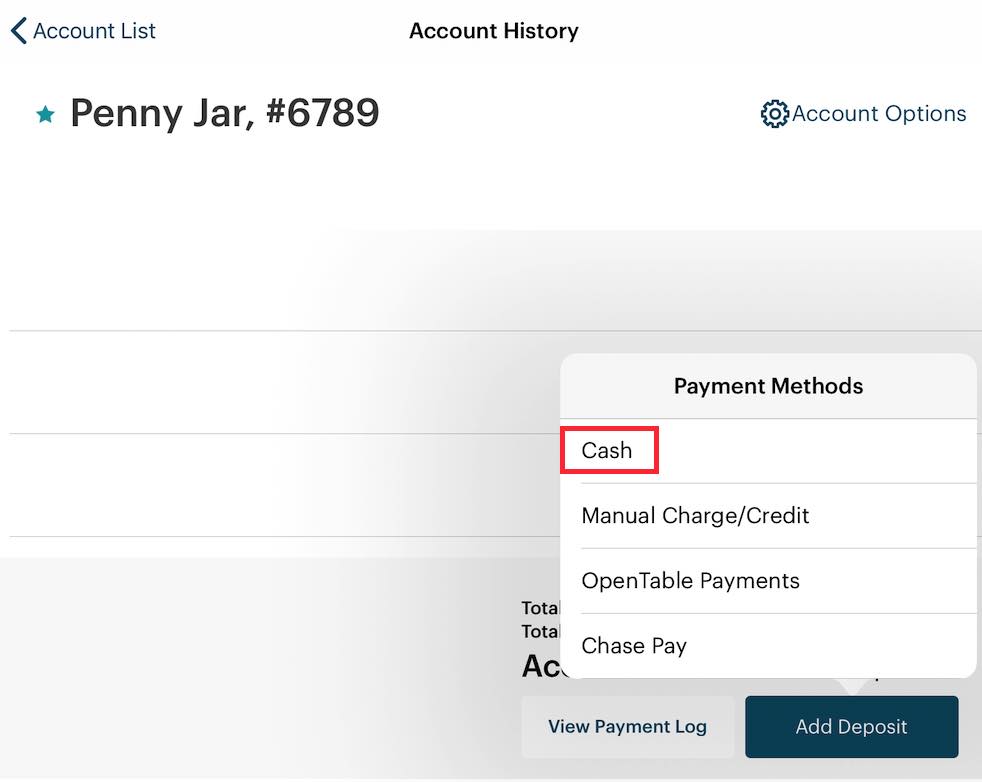
5. Tap Cash.
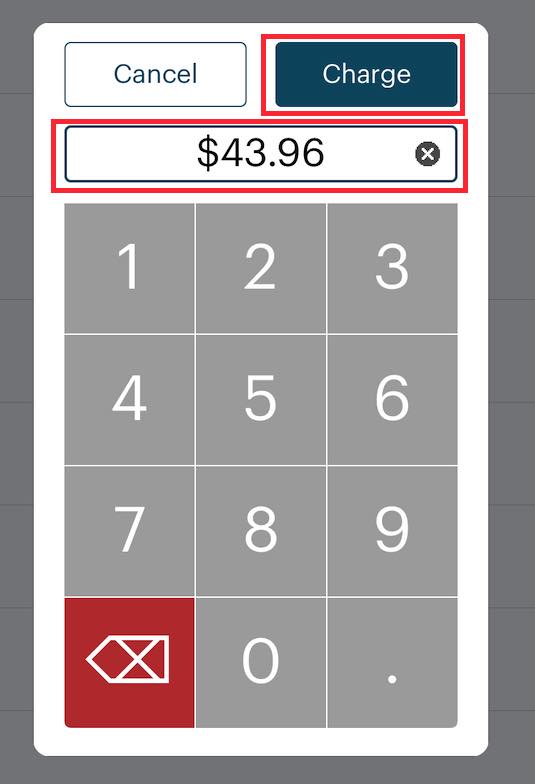
6. Enter the amount from the previous day’s Pay It Forward amount on the End of Day and tap Charge.
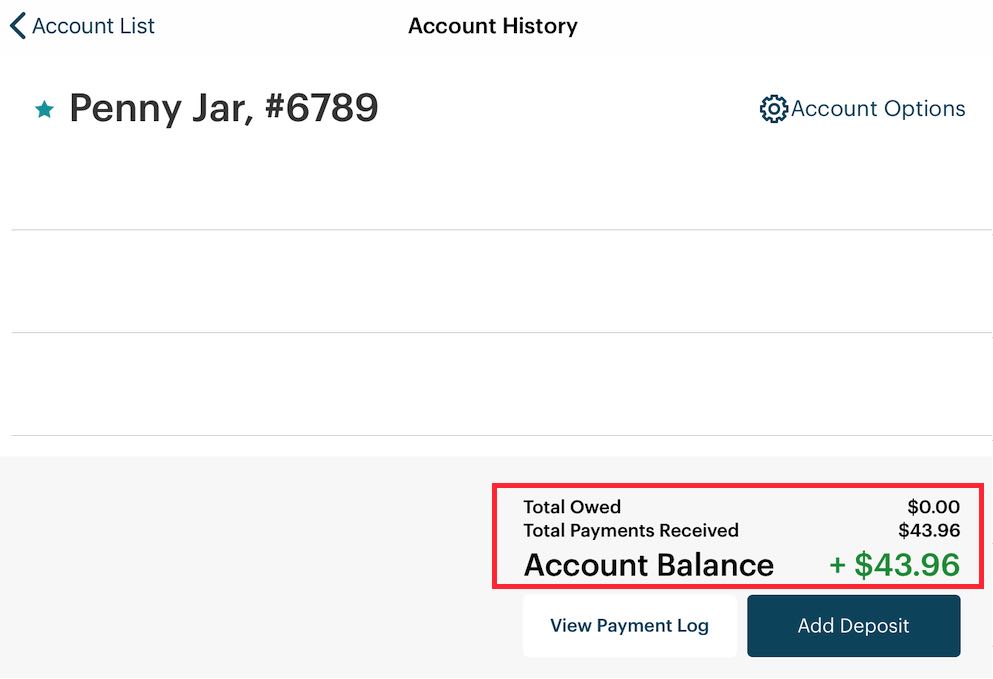
7. The account will be credited with the amount. Since there’s no balance on the account, the account is a negative value due to the deposit.
Section 3. Using the Funds
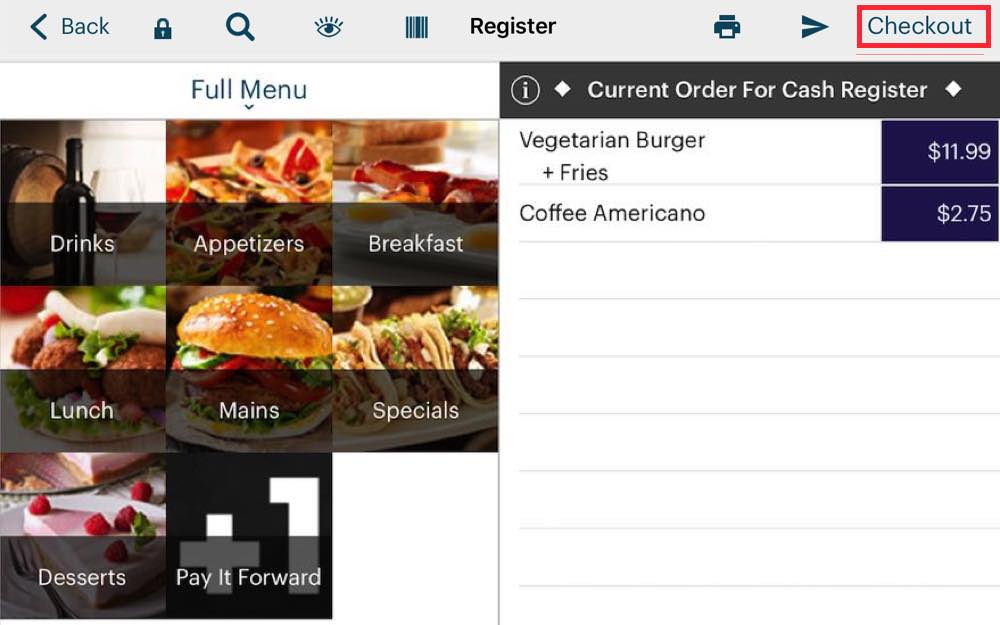
1. A customer comes and orders. You’ve determined this customer is worthy of drawing upon funds in your Penny Jar account. Tap Checkout.
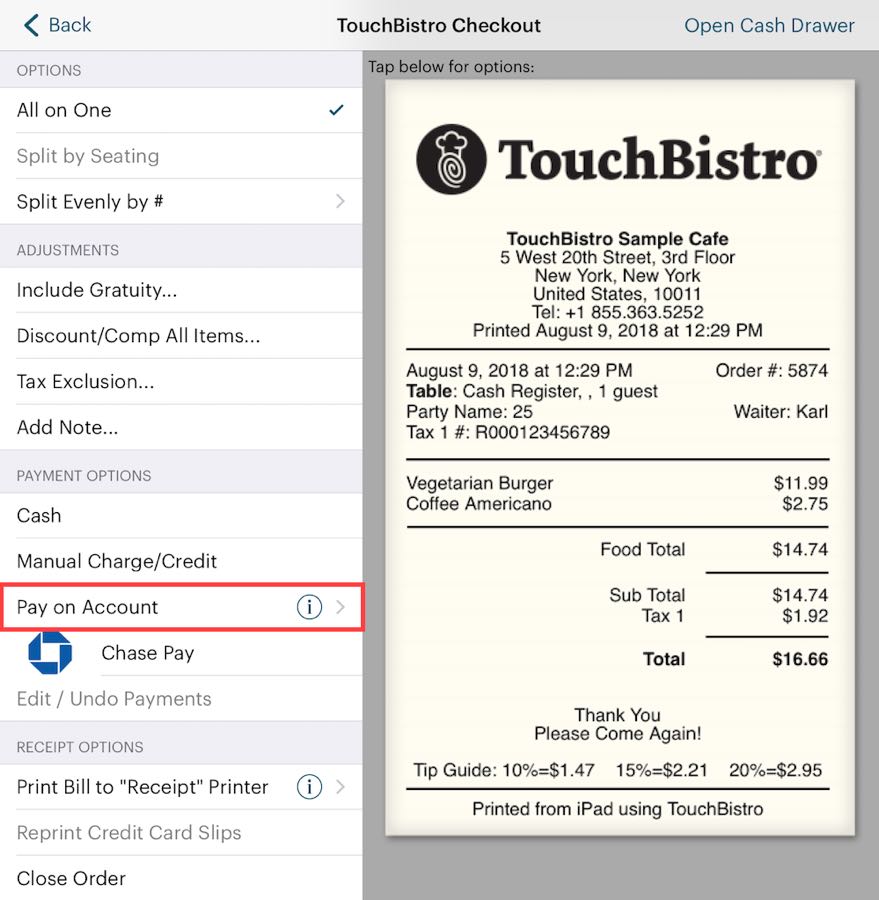
2. Tap Pay on Account.
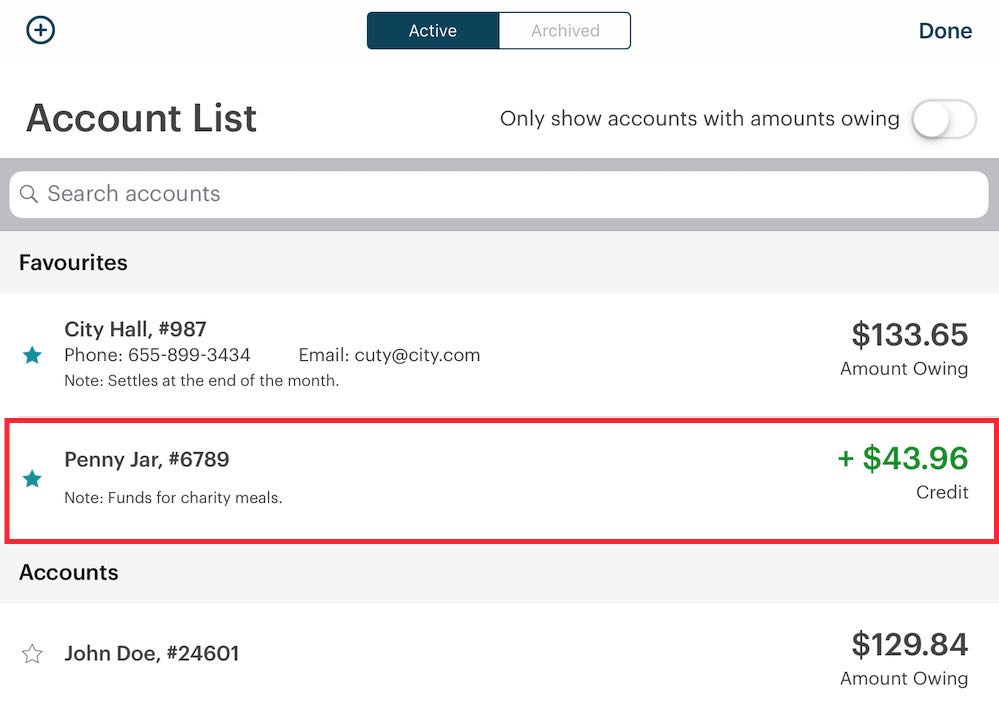
3. First, verify the Penny Jar account has enough to cover the charge plus tax. If so, tap it. Do not charge meals that will cause this account to go into the positive.
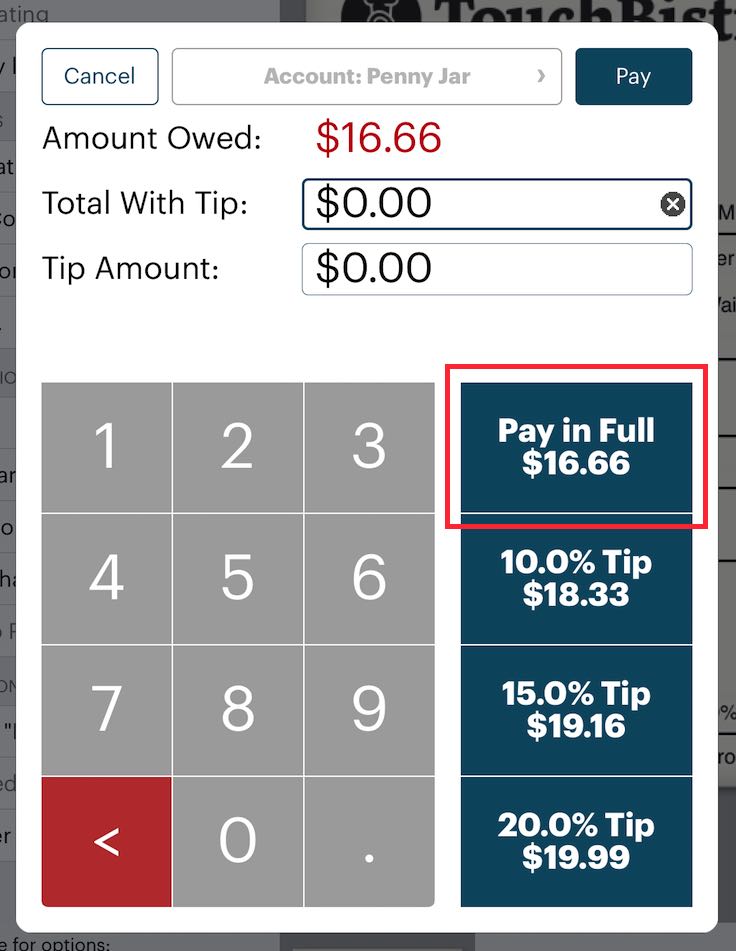
4. Tap Pay in Full.
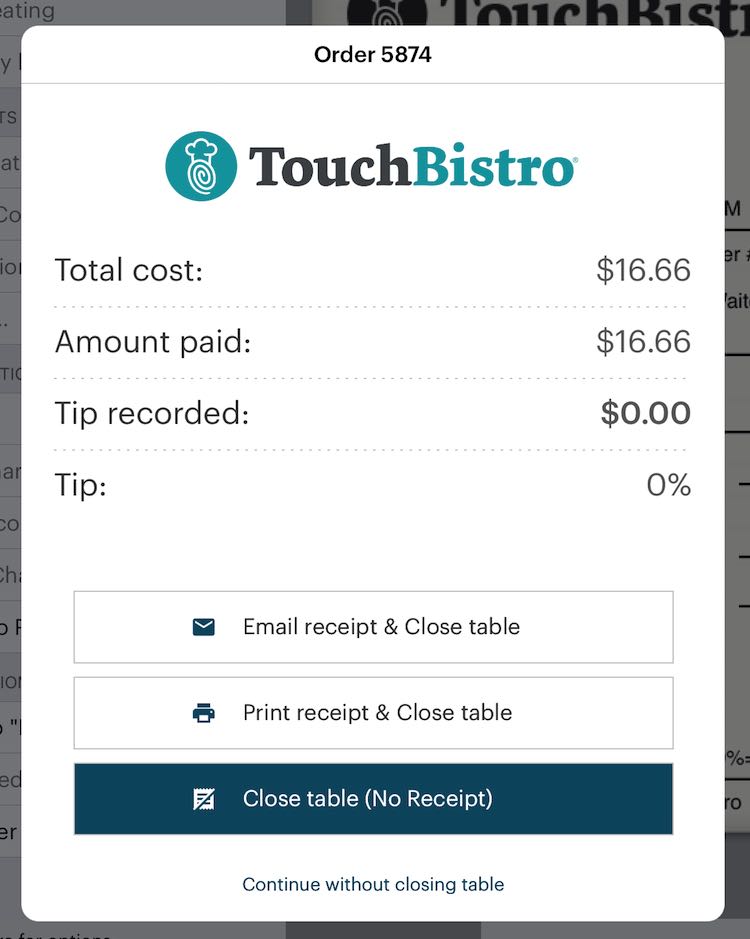
5. Close the bill.
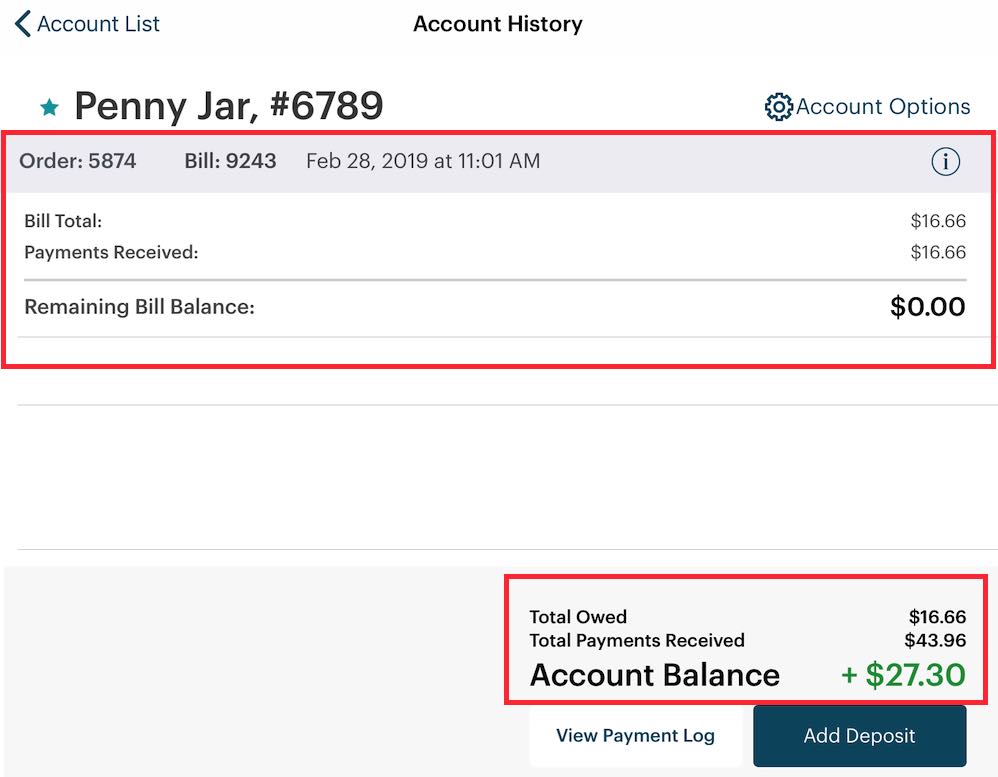
6. If you were to examine the Account, you would see the bill charged against it and remaining funds.
Section 4. Reporting for Funds Drawn from the Charity Account
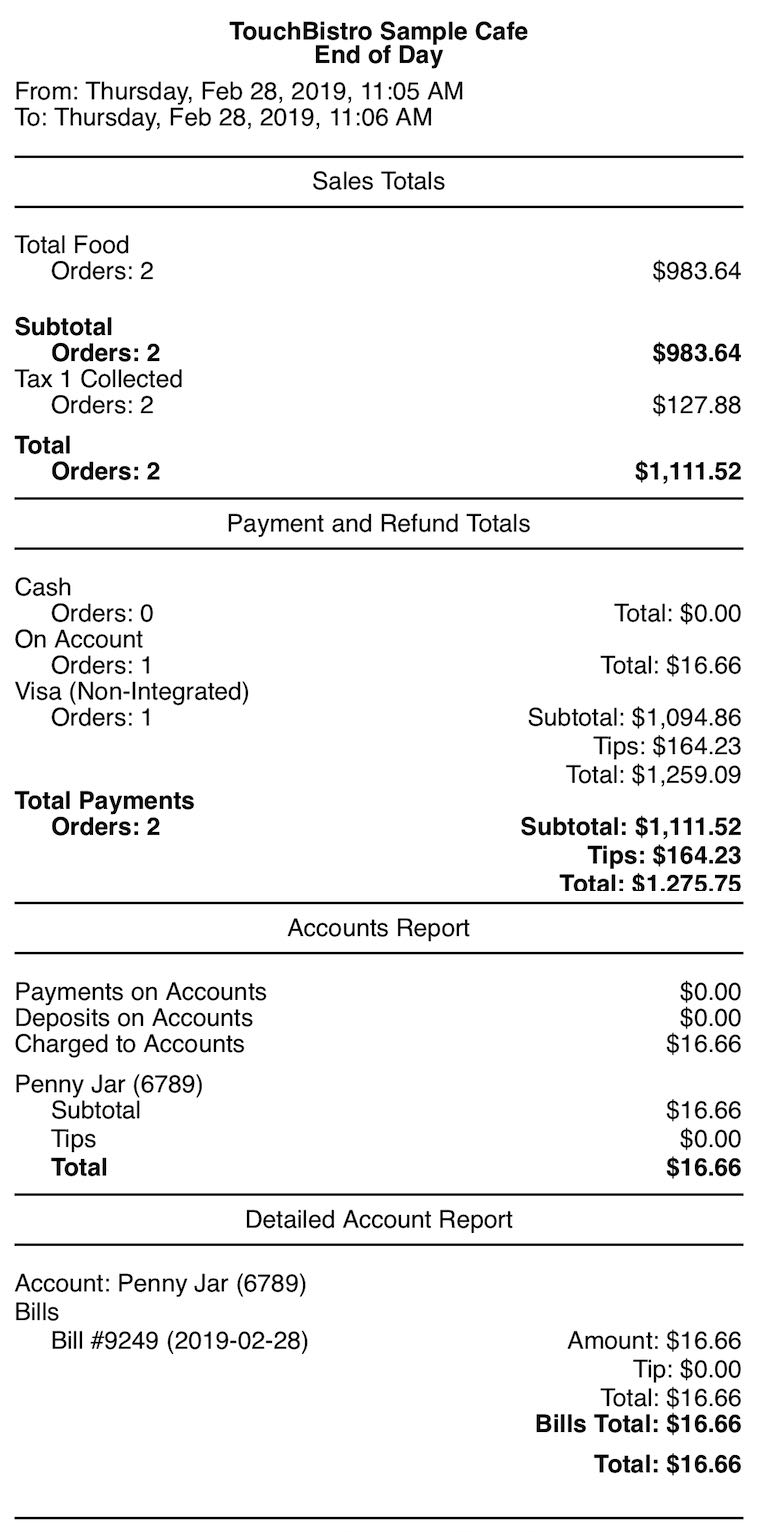
If we were to examine our End of Day, we could see we had $1,027.32 in gross sales. Examining our accounts reports at the bottom, we can see $141.16 of our gross sales was charged to a non-charity account (John Doe). $16.66 was charged to the Penny Jar charity account. Our accountant would know to treat $16.66 of income for that day as a donation.
Chapter 9. Related Articles
Taking and Closing Deposits for Future Orders using Accounts