Taking Orders
Chapter 1. The Order Screen
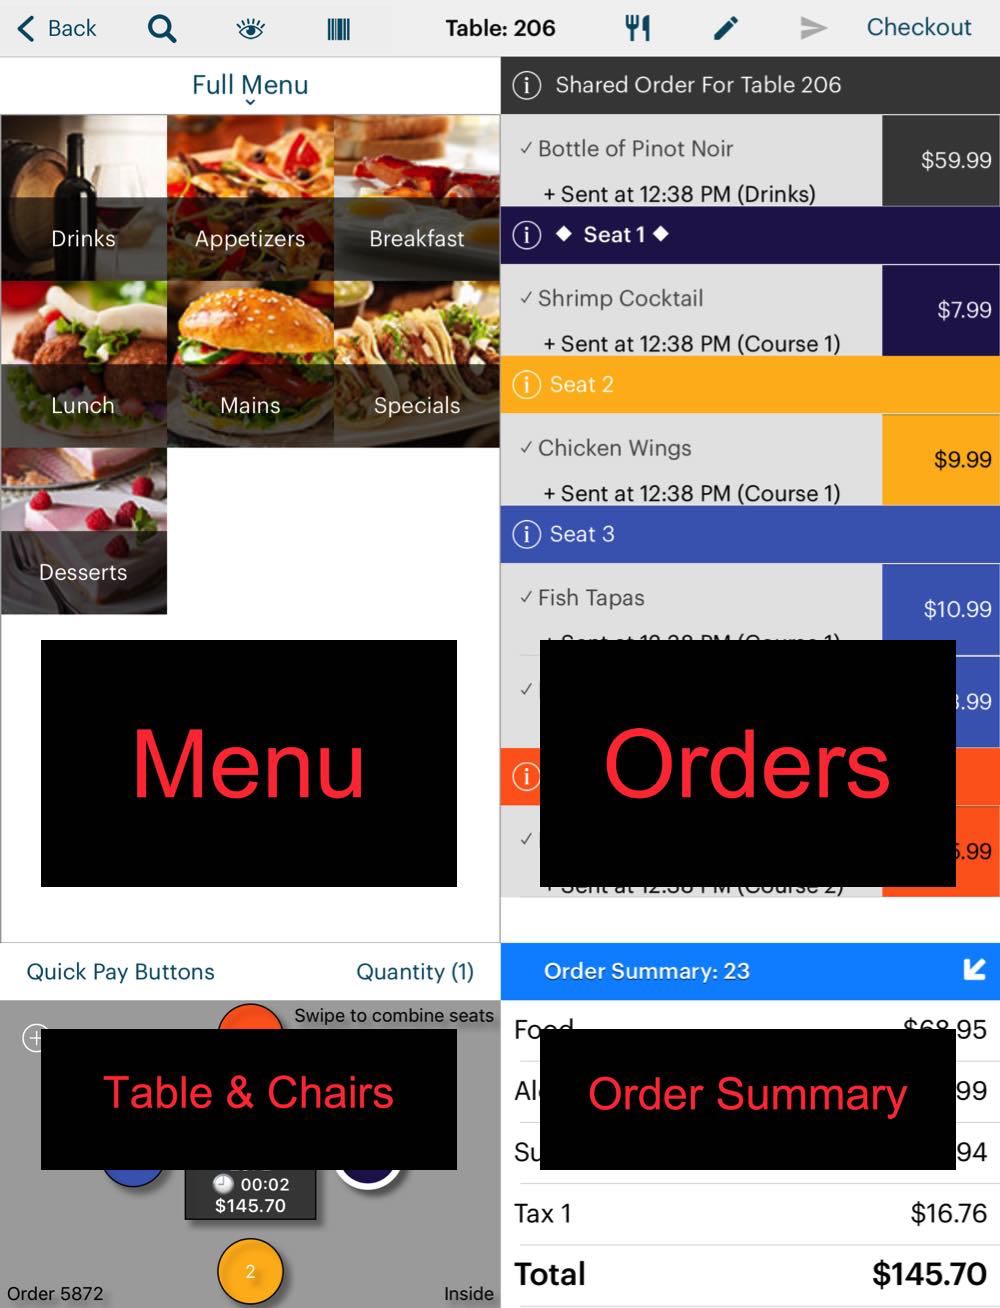
The Order screen is divided into four sections.
|
Section
|
Description
|
|
Menu Items
|
The top left section displays available menu items.
Depending on how your venue is set up, you may have multiple menus to choose from (e.g., Dinner, Lunch, Breakfast). Tap a category (e.g., Appetizers or Mains) to display menu items under those categories. Also, if you tap and hold on a menu item, TouchBistro will display the customer-facing menu screen.
|
|
Orders
|
The top right section displays what has been ordered. Seats are color coded. Tap color coded seat bar (e.g., Seat 1) to begin entering orders for the patron at that seat. Tap the Shared Order bar to enter an order that will be shared by all patrons at the table (for example, wine or appetizers). Tap the Shared Order bar‘s Information Tap the seat’s Information
|
|
Table & Chairs
|
The bottom left section gives you a graphic representation of the table. Tap a seat to change the focus in the Orders section. Tap the Add
|
|
Order Summary
|
The bottom right section gives you a summary of the table’s total order, a break down by sales category (e.g., food vs alcohol) and any applicable taxes. Tap the Up/Down arrow icon to show a simplified total.
|
Chapter 2. Changing the Menu View
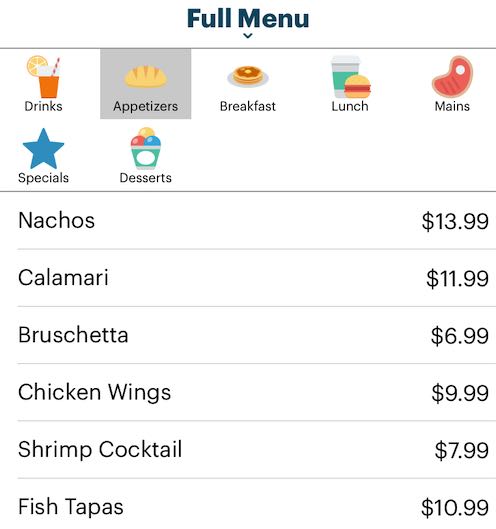
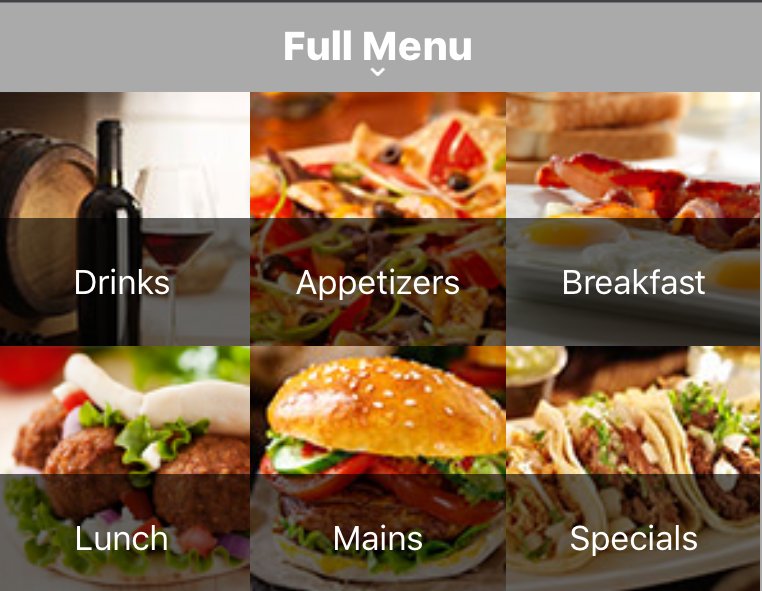
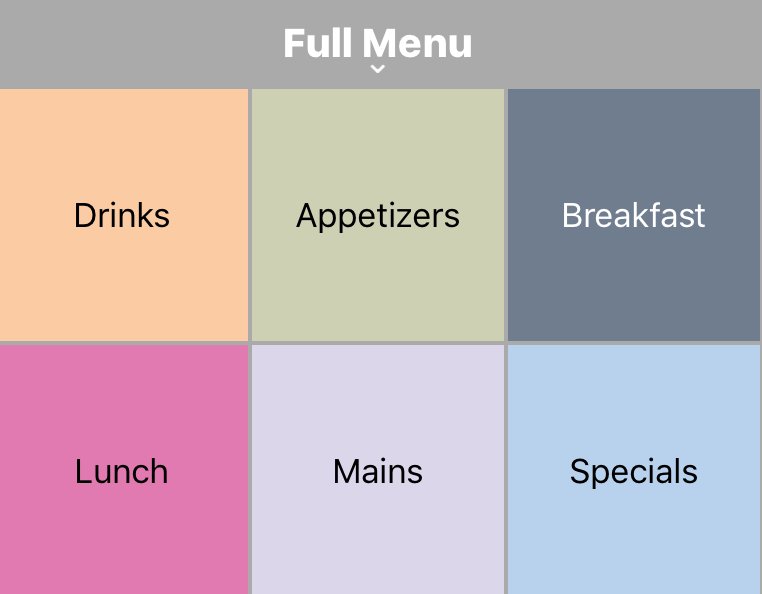
You can view the menu items as a list (classic), an image grid, or a text grid.
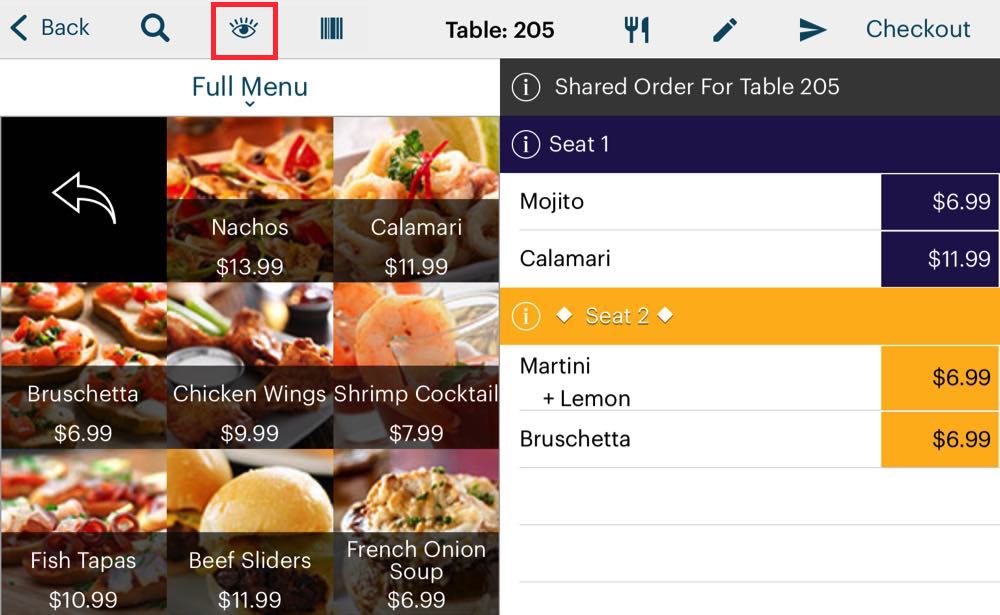
Tap the View ![]() icon to change the menu view.
icon to change the menu view.
|
View
|
Sample
|
|
List (Classic)
|
|
|
Image
|
|
|
Text
|
|
Chapter 3. Changing the Layout
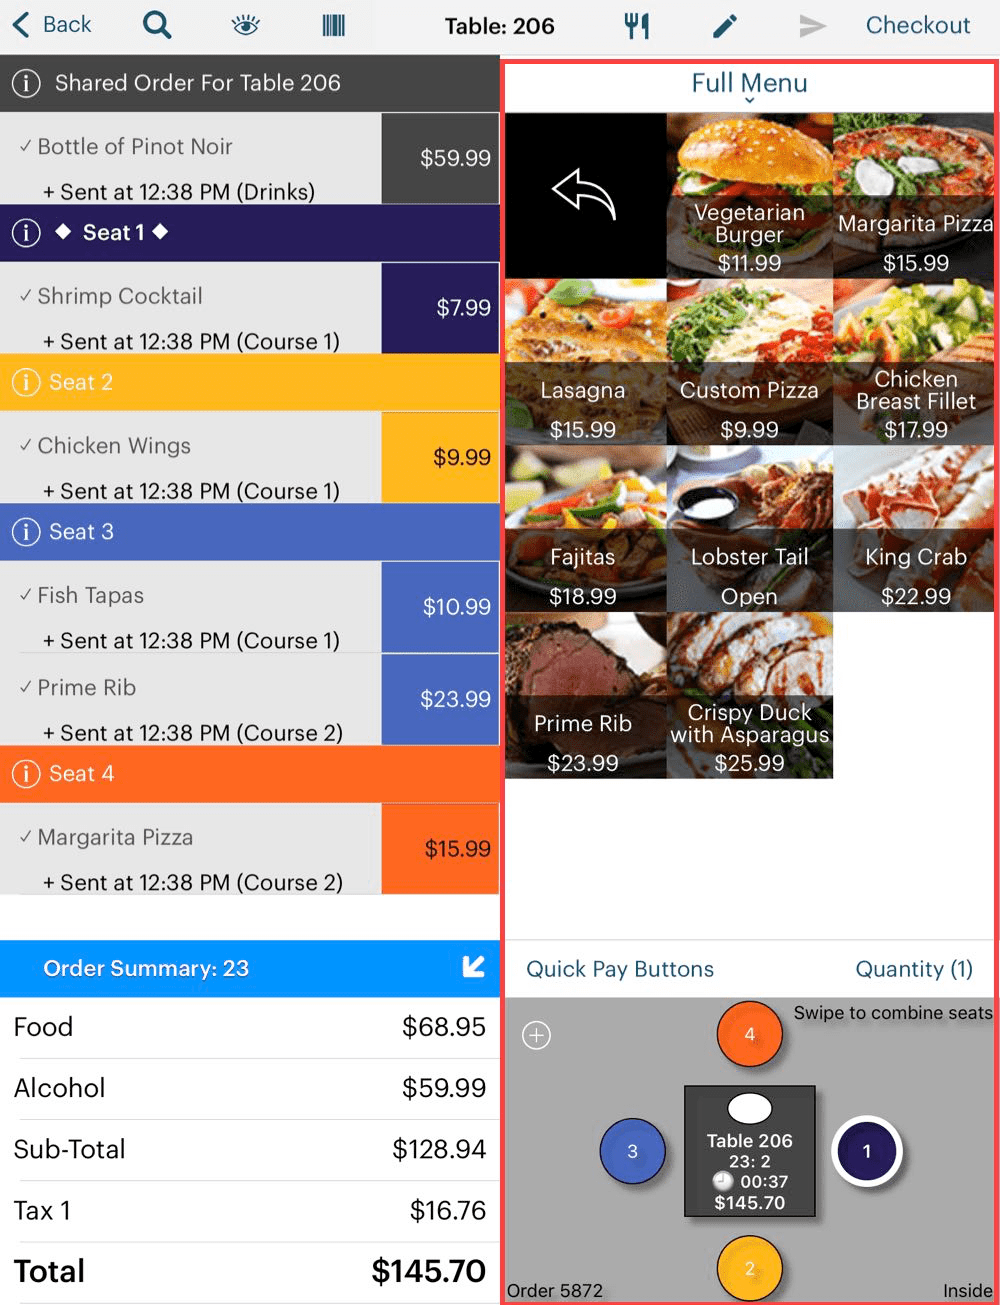
If you prefer to have the menu on the right side, you can ask your TouchBistro Admin to set your Staff Profile for Right Hand Mode.
Chapter 4. Taking a Simple Order

1. In the Orders section, tap the color bar of the seat representing the first guest who wants to order.

2. If you have multiple menus, select the appropriate menu from the Menu Bar. Depending on your iPad’s screen size this may be either a drop-down list or tabbed list.

3. In the menu items section, select the guest’s order.
4. Tap the color bar of the next seat representing the next guest who wants to order. Repeat step 2.
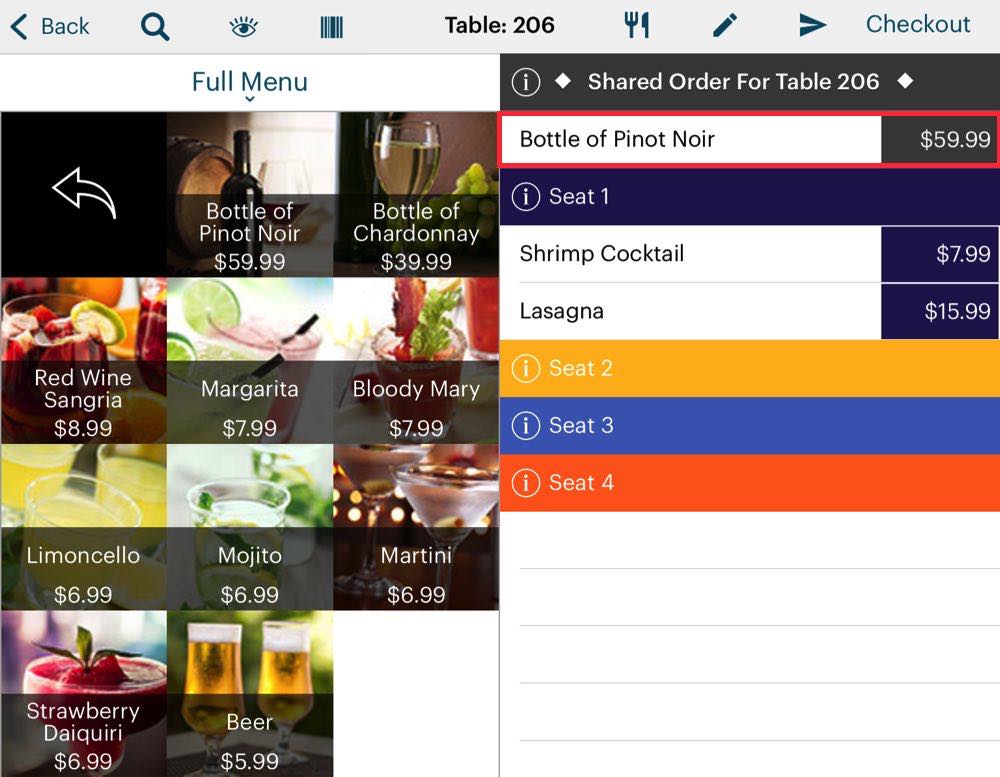
5. If the table is ordering a menu item that will be shared by all guests (for example a bottle of wine or appetizers), tap the Shared Order For Table color bar.
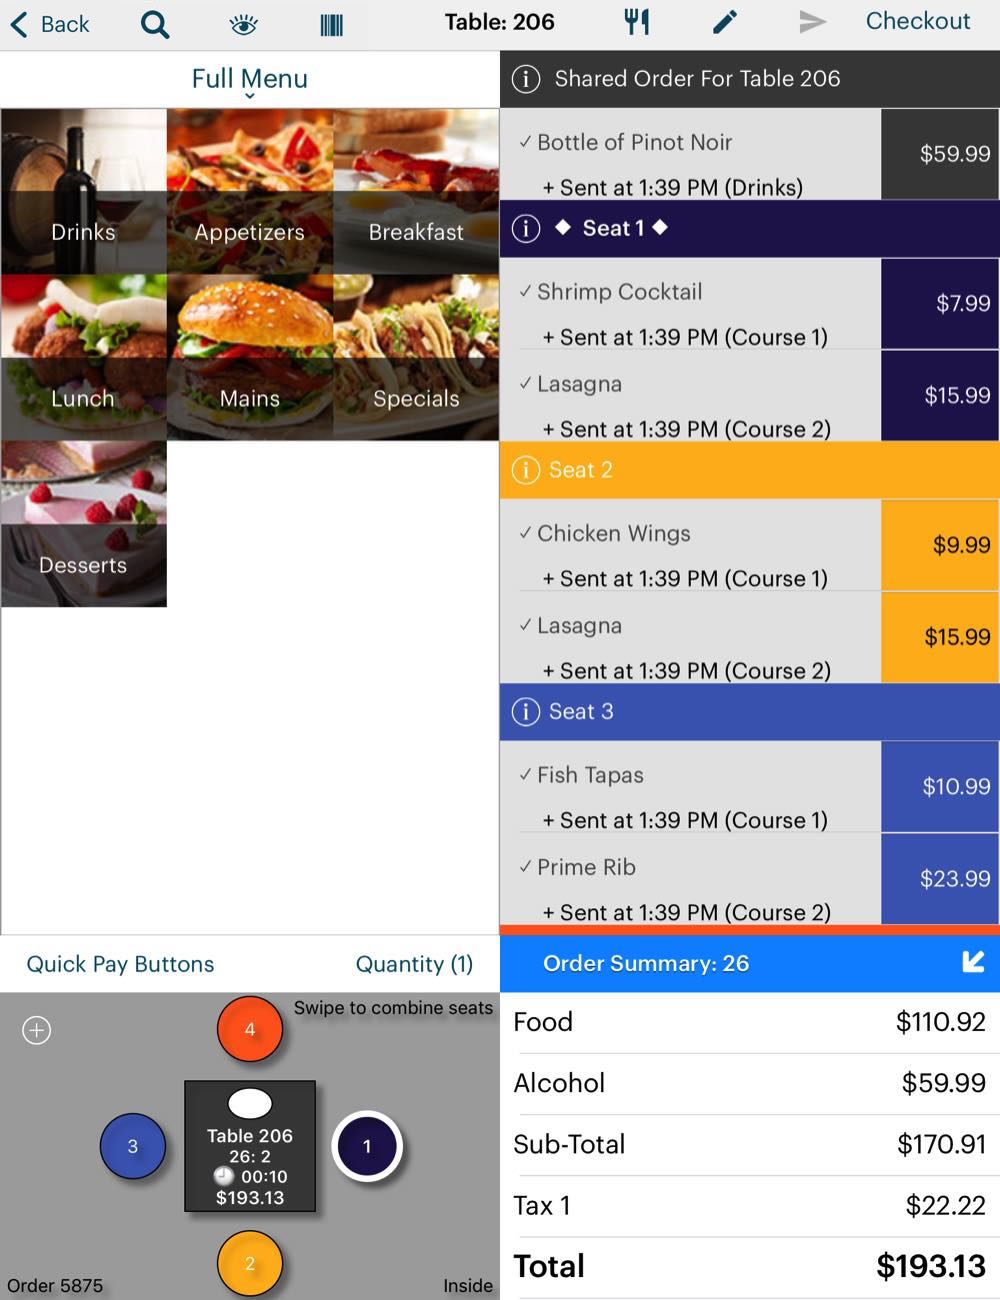
6. When all guest have ordered, tap the Send ![]() icon to send the order to the kitchen and/or bar. Your administrator will have setup where menu items are sent (kitchen/bar chit printers or a kitchen display).
icon to send the order to the kitchen and/or bar. Your administrator will have setup where menu items are sent (kitchen/bar chit printers or a kitchen display).


 Email
Support
 Frequently
Asked Questions
