The Register Screen
Table Of Contents
Chapter 1. Video Tutorial
Chapter 2. Introduction

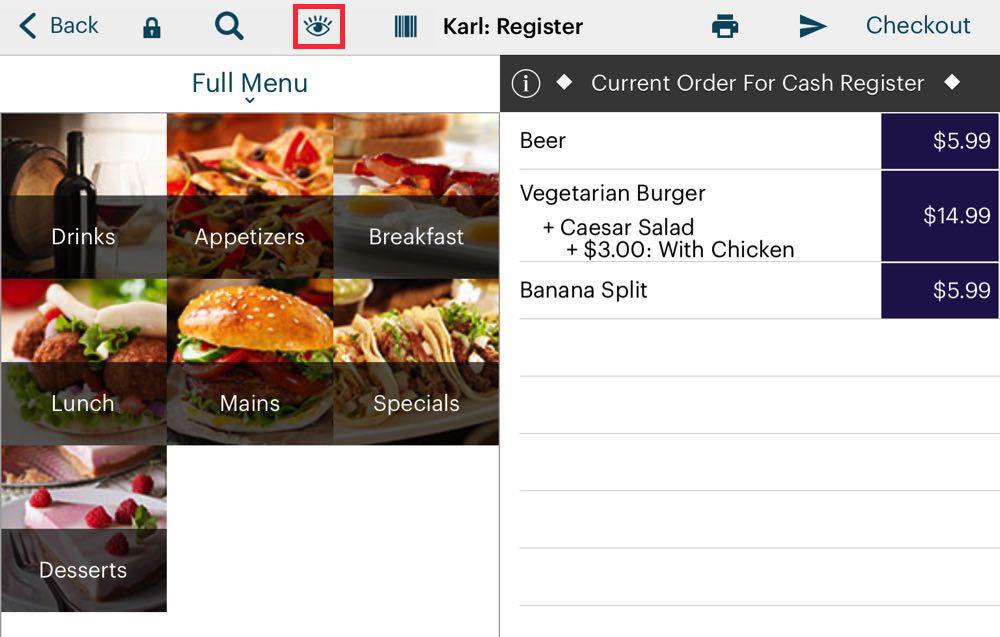
The Register screen is divided into four sections.
|
Section
|
Description
|
|
Menu Items
|
The top left section displays available menu items.
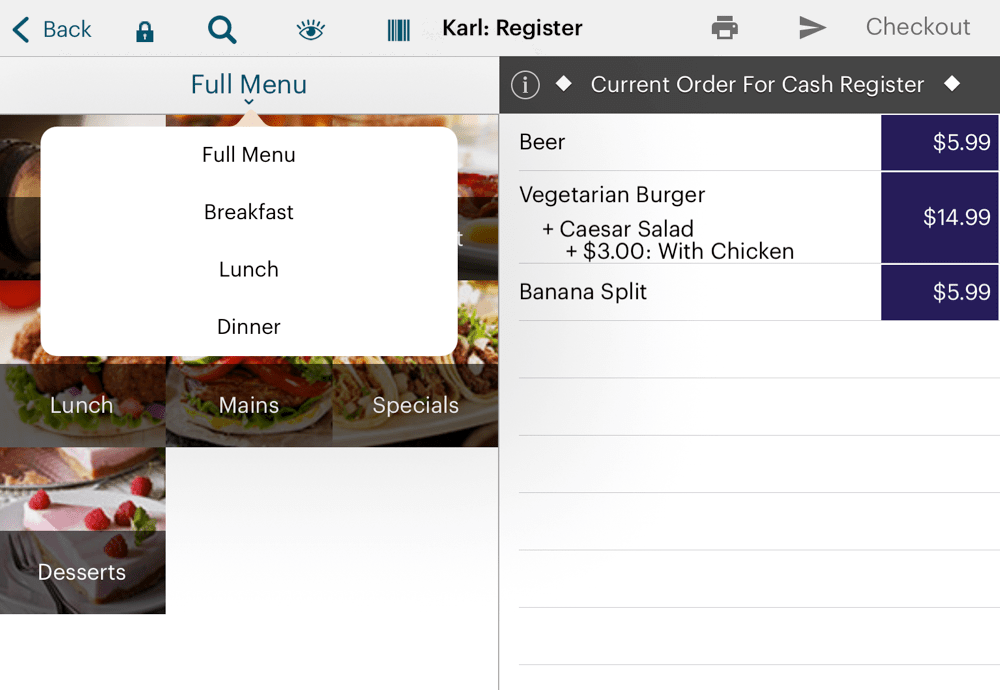
Depending on how your venue is set up, you may have multiple menus to choose from (e.g., Dinner, Lunch, Breakfast). Tap a category across the top (e.g., Appetizers or Mains) to display menu items under those categories.
|
|
Orders
|
The top right section displays what has been ordered. Tap the Current Order’s Information
|
|
Quick Pay Buttons
|
The bottom left section gives you a set of fast pay buttons and other quick access features.
|
|
Order Summary
|
The bottom right section gives you a summary of the table’s total order, a break down by sales category (e.g., food vs alcohol) and any applicable taxes. Tap the Up/Down arrow icon to show a simplified total.
|
Chapter 3. Changing the Menu View

You can view the menu items as a list (classic), an image grid, or a text grid.
Chapter 4. Register Options

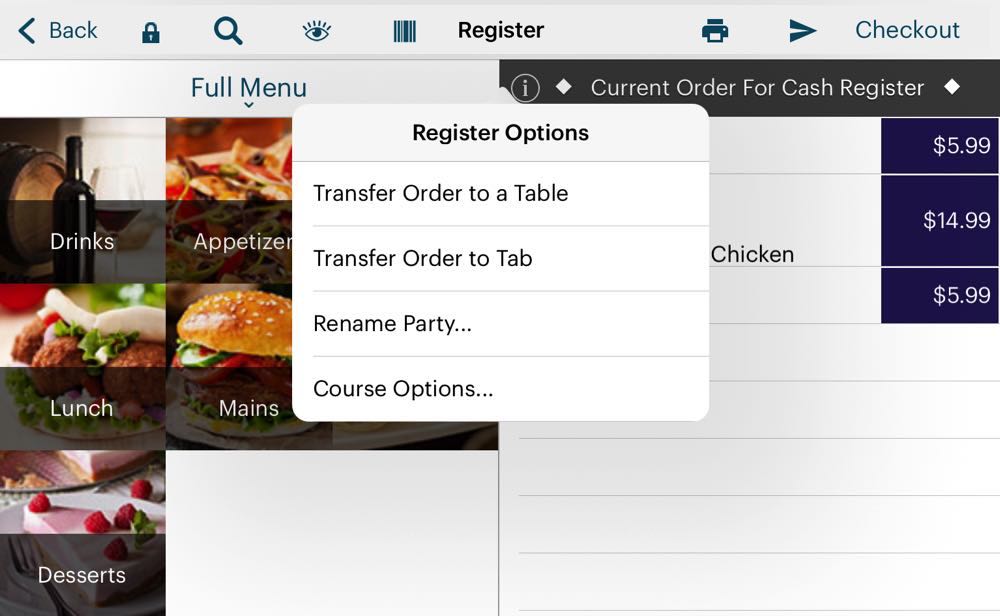
If you tap the Information ![]() icon associated with the Current Order bar, you will get a number of Register Options.
icon associated with the Current Order bar, you will get a number of Register Options.
|
Option
|
Description
|
|
Transfer Order to a Table
|
If the customer comes in for the order and then decides to dine in, tap Transfer to Table to move the order to a table. Select the target table from the floor plan screen.
|
|
Transfer Order to a Tab
|
If you wish to send this order to a bar tab, but not leave the POS, tap this option.
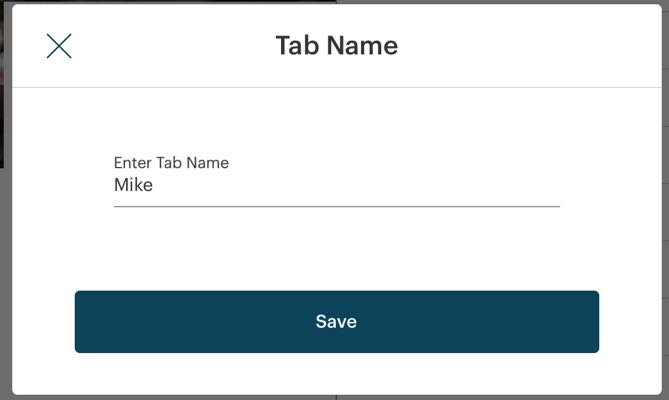
You will be prompted for a name for this tab. When you tap Save a bar tab will be created. However, you will remain in the POS. If you wish to convert this order to a bar tab and work with it as a bar tab, use the Quick Pay Tab button.
|
|
Rename Party
|
Tap this if you need to have a name on the receipt to help with order expediting (for example, you pass the receipt to a barista who needs to call out the completed order by name).
You will be prompted for a name. Tap Save. If no name is given, TouchBistro assigns an order a number for the name. TouchBistro resets this name to 1 at the start of each day.
|
|
Course Options
|
Tap if you need to course this order.
Typically, you’ll never do this via the POS. However, this option is here for circumstances where it’s required.
|
Chapter 5. Changing the Layout

If you prefer to have the menu on the right side, you can ask your TouchBistro Admin to set your Staff Profile for Right Hand Mode.


 Email
Support
 Frequently
Asked Questions


