Scheduled Reports
Table Of Contents
Section 1. Specify Time Frame and Format
Section 2. Email Frequency and Report Format
Chapter 1. Scheduled Reports
If you would like a batch of reports emailed to you as a CSV or Excel file, access the Scheduled Reports option.
Section 1. Specify Time Frame and Format
Click Rolling Date Range to create a regularly scheduled, recurring report. Click Specific Date Range to create a one-off report. Enter a name for this scheduled report as well.
Section 2. Email Frequency and Report Format

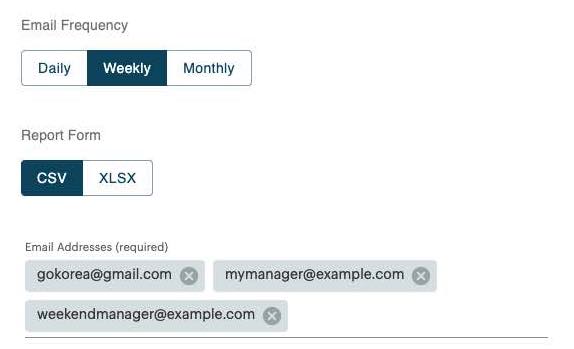
If you selected Rolling Date Range because you want a recurring report, you will see Email Frequency options. Select either Daily, Weekly, or Monthly. All reports use the service times you set up under Cloud’s Settings page. Daily reports likewise use your configured service times as to when to launch. Daily reports will be sent two hours after the close of your service day. So if your service day is set for 8 am to 7:59 am the following day, your Daily report will be sent at 10 am.
Format can be either CSV or an Excel format (XLSX).
In the Email add all appropriate email addresses.
Section 3. Specific Date Range

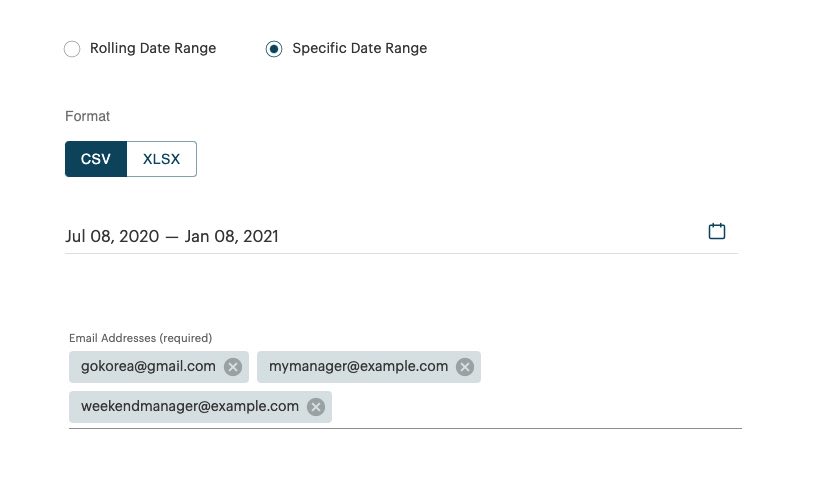
Select Specific Date Range if you want a one-time report of a particular date range (the last 30 days, the last six months, etc.) Click the Calendar tool to set on the Start and End Dates fields to select the date range.
Format can be either CSV or an Excel format (XLSX).
In the Email add all appropriate email addresses.
Section 4. Select Reports
Check the reports you wish to include and then click Schedule Report at the bottom of the screen. Reports set for Specific Date Range will fire immediately. Rolling Date Range reports will fire on the next Day Start Time.
Chapter 2. Manage Reports

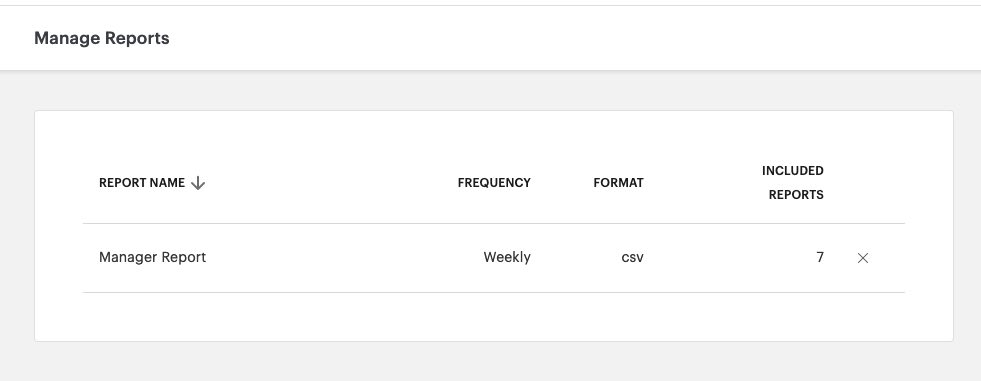
You can view your recurring reports by clicking Manage Reports. If you wish to stop a recurring report, click the X button. You can edit a report (change recipients, included reports, etc.) by clicking the report. Note, you will not see one-time reports created using the Specific Date Range option.
Chapter 3. Download Sample
Click here for a zip file containing an example of all reports exported by Cloud.


 Email
Support
 Frequently
Asked Questions
