How to Configure your Ubiquiti AmpliFi Router with an Internet Connection
Table Of Contents
Chapter 1. Enable Bluetooth on your iPad
Chapter 2. Installing the AmpliFi WiFi App
Chapter 3. Setting up your AmpliFi Router with Internet Access
This document is for systems requiring Internet access. If you need to set up a system without Internet access see How To Configure a Ubiquiti AmpliFi Router without Internet Access.
Chapter 1. Enable Bluetooth on your iPad
The Ubiquiti AmpliFi application uses a wireless Bluetooth connection in order to configure your router. Ensure that Bluetooth is enabled on your iPad before beginning.
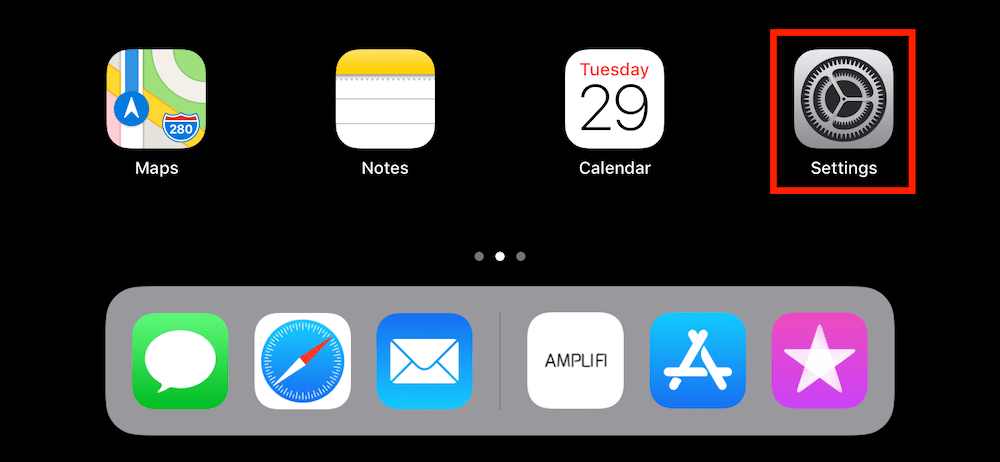
1. Tap Settings.

2. Tap Bluetooth.

3. Slide the Bluetooth switch to the green position.
Chapter 2. Installing the AmpliFi WiFi App
Ubiquiti has created an App for your iPad or iPhone which will allow you to set up your AmpliFi router easily. Follow these instructions to get started. (It is important that only one AmpliFi device is set up at a time.)
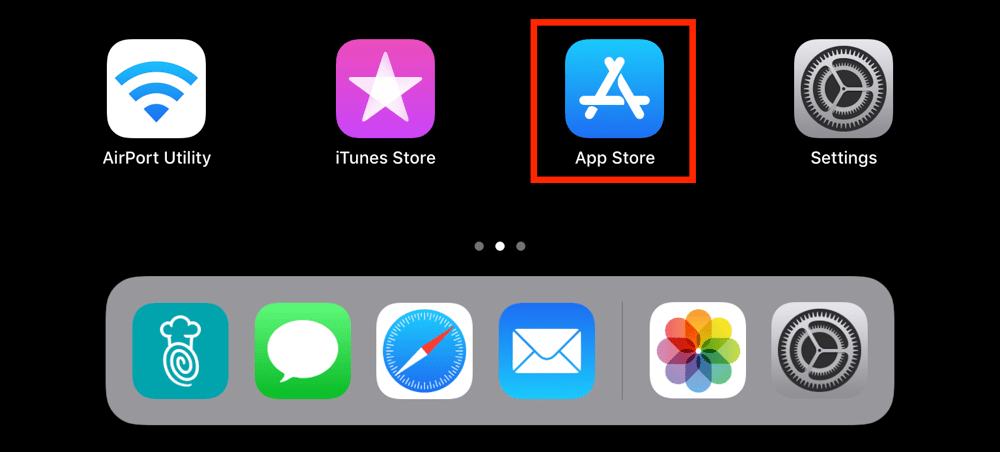
1. Tap the App Store icon on your iPad.

2. Tap Search in the bottom right-hand corner of the screen and type AmpliFi in the search field at the top of the screen, and tap Get next to the AmpliFi WiFi search result.
The application should now be visible on your iPad’s home screen.
Chapter 3. Setting up your AmpliFi Router with Internet Access
Your Ubiquiti AmpliFi device connects to the internet through your Internet Service Provider (or another source in some cases). You will require access to the internet to conduct debit and credit card transactions via your payment processor.
If you do not require Internet access in your venue, skip forward to the next section Setting up your AmpliFi Router without Internet Access.
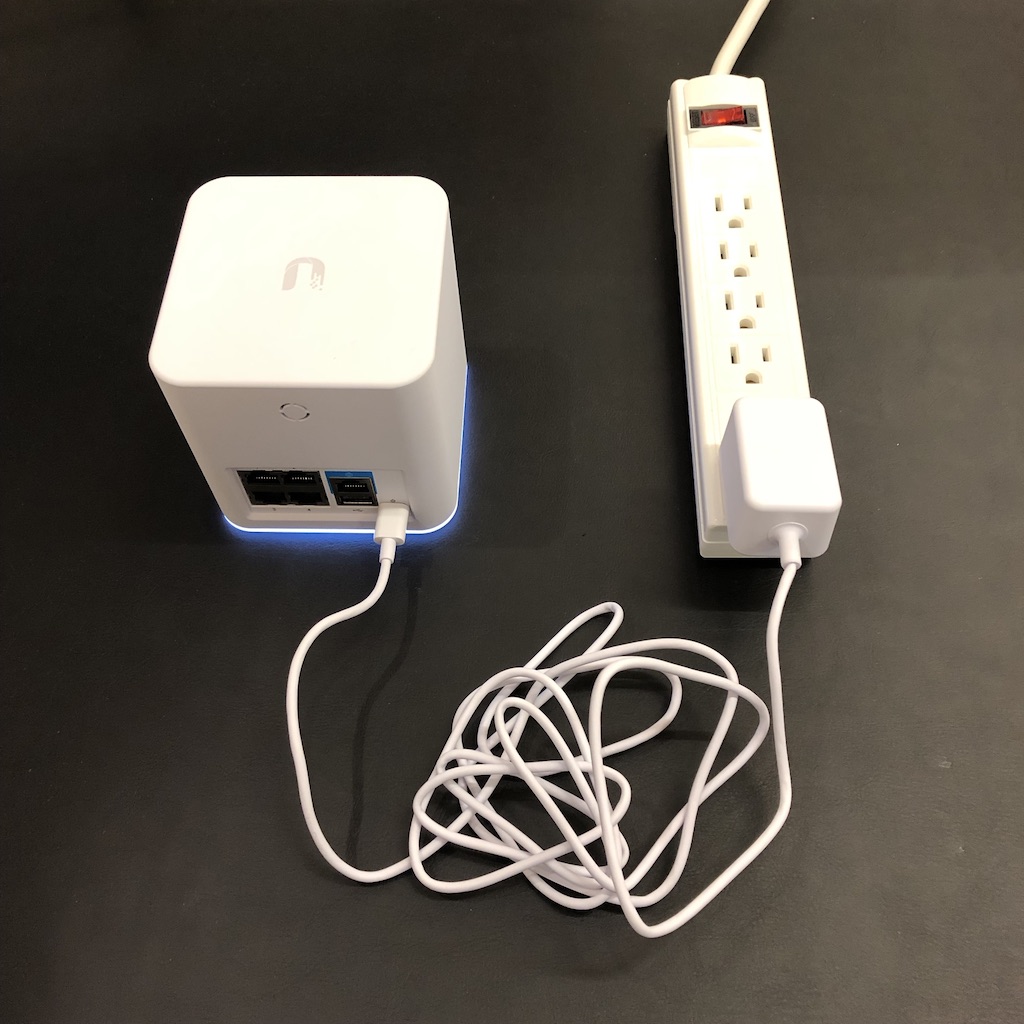
1. Plug the power cable into the USB-C port on the rear of your AmpliFi, and plug it into an electrical socket. Once powered-on, you will see a white light emitting from the base of the device.
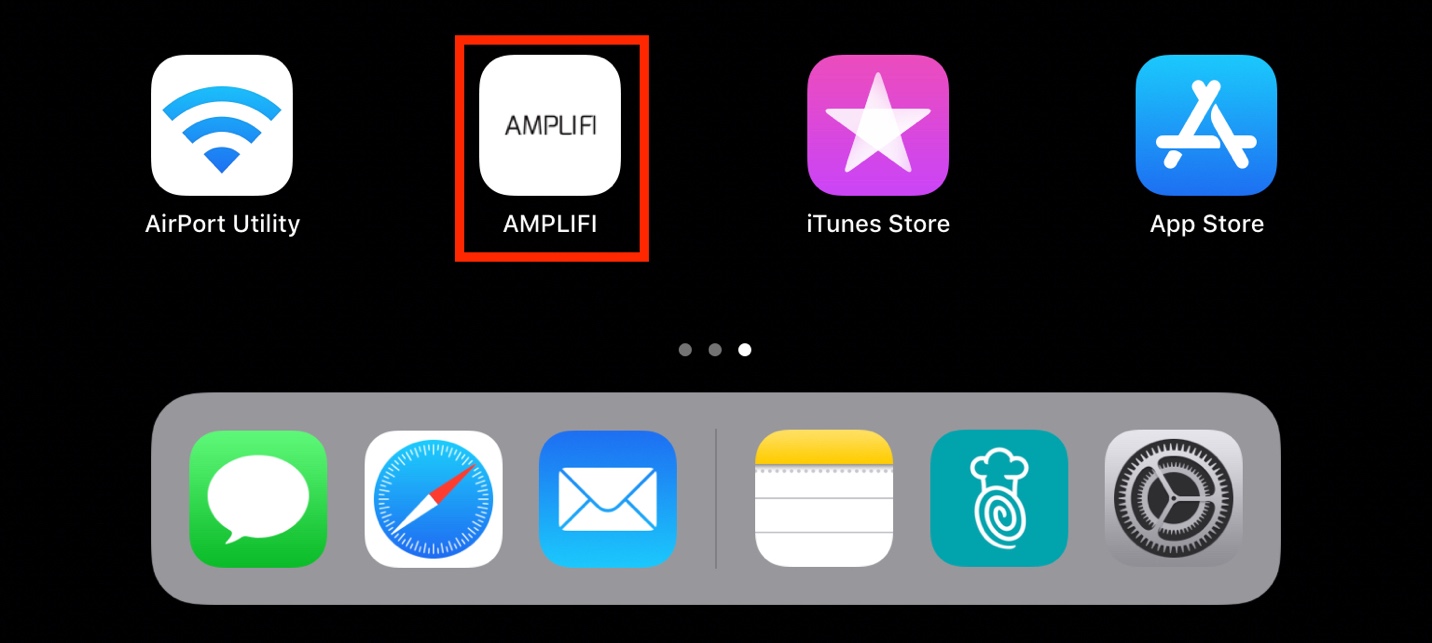
2. Tap the AMPLIFI app on your iPad’s homescreen.

3. Tap Continue at the bottom of the screen.

4. Tap Set Up AmpliFi Mesh System.

5. In the Power Off screen, tap Skip.

6. In the AmpliFi Requires Setup page, tap on the picture of the AmpliFi Router with an amber light next to it.

7. In the Name Your Wireless Network field, enter your venue name followed by TB. (e.g., MyVenueNameTB).

8. In the Create Your Wireless Password field, enter a password that is both secure and easy to remember. Make a paper record of this password. TouchBistro cannot recover it for you.

9. Ensure that the Reuse the same password for administration switch is enabled, and set to the blue position..

10. Tap Continue.

11. In the Setup Complete screen, tap Continue.

12. In the Remote Access screen, tap Skip.

13. When you see the Unable to locate device screen, press the Home button  , or swipe up from the bottom of the screen if your iPad has no Home button, to exit the AmpliFi WiFi app.

14. Tap the Settings icon on the iPad.

15. Tap on Wi-Fi in the Settings section of the iPad and tap the Wi-Fi Name that you created in step 7.

16. Enter in the Password you created in step 7, and tap Join.
17. Press the Home button ![]() , or swipe up from the bottom of the screen if your iPad has no Home button, to exit Settings.
, or swipe up from the bottom of the screen if your iPad has no Home button, to exit Settings.

18. Tap the AMPLIFI app on your iPad’s home screen.
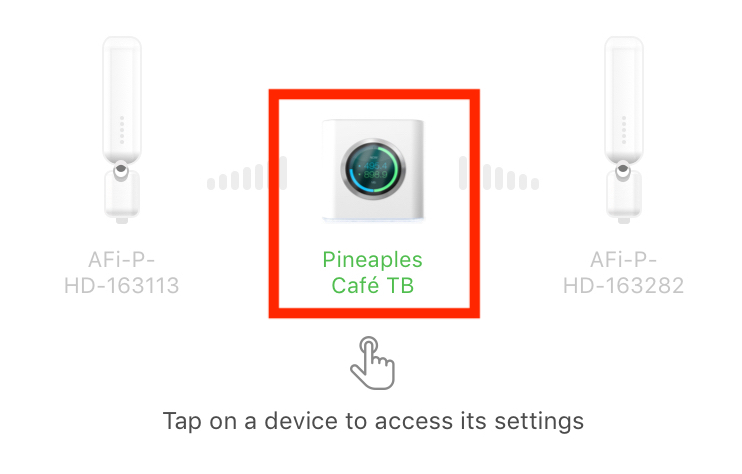
19. Tap on the picture of the AmpliFi Router in the middle of the screen.
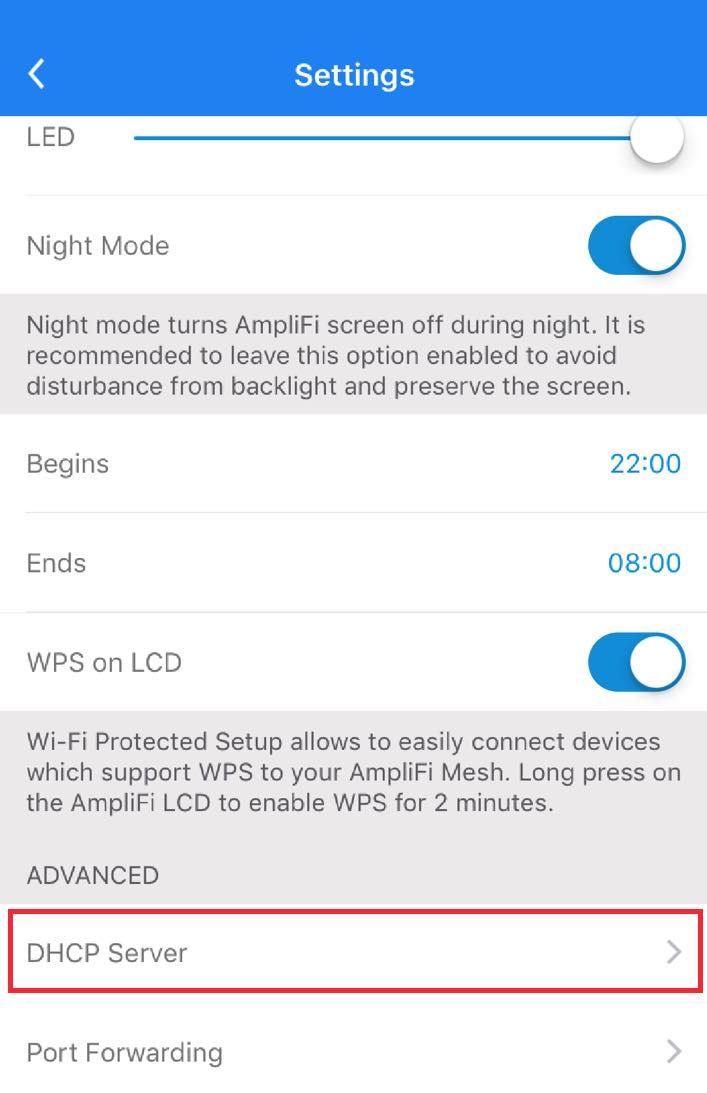
20. Scroll down to the Advanced section, and tap DHCP Server.

21. Tap on Range at the top.

22. Select 10.0 and tap the Back arrow in the top left.

23. Make the following changes in the DHCP Server window.
a. Tap on Subnet.
b. Erase the number and type in 1.
c. Tap on Start.
d. Erase the number and type in 2.
e. Tap on End.
f. Erase the number and type in 200.
g. Tap done on the keyboard.
24. Tap the Back arrow and tap Save.

25. Tap Proceed in the Attention window. Your AmpliFi device will produce an audible ring.
Note: If you’ve changed your Range to 10. (10.0.1.xxx) and you are not seeing it being reflected in your Pro server or on your iPad, simply turn off your computer/iPad’s Wi-Fi and then turn it back on.
See Also
How To Configure a Ubiquiti AmpliFi Router without an Internet Connection
How to Reserve IP Addresses on a Ubiquiti AmpliFi Router
How to Factory Reset a Ubiquiti AmpliFi Router
Changing the Password on your AmpliFi Router
Extend Your Wireless Network Using an Amplifi MeshPoint HD device


 Email
Support
 Frequently
Asked Questions